Complete AMTL 1 Course Guide: 12 Days of Glaciers, Granite, and Growth in the North Cascades
If you’re looking to transition from basic scrambling into technical alpine terrain, the Alpine Mountaineering and Technical Leadership Part 1 (AMTL 1) course by the American Alpine Institute (AAI) is widely considered the gold standard.
Twelve days in Washington split between the glaciated volcanic slopes of Mount Baker, the alpine granite of Washington Pass, and the high-alpine crest of Sahale Peak will test your stamina, your gear systems, and your mental game.
Here is a full breakdown of what each day actually looks like, key technical takeaways, and the real-world gear and food hacks I learned along the way.
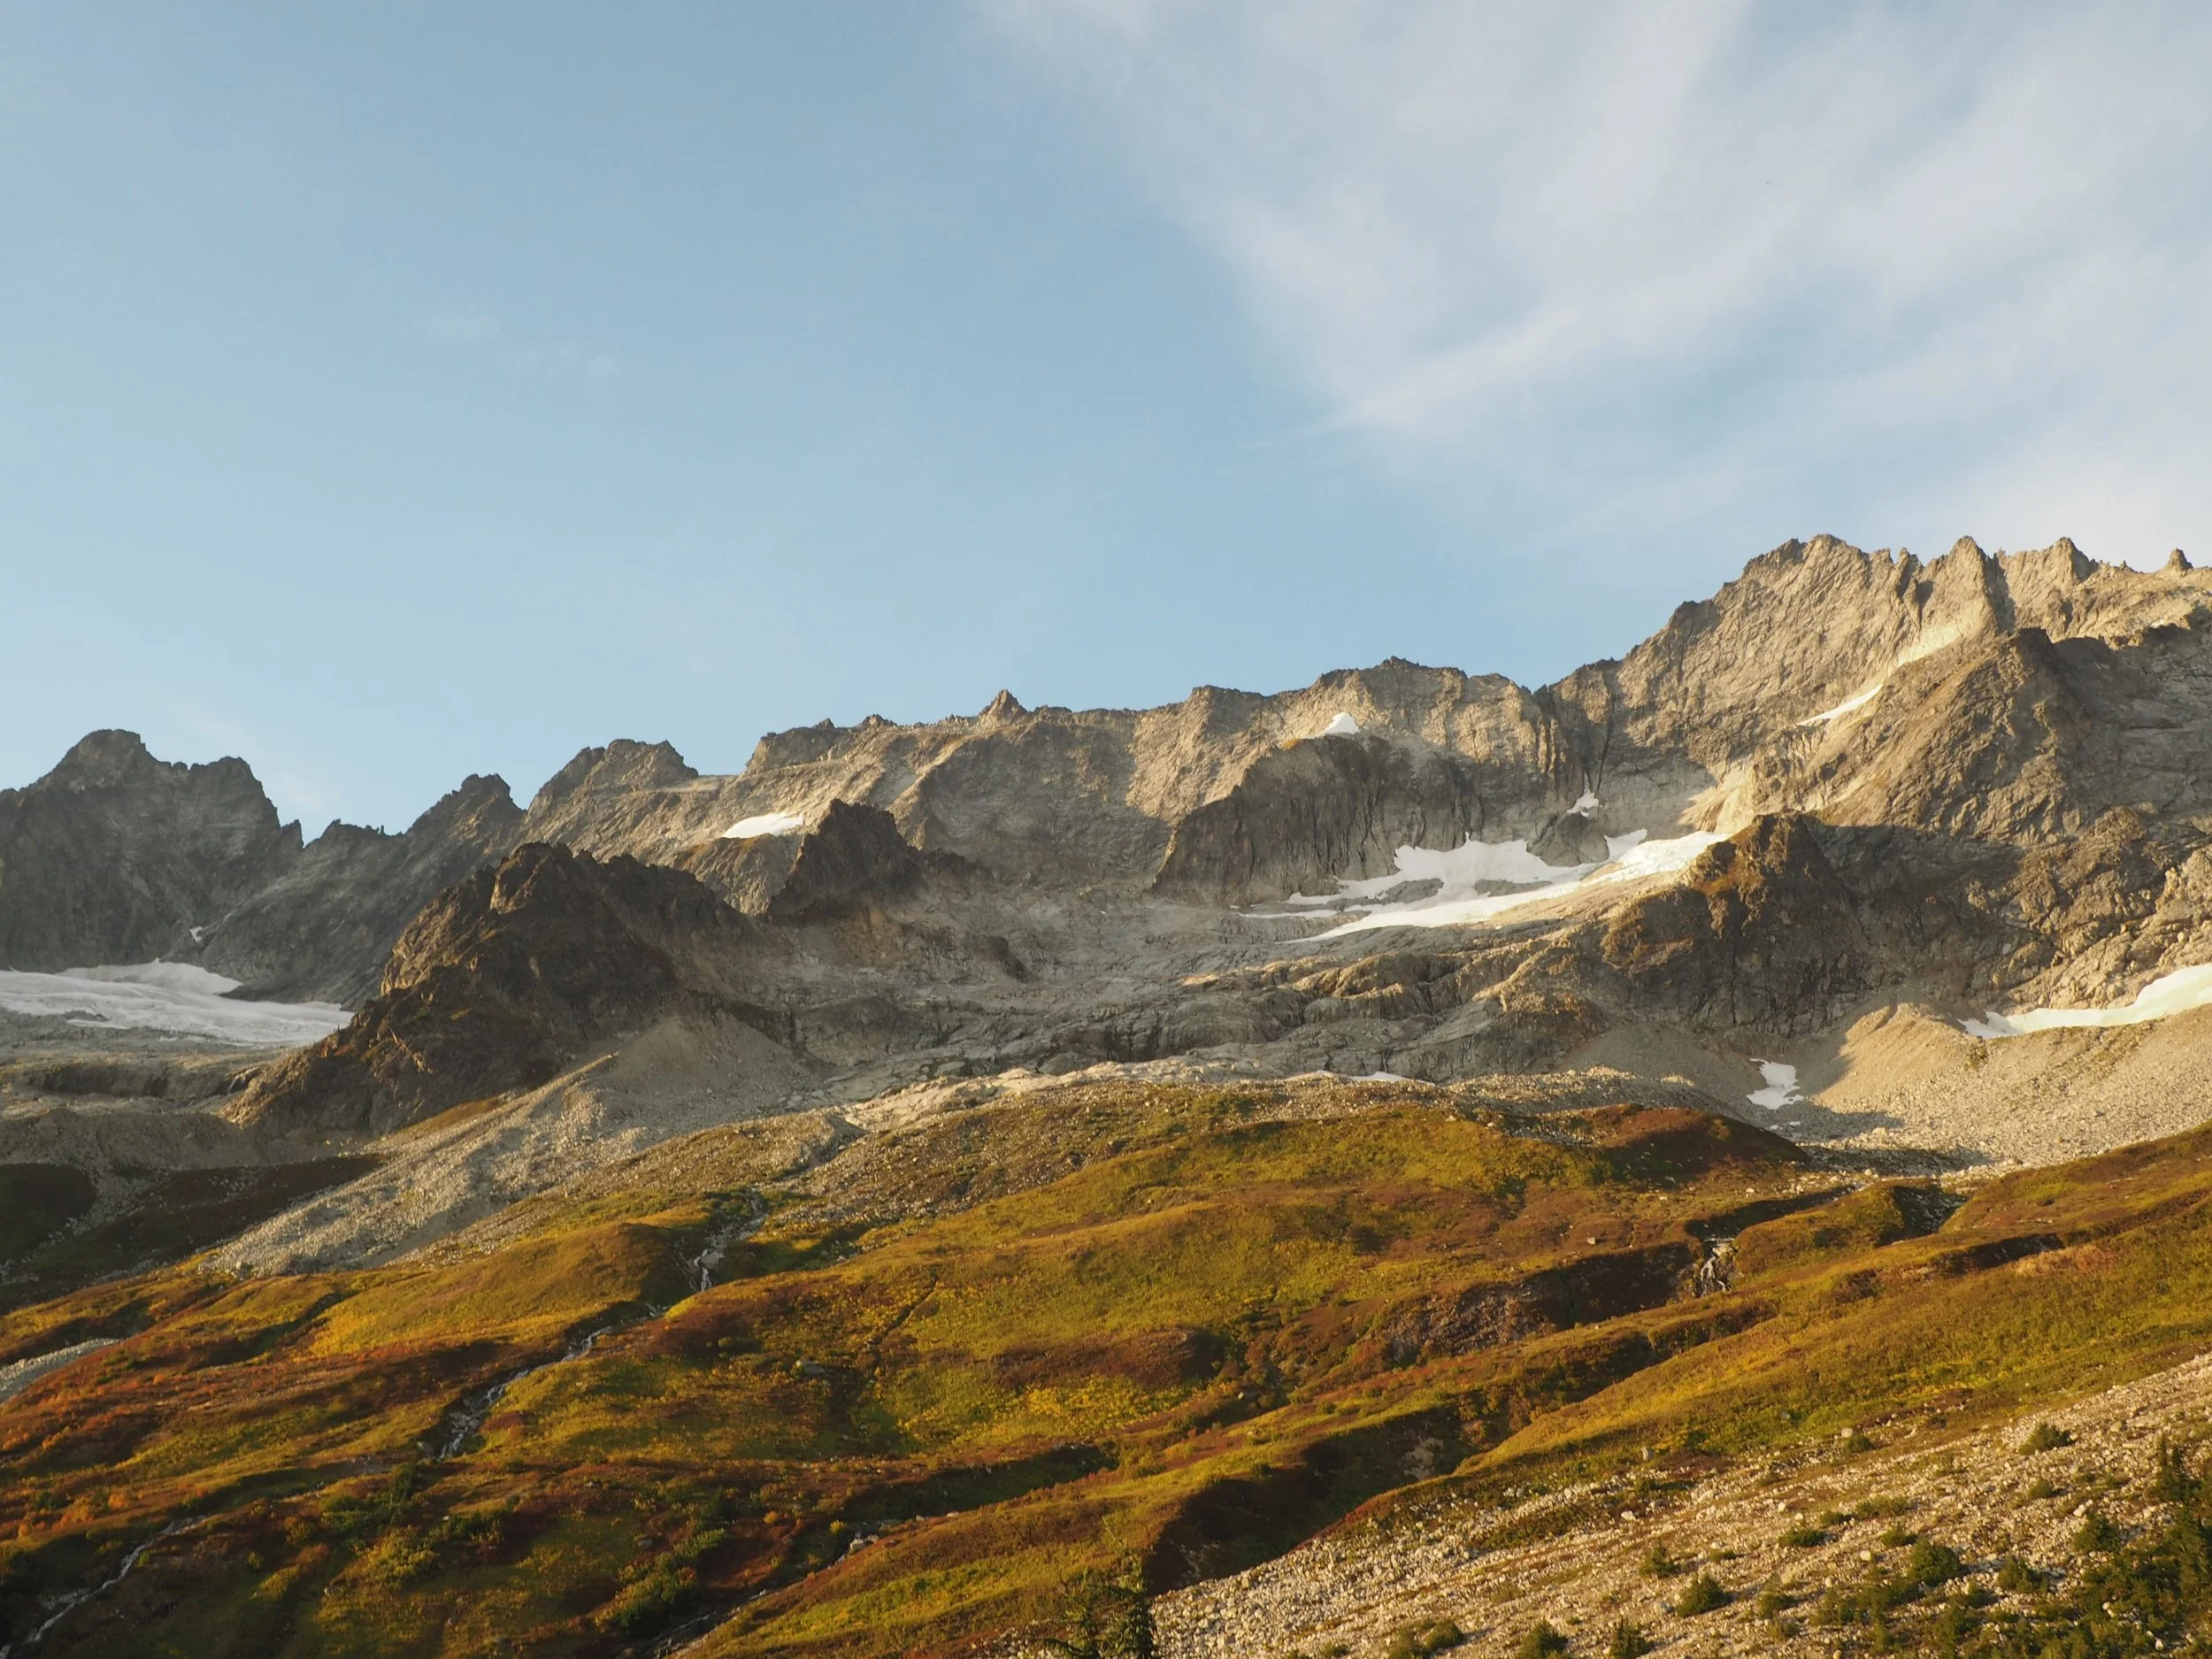
Part 1: Glacier Mountaineering & Crevasse Rescue (Mt. Baker)
Day 1: Gear Checks, Knots & Local Cragging
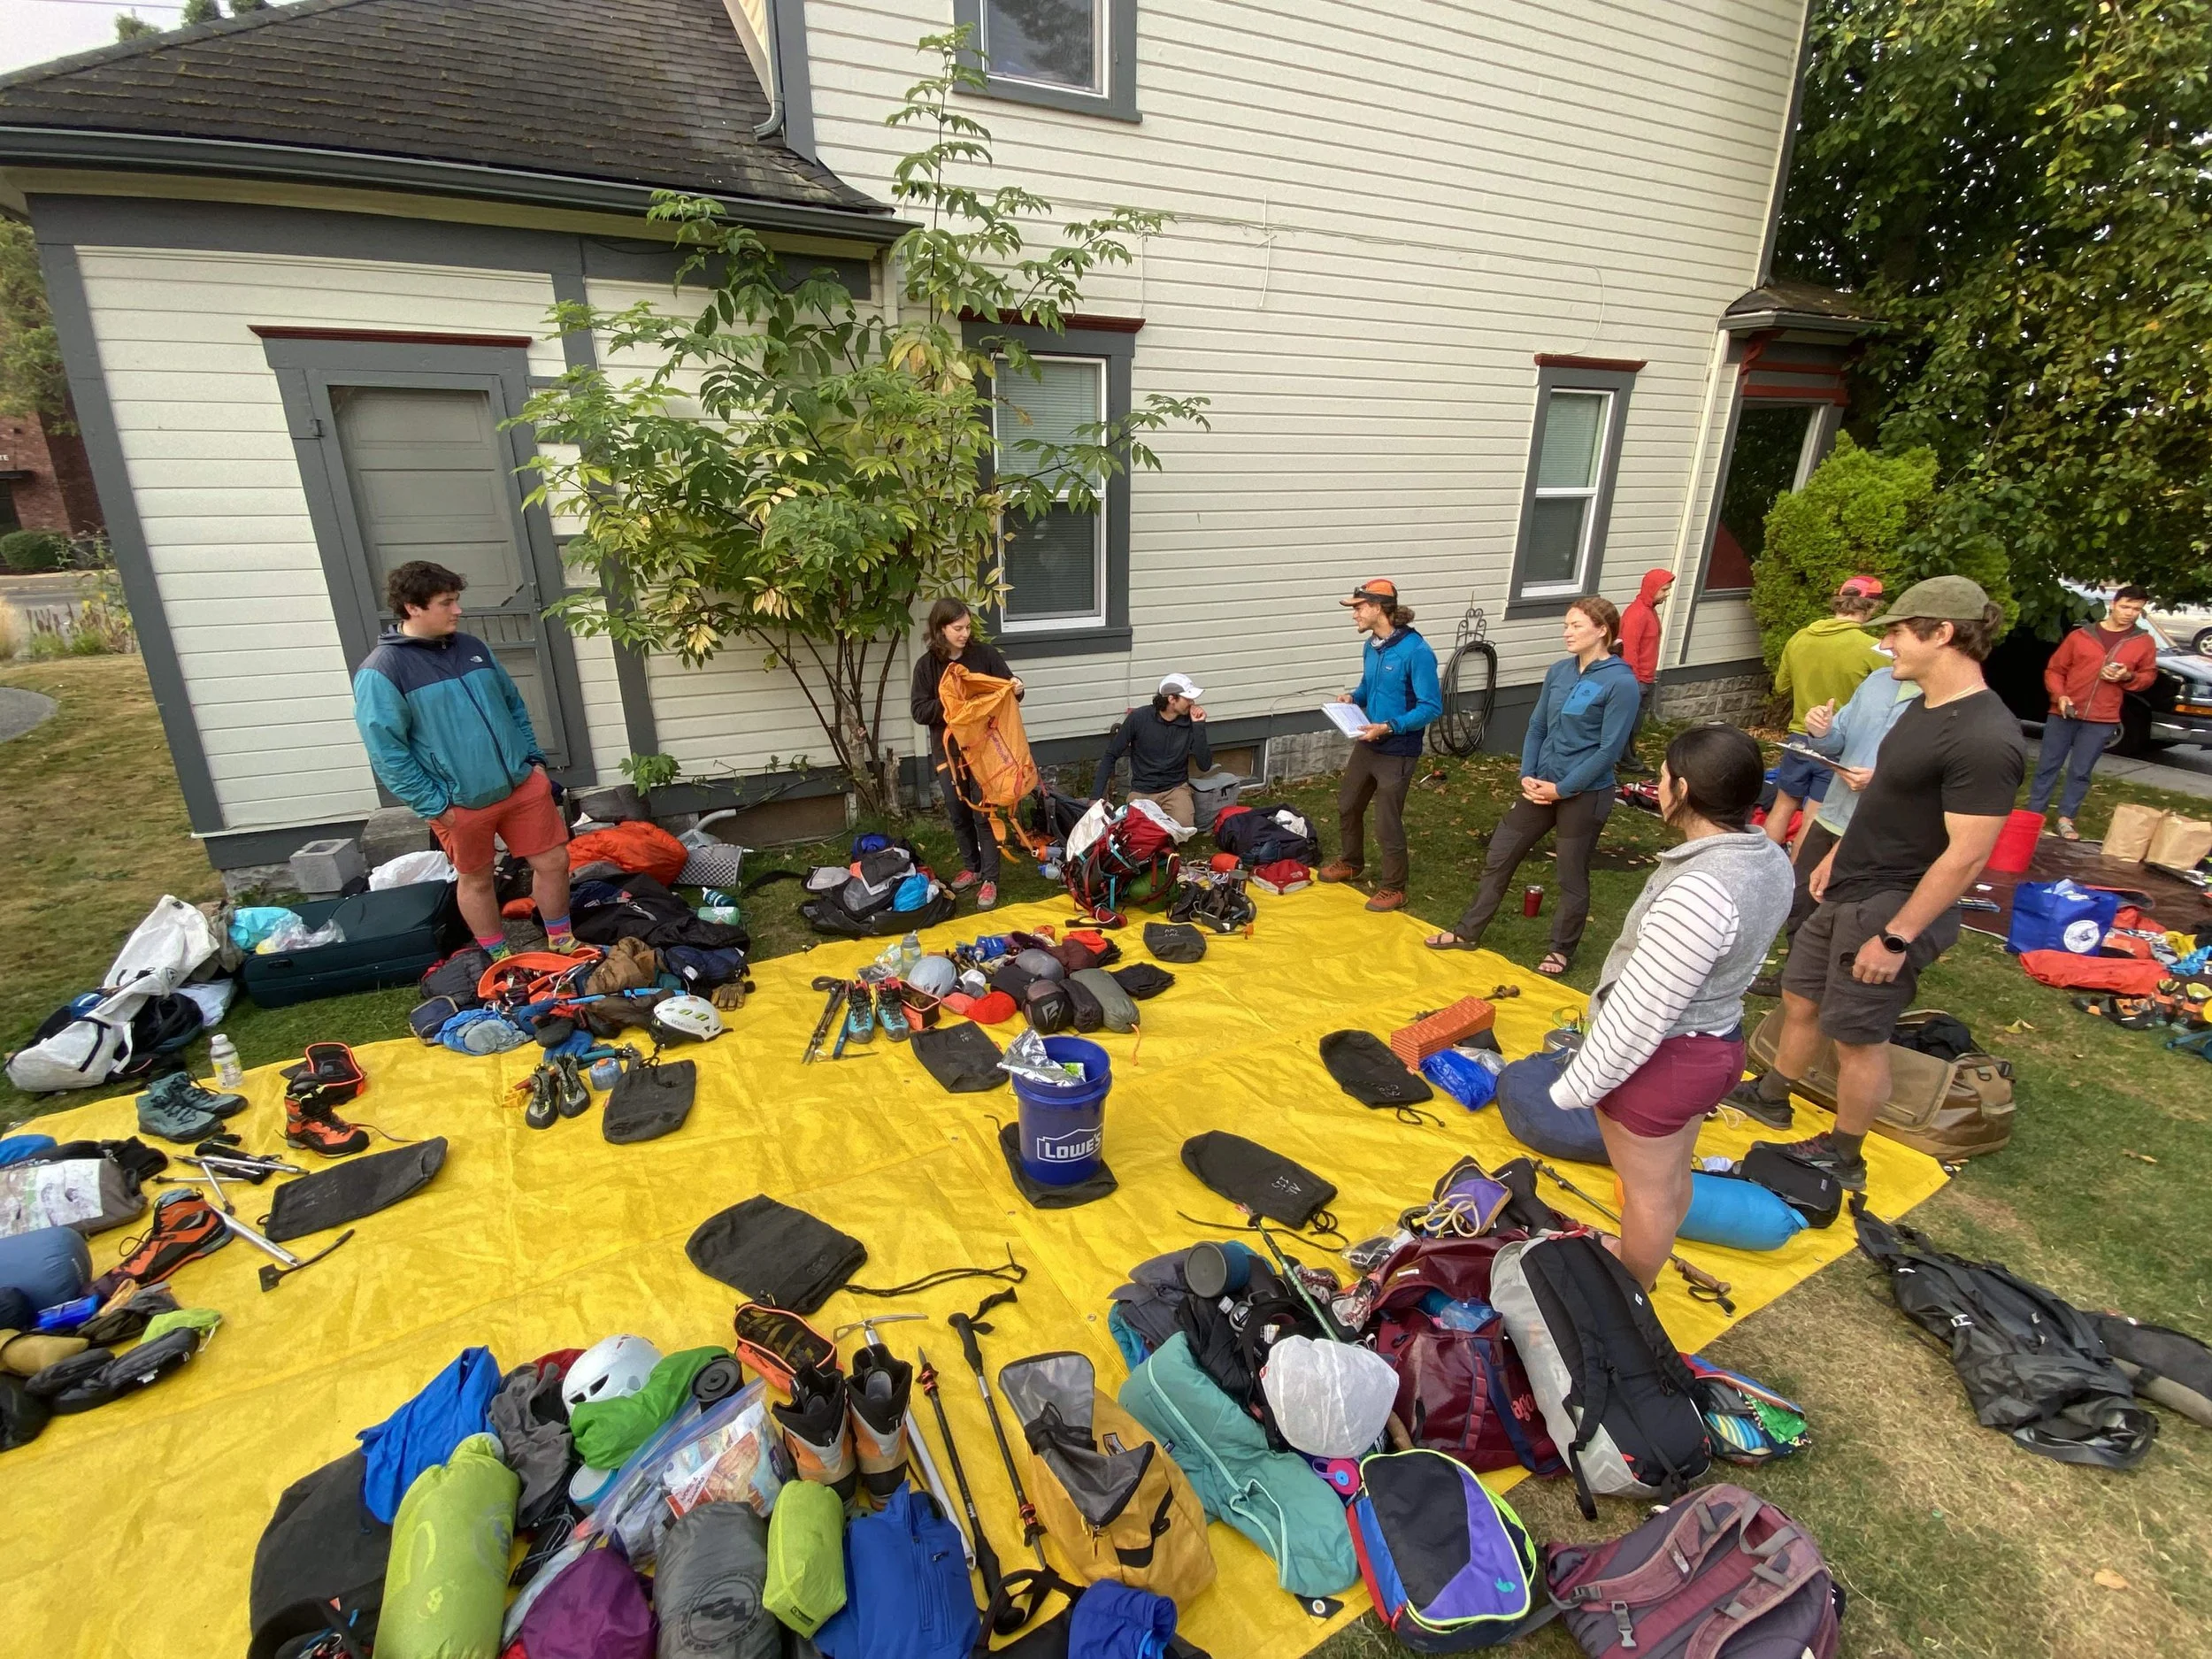
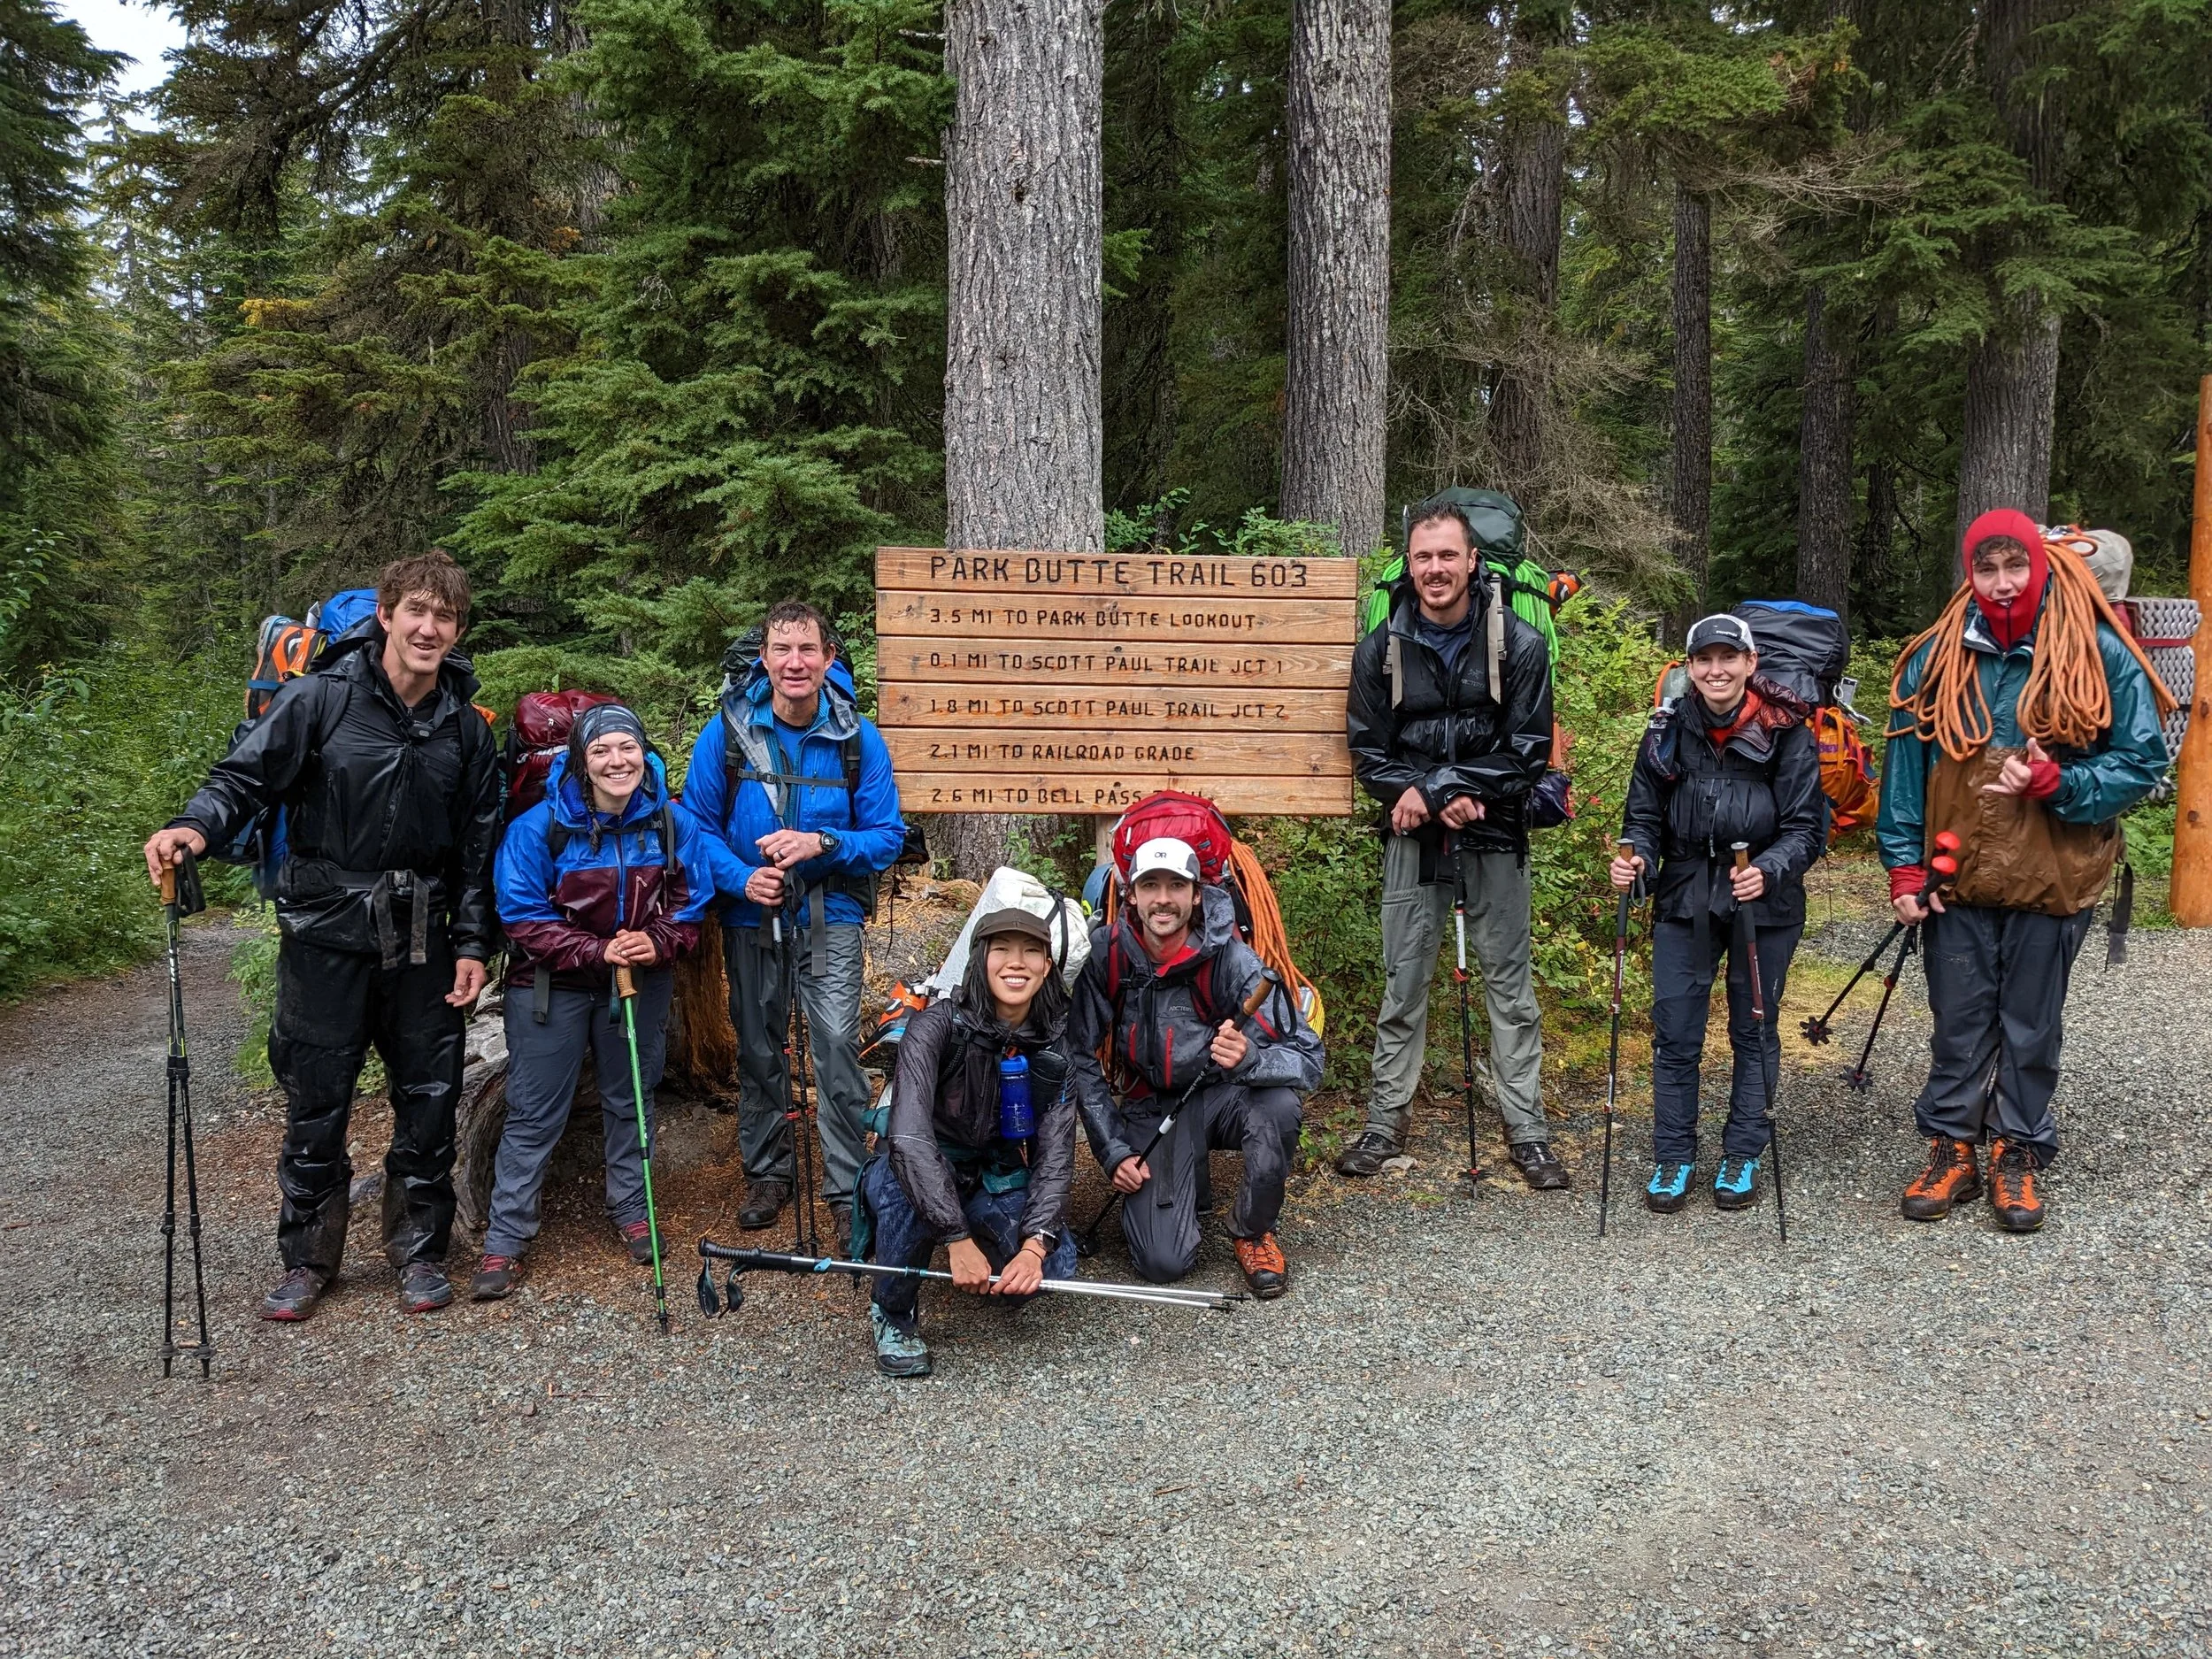
The course kicks off at the AAI shop in Bellingham with a thorough gear audit and pack-fitting session. Expect your pack to weigh anywhere between 45 and 55 lbs once group gear, ropes, and multi-day food are loaded.
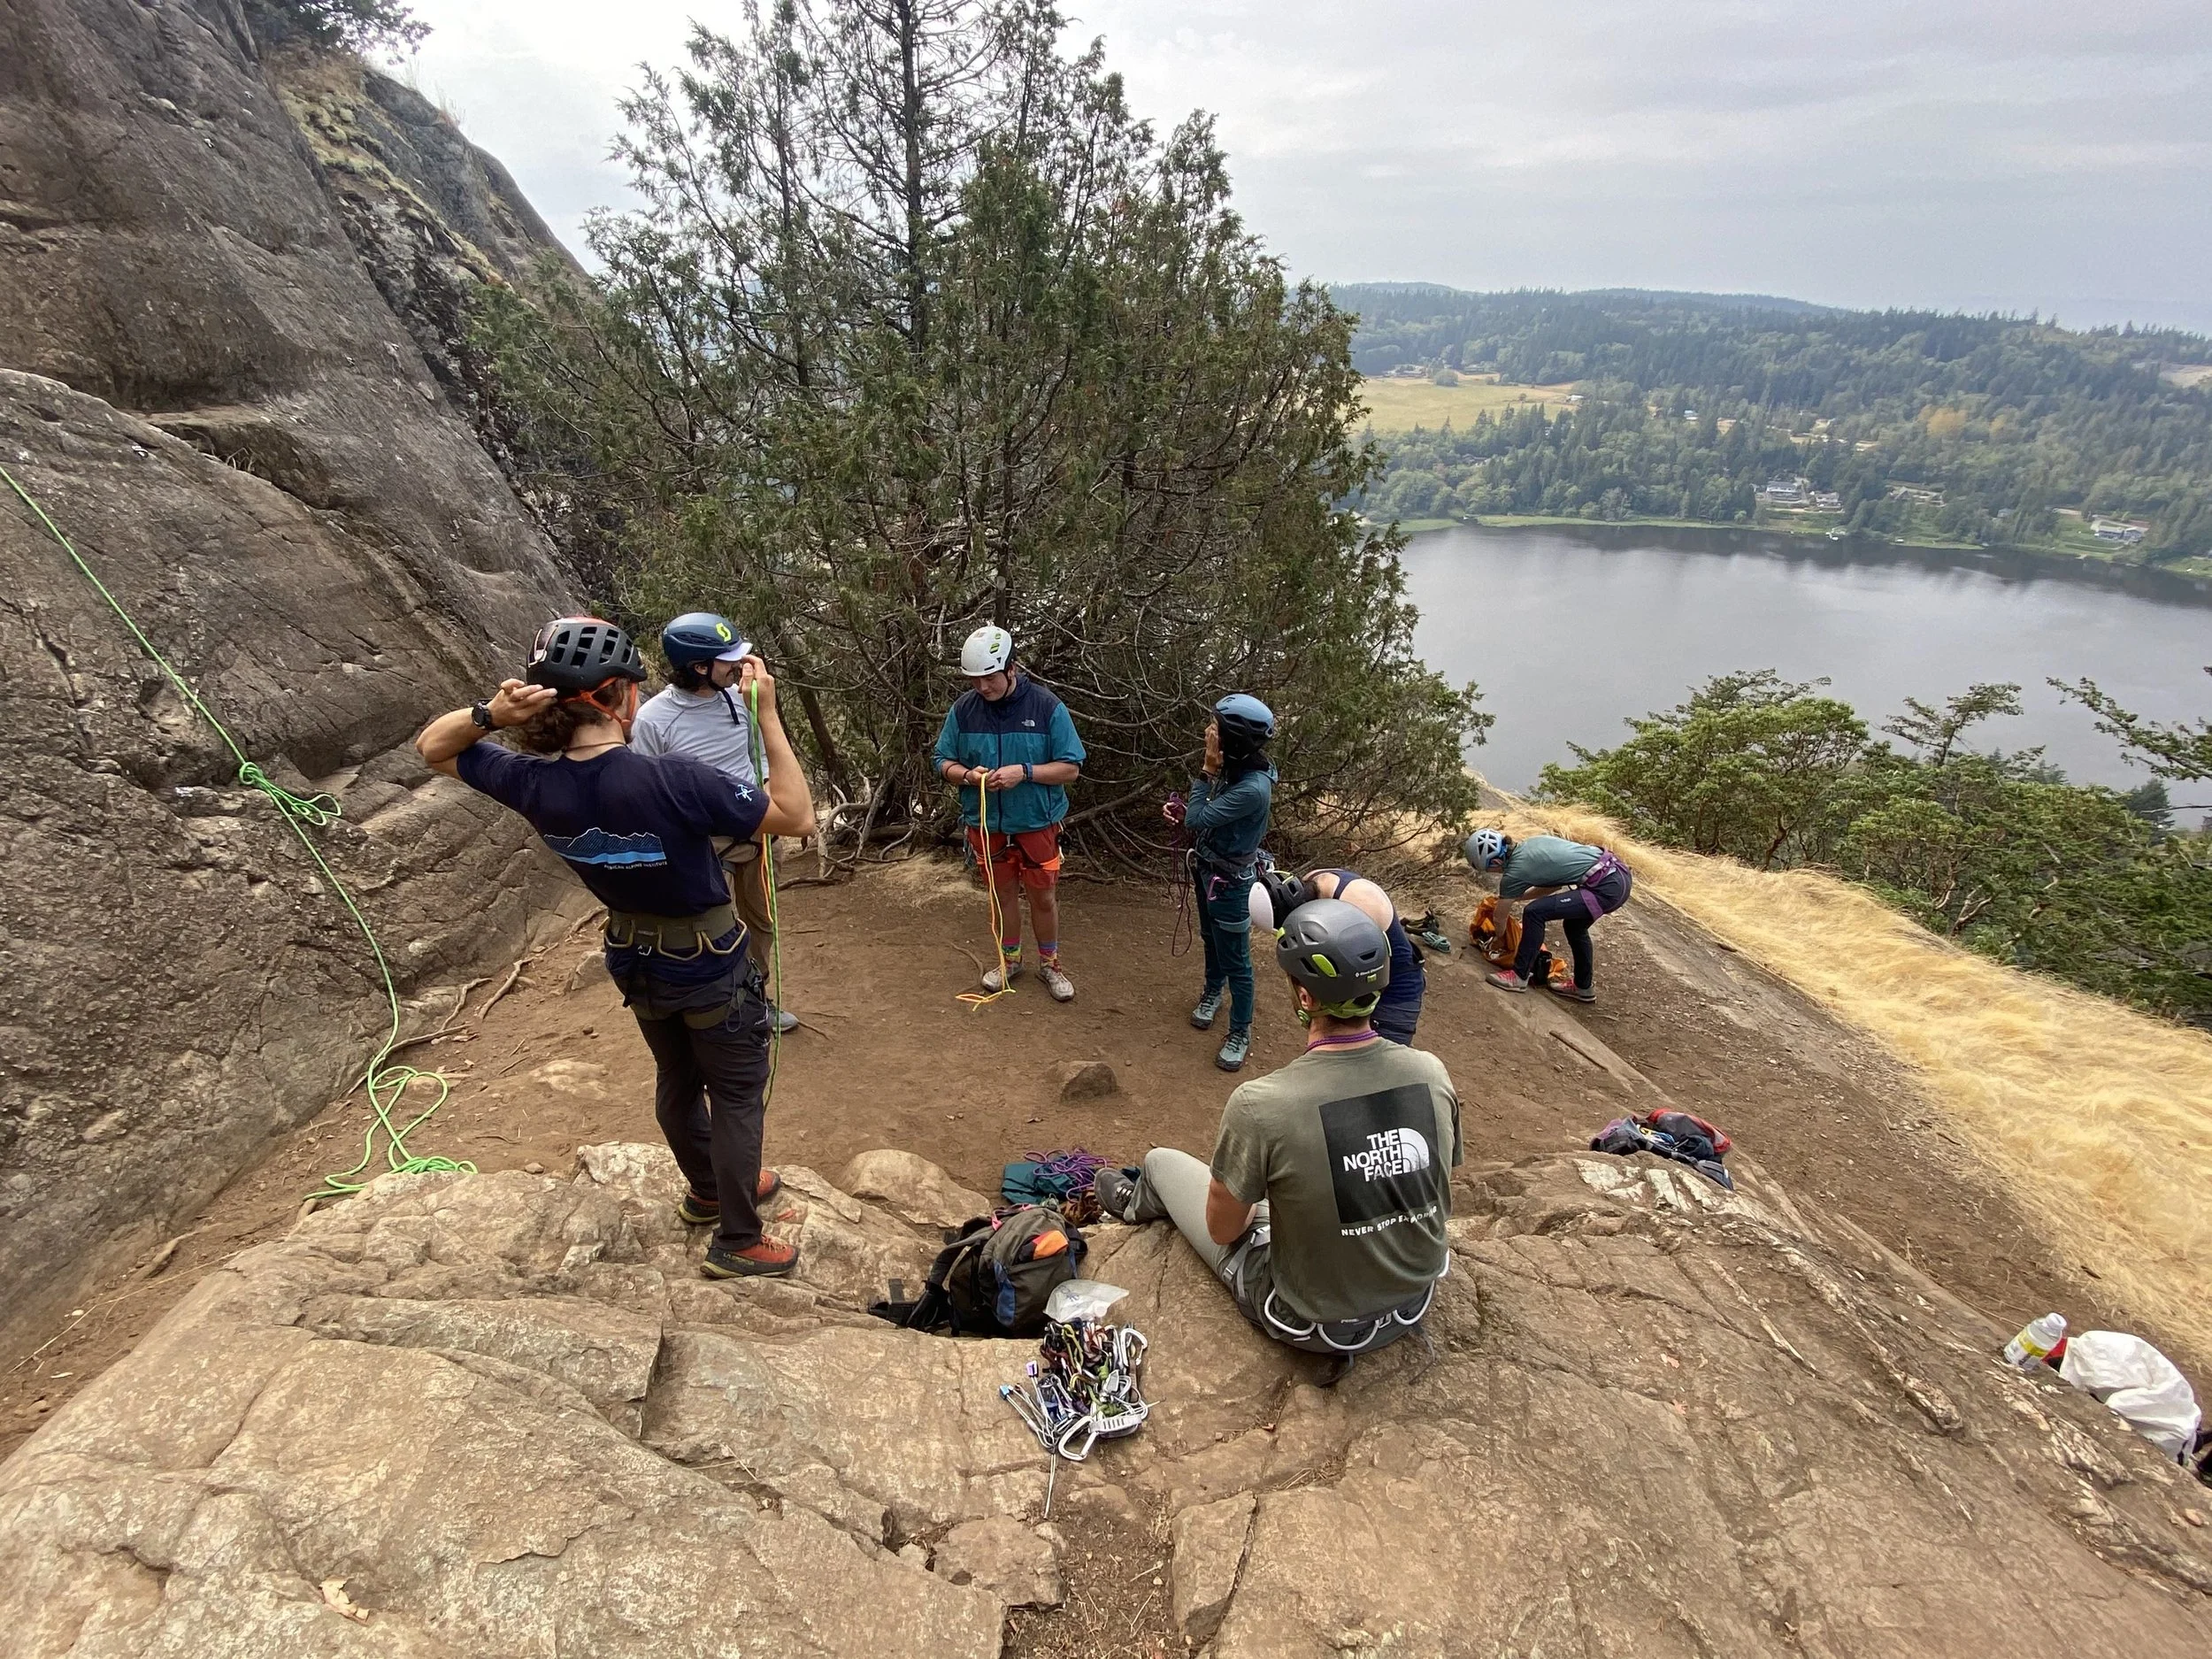
Technical Focus: Tying the Double Fisherman’s and the Alpine Butterfly, along with harness setup, belaying, and basic rappelling at a local crag.
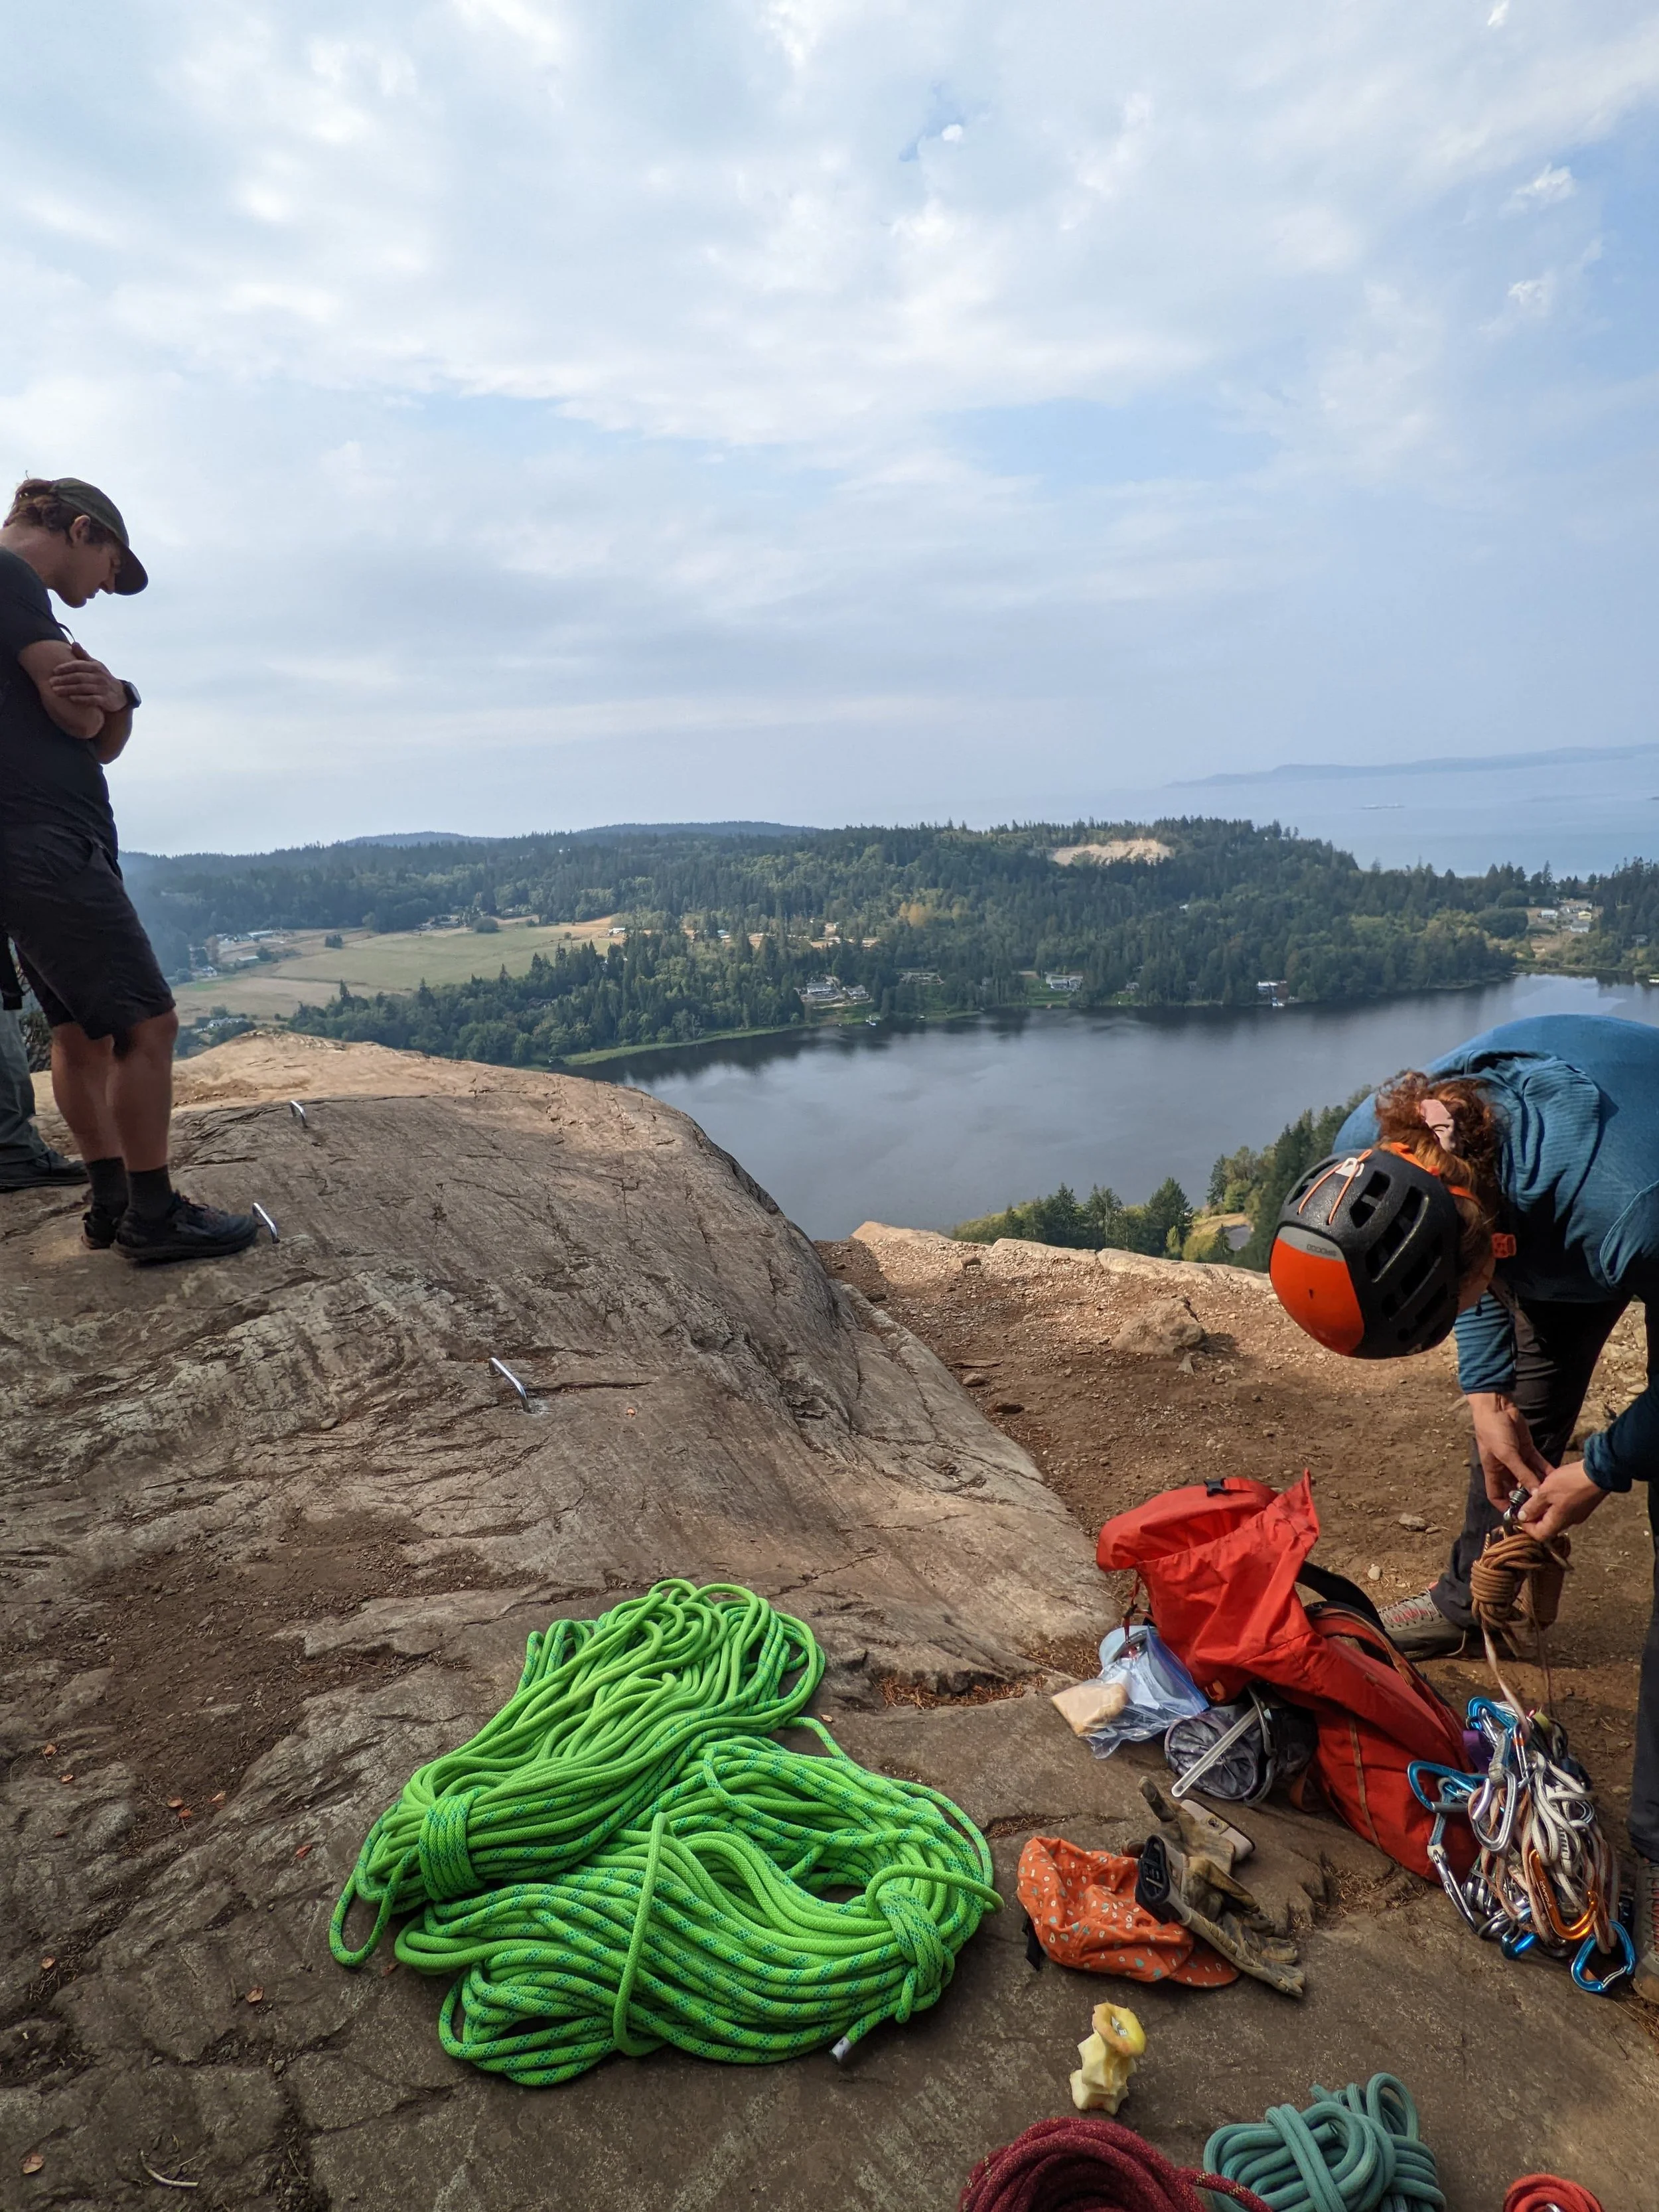
We then went to a cragging area for some rock climbing: 3 slab routes ranging from 5.5 to 5.9.
Afterwards, we went to our campsite where we will sleep for one night. I learned that the group will go grocery shopping sometime during the trip. Cool, I didn’t need all the snacks I brought for the second week.
Pro-Tip: If you’re car camping before the trailhead, bring a real pillow, a book, and a foam pad. Headphones are also a lifesaver for tuning out early-morning campground noise.
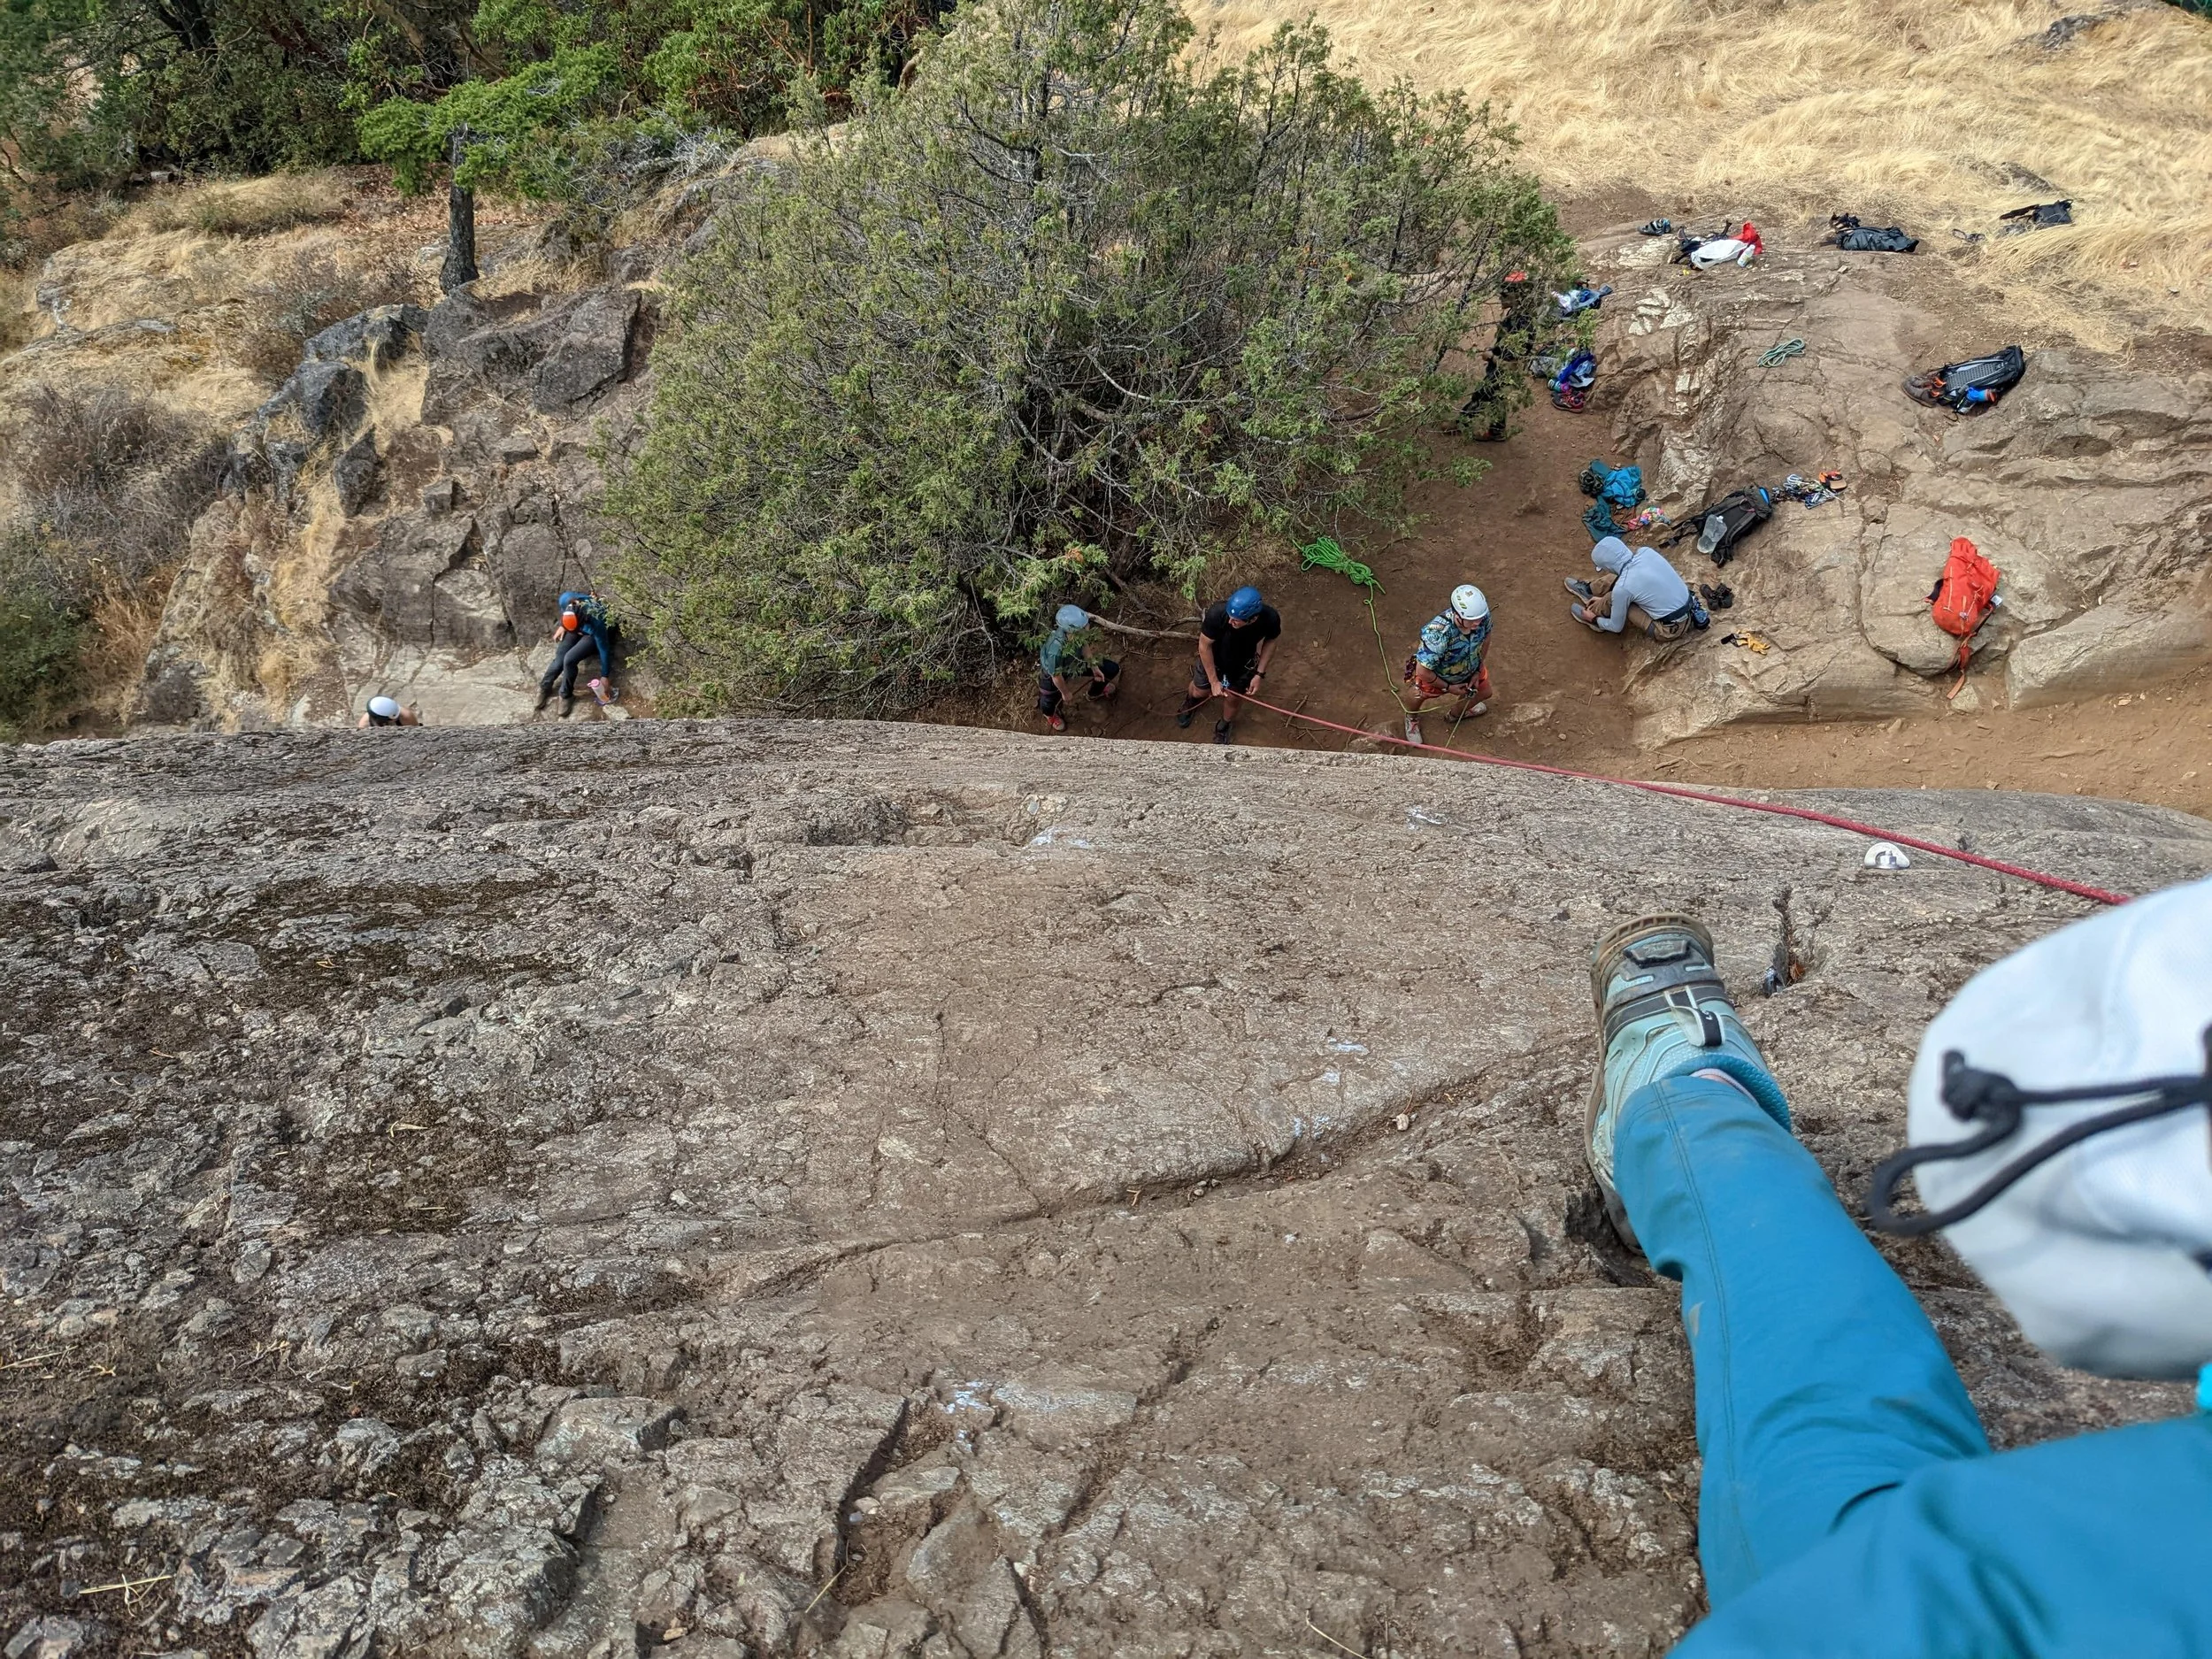
Alpine Mountaineering and Technical Leadership Part 1
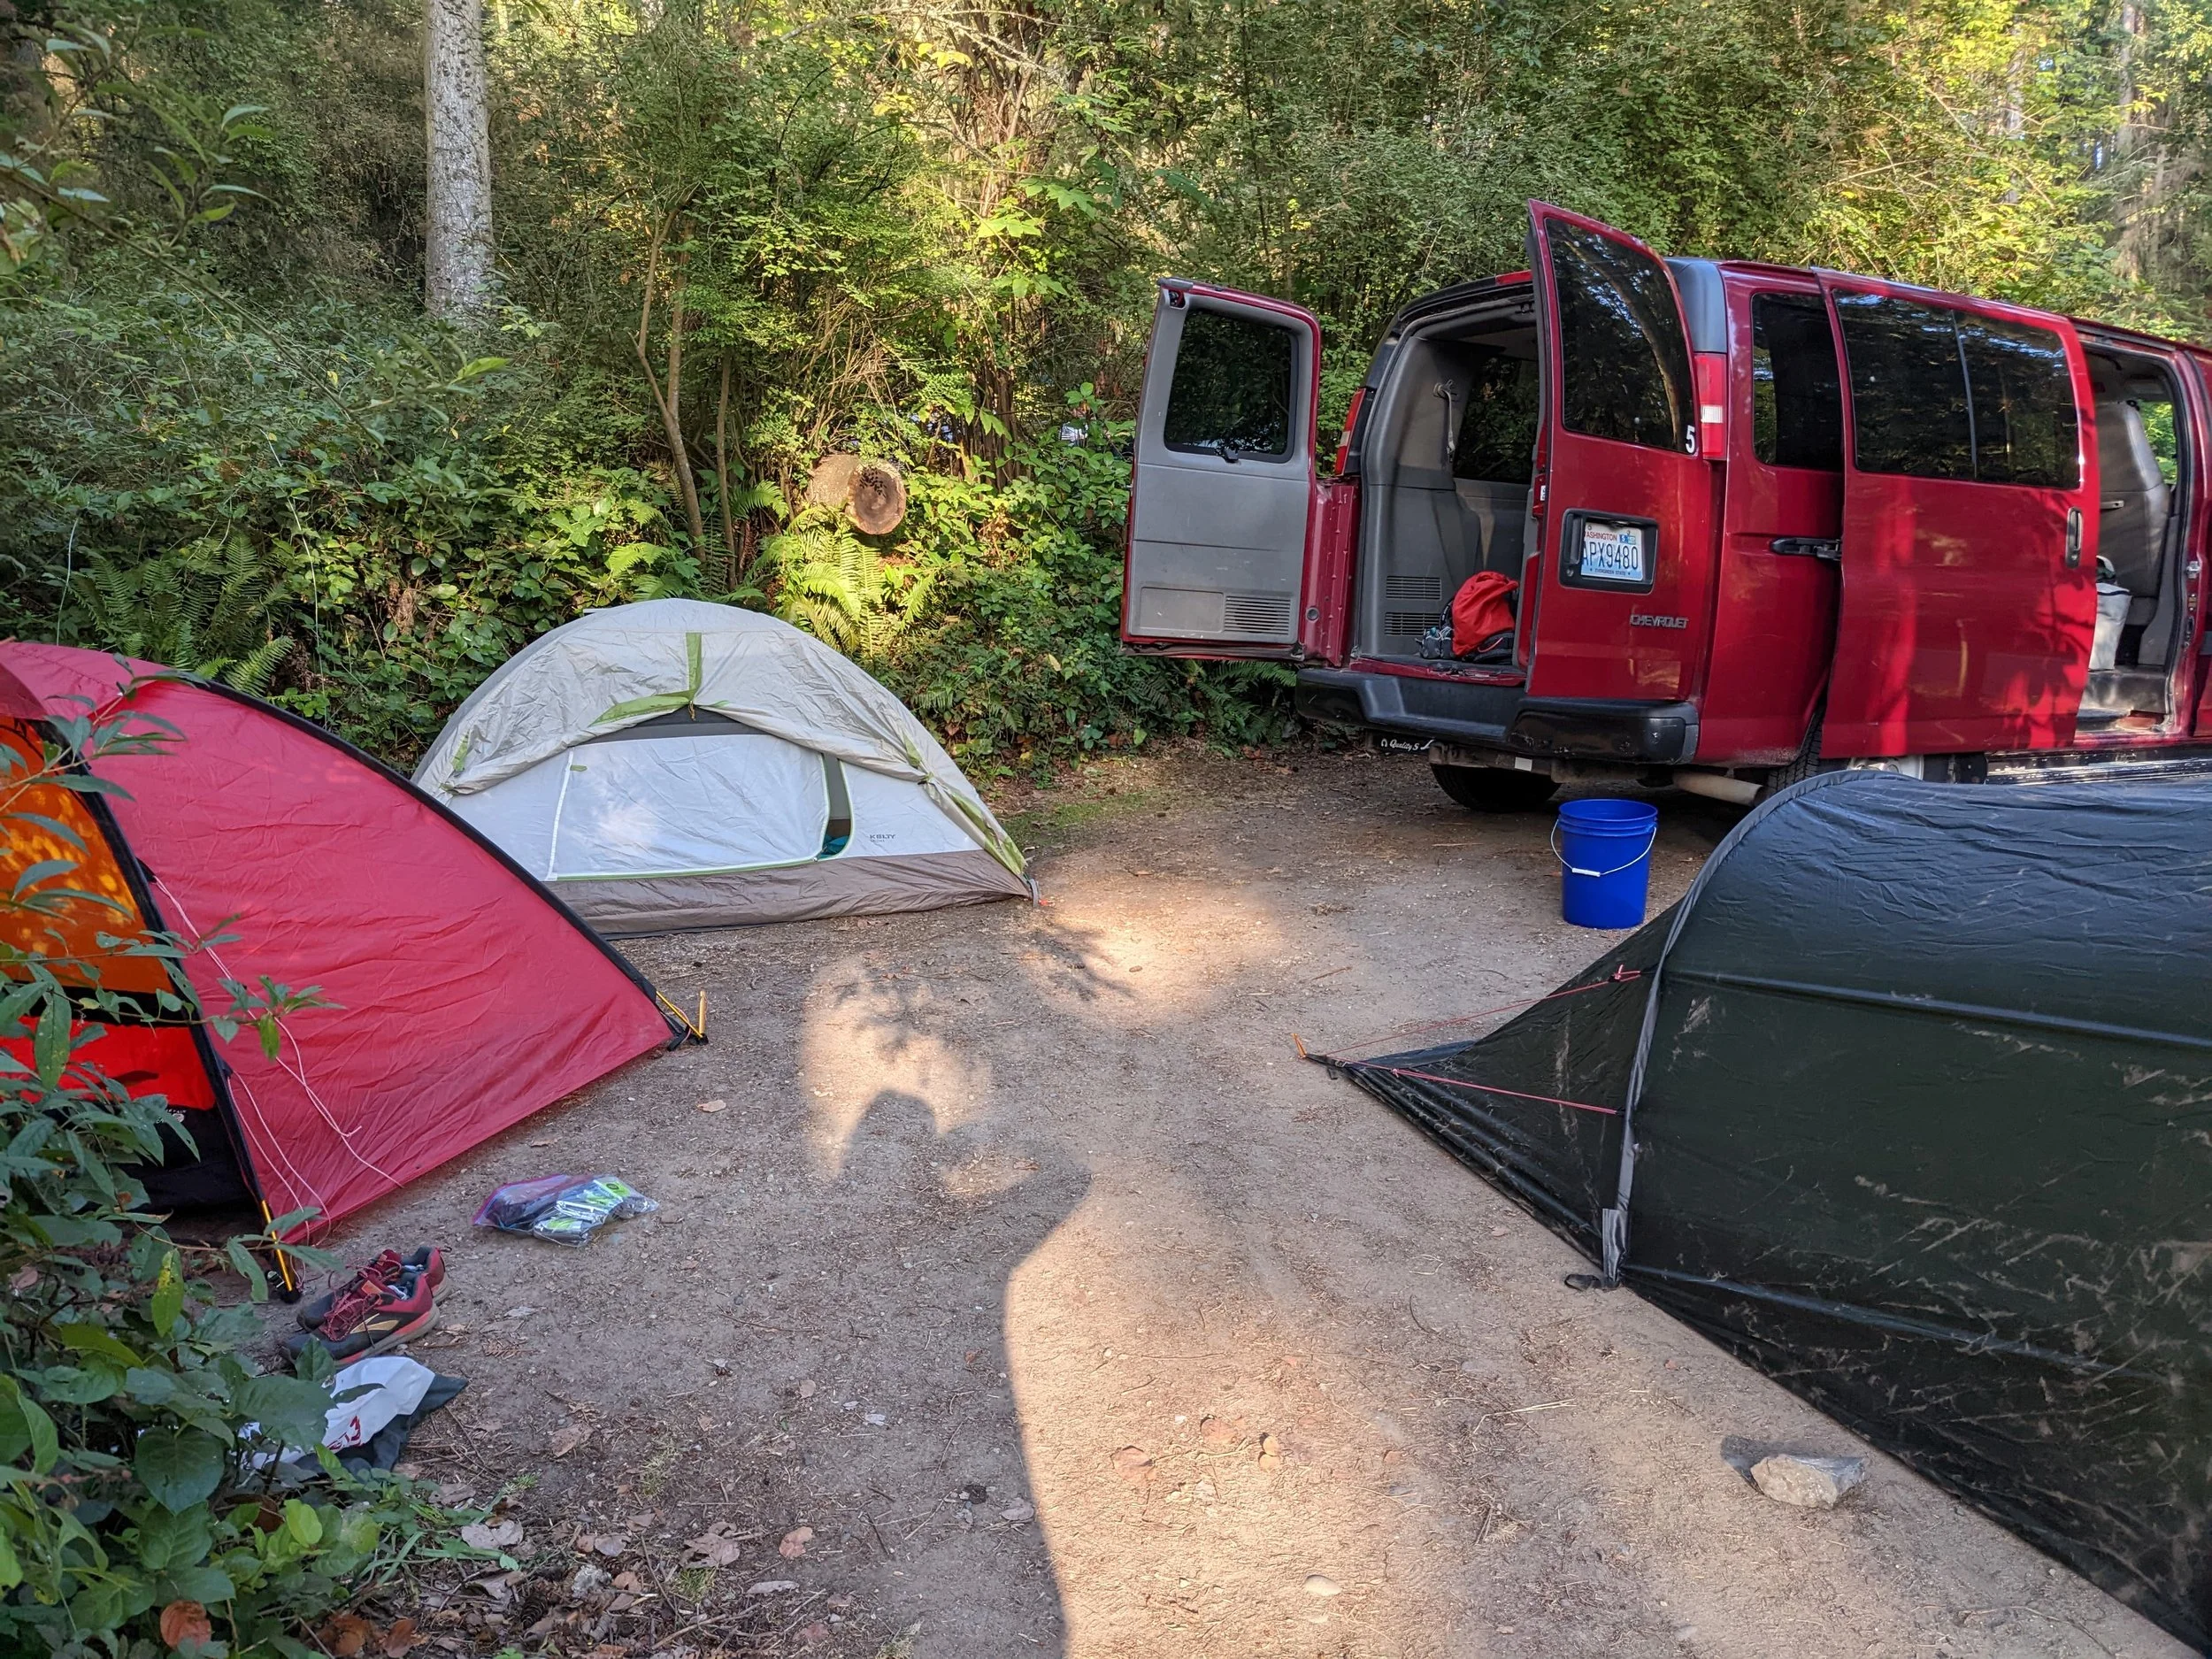
The AMTL van took us everywhere, and we set up tents all next to each other at the camp site. This camp site had flush toilets, so nice!
In the evening, our guide Adam was playing his guitar and singing. He’s very talented.
Day 2: Heavy Packs & Approach to High Camp
This morning, we were packed by 8am.
The Hike: A 4.5-hour slog up onto Mount Baker's lower flanks carrying a monster load. Keep your boots and bulky items tucked inside the pack frame rather than strapped outside to keep your center of gravity balanced. We took turns carrying the shared group gear.
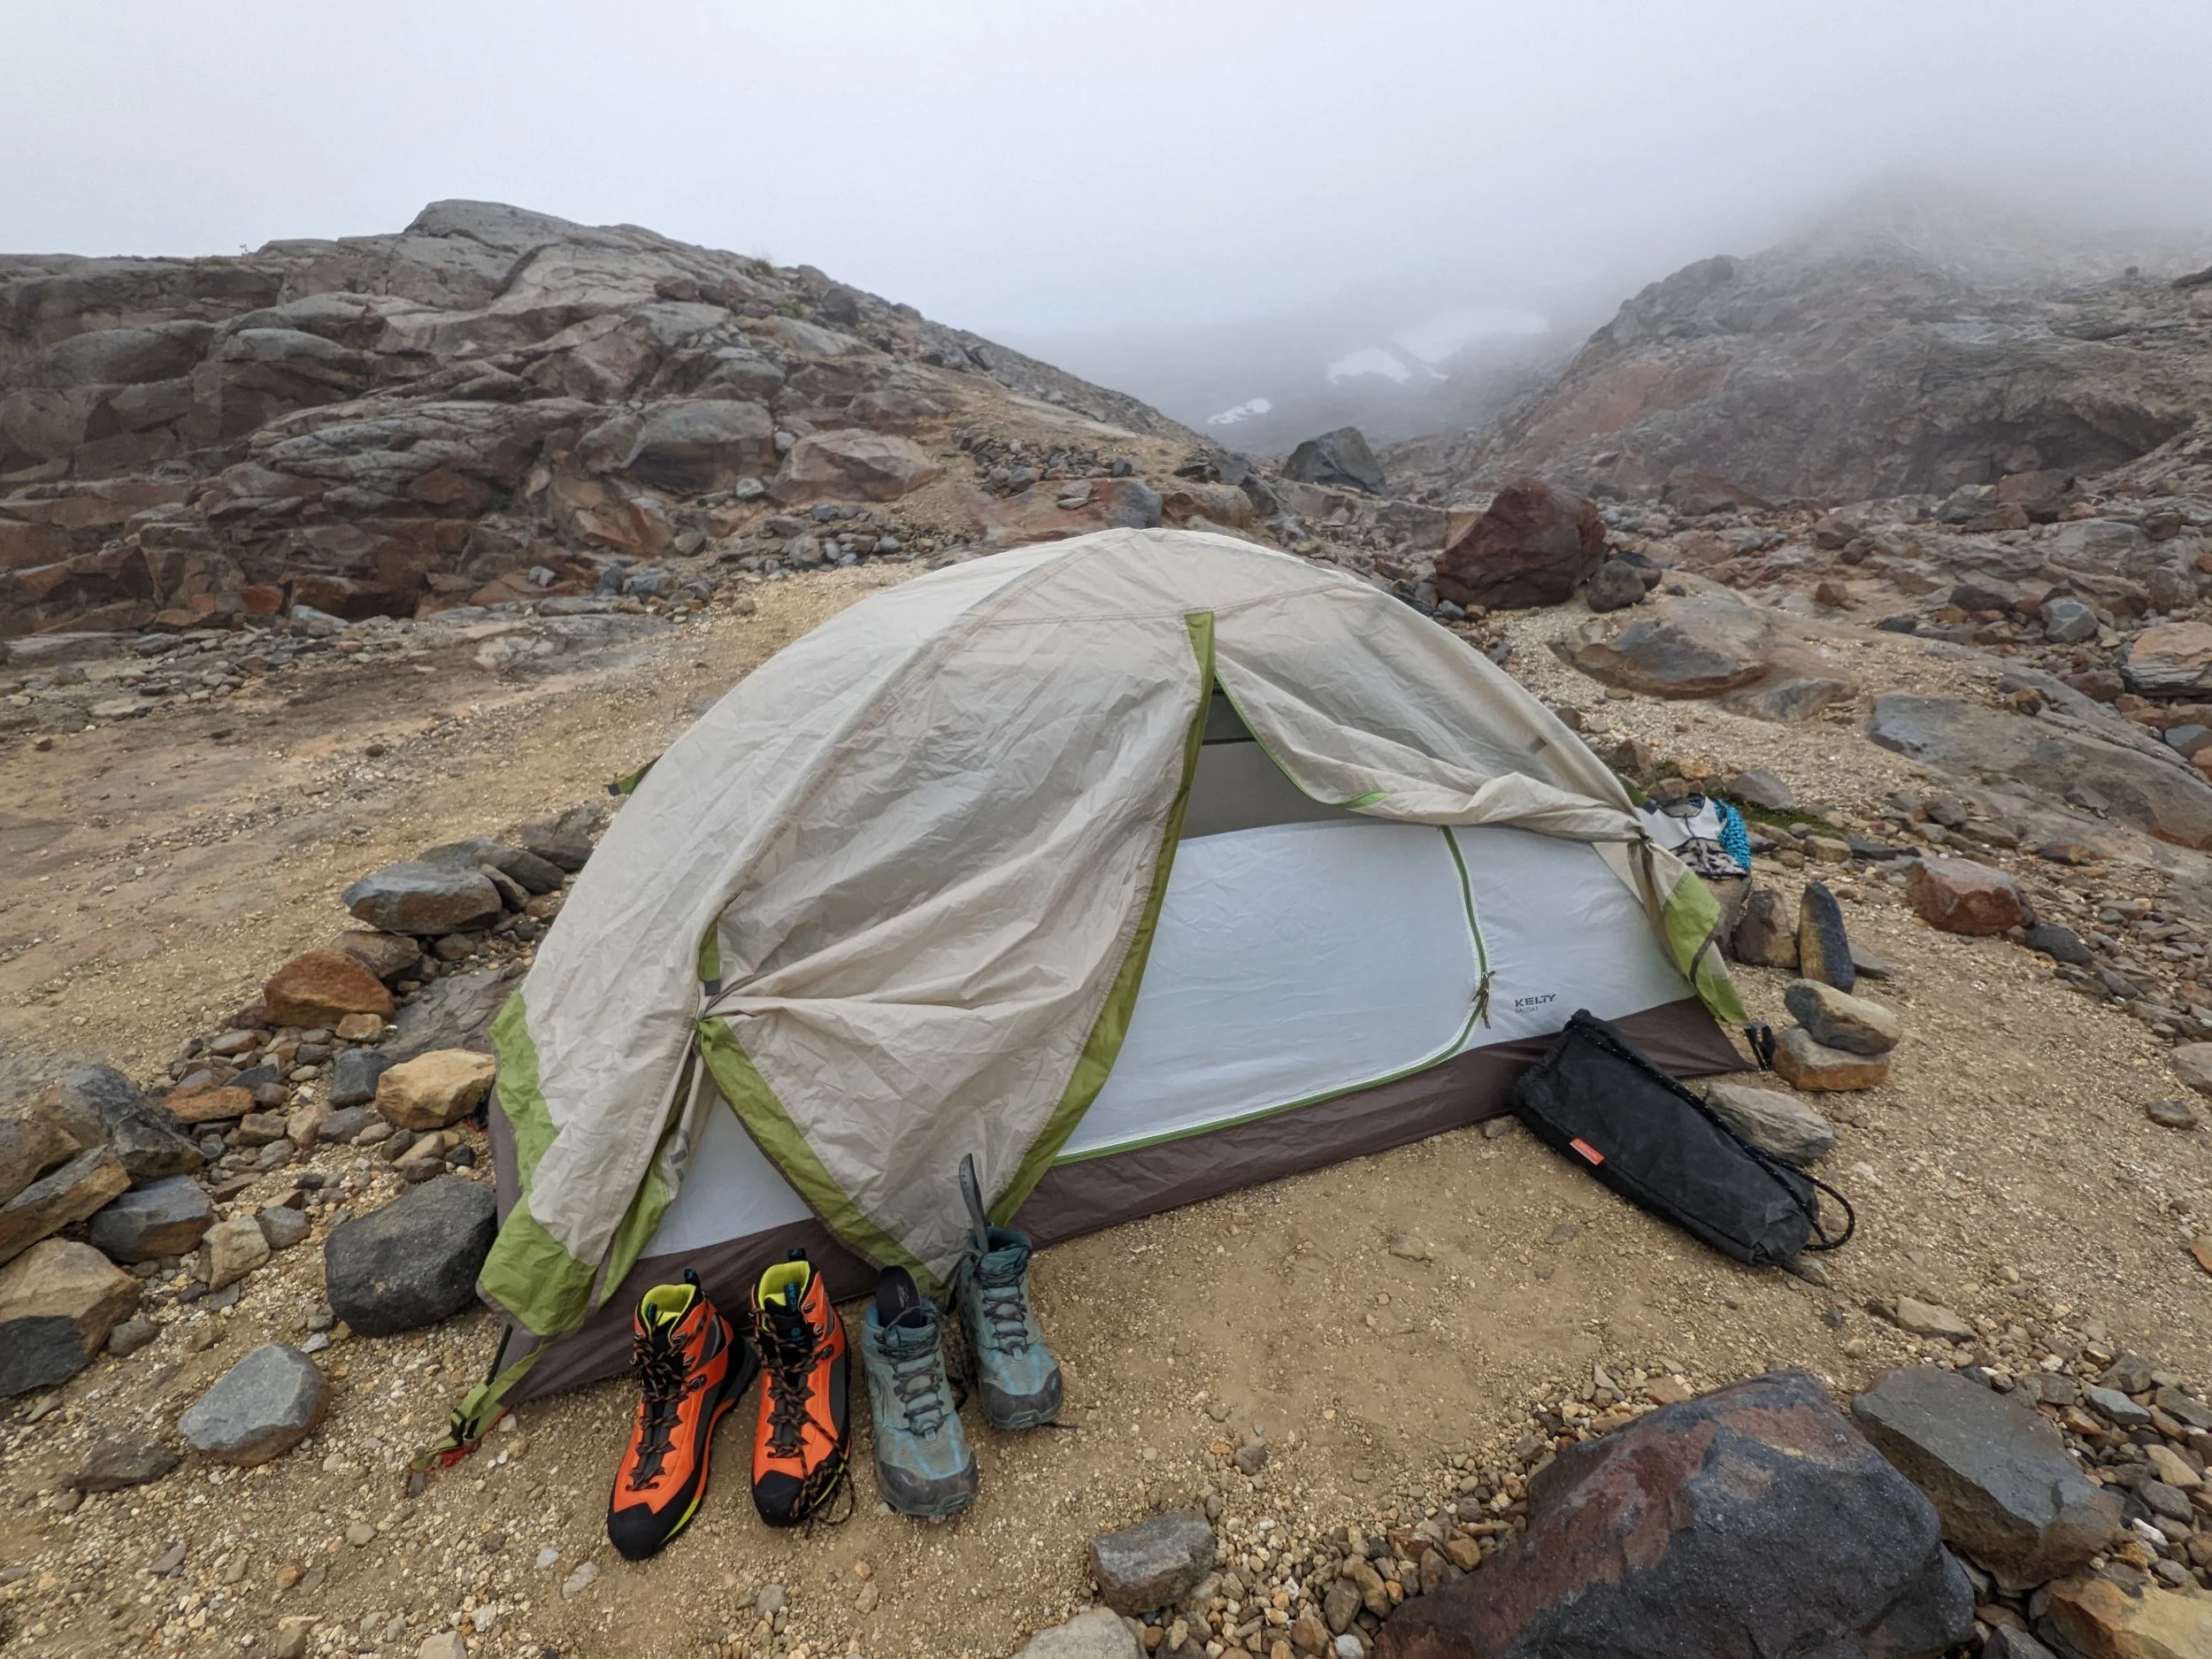
Camp Setup: Pitch your tent a reasonable distance from the main group if you want to avoid hearing the rustle of crunchy sleeping bags every time someone turns over.
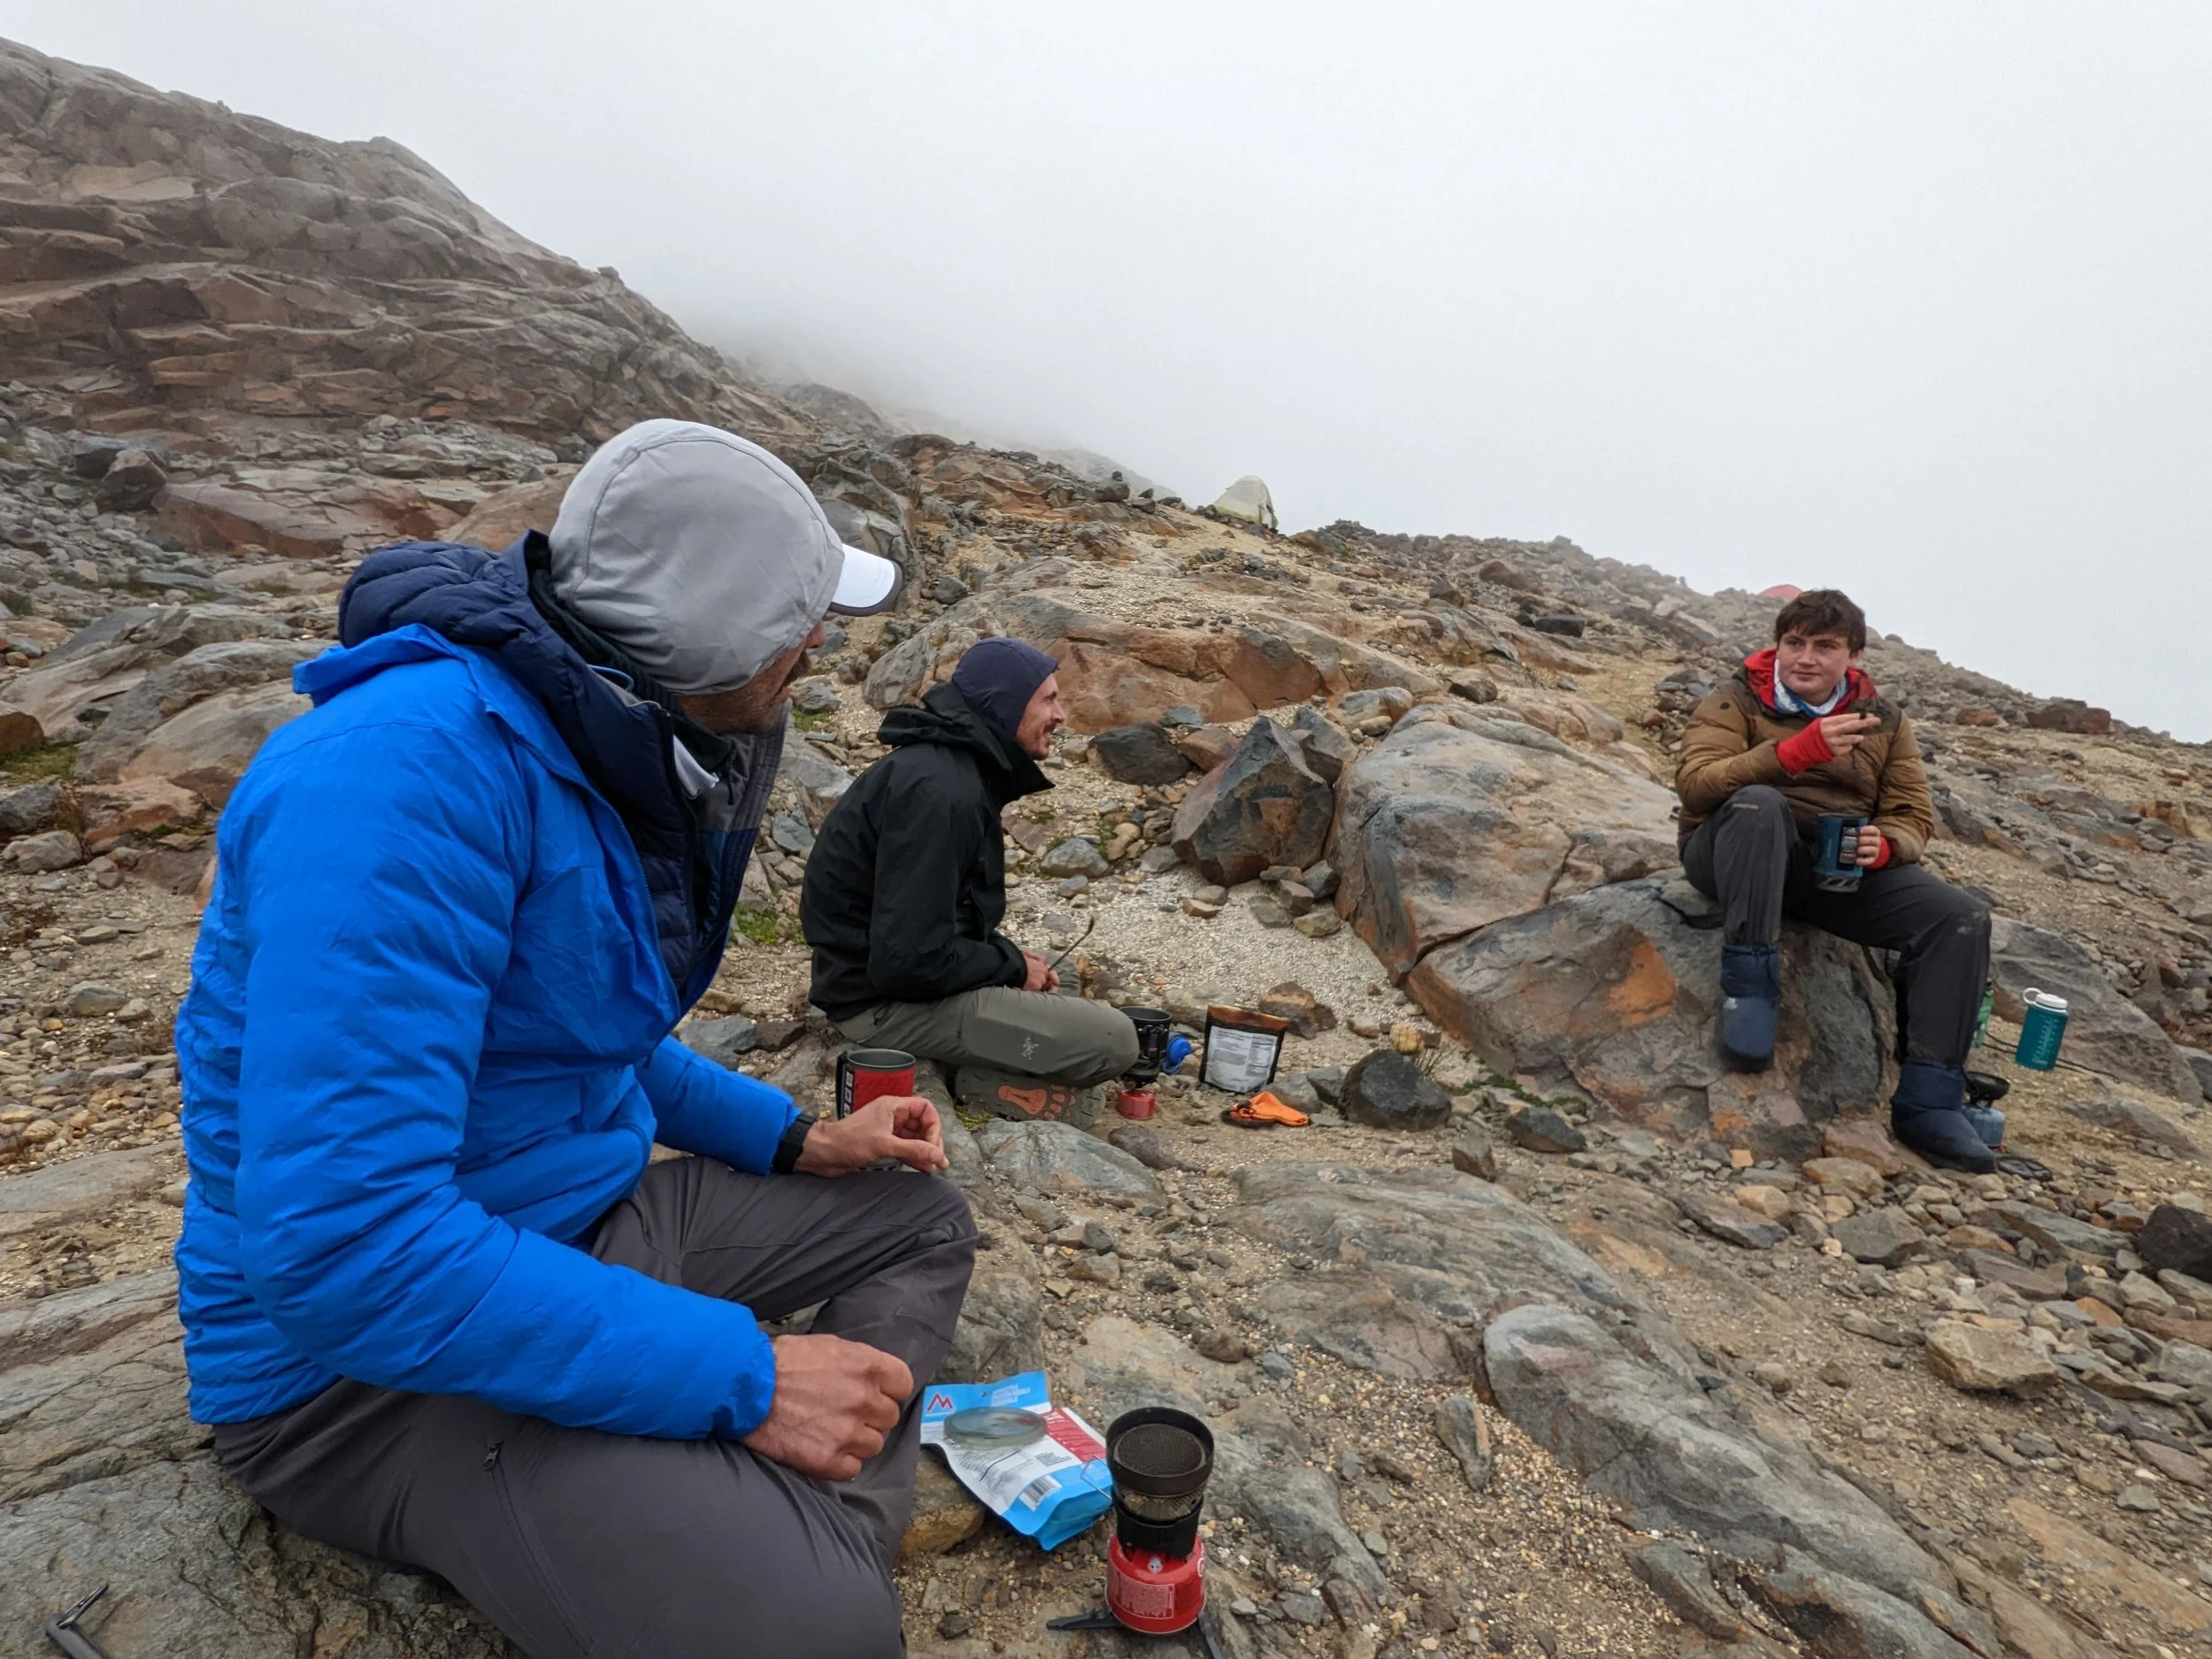
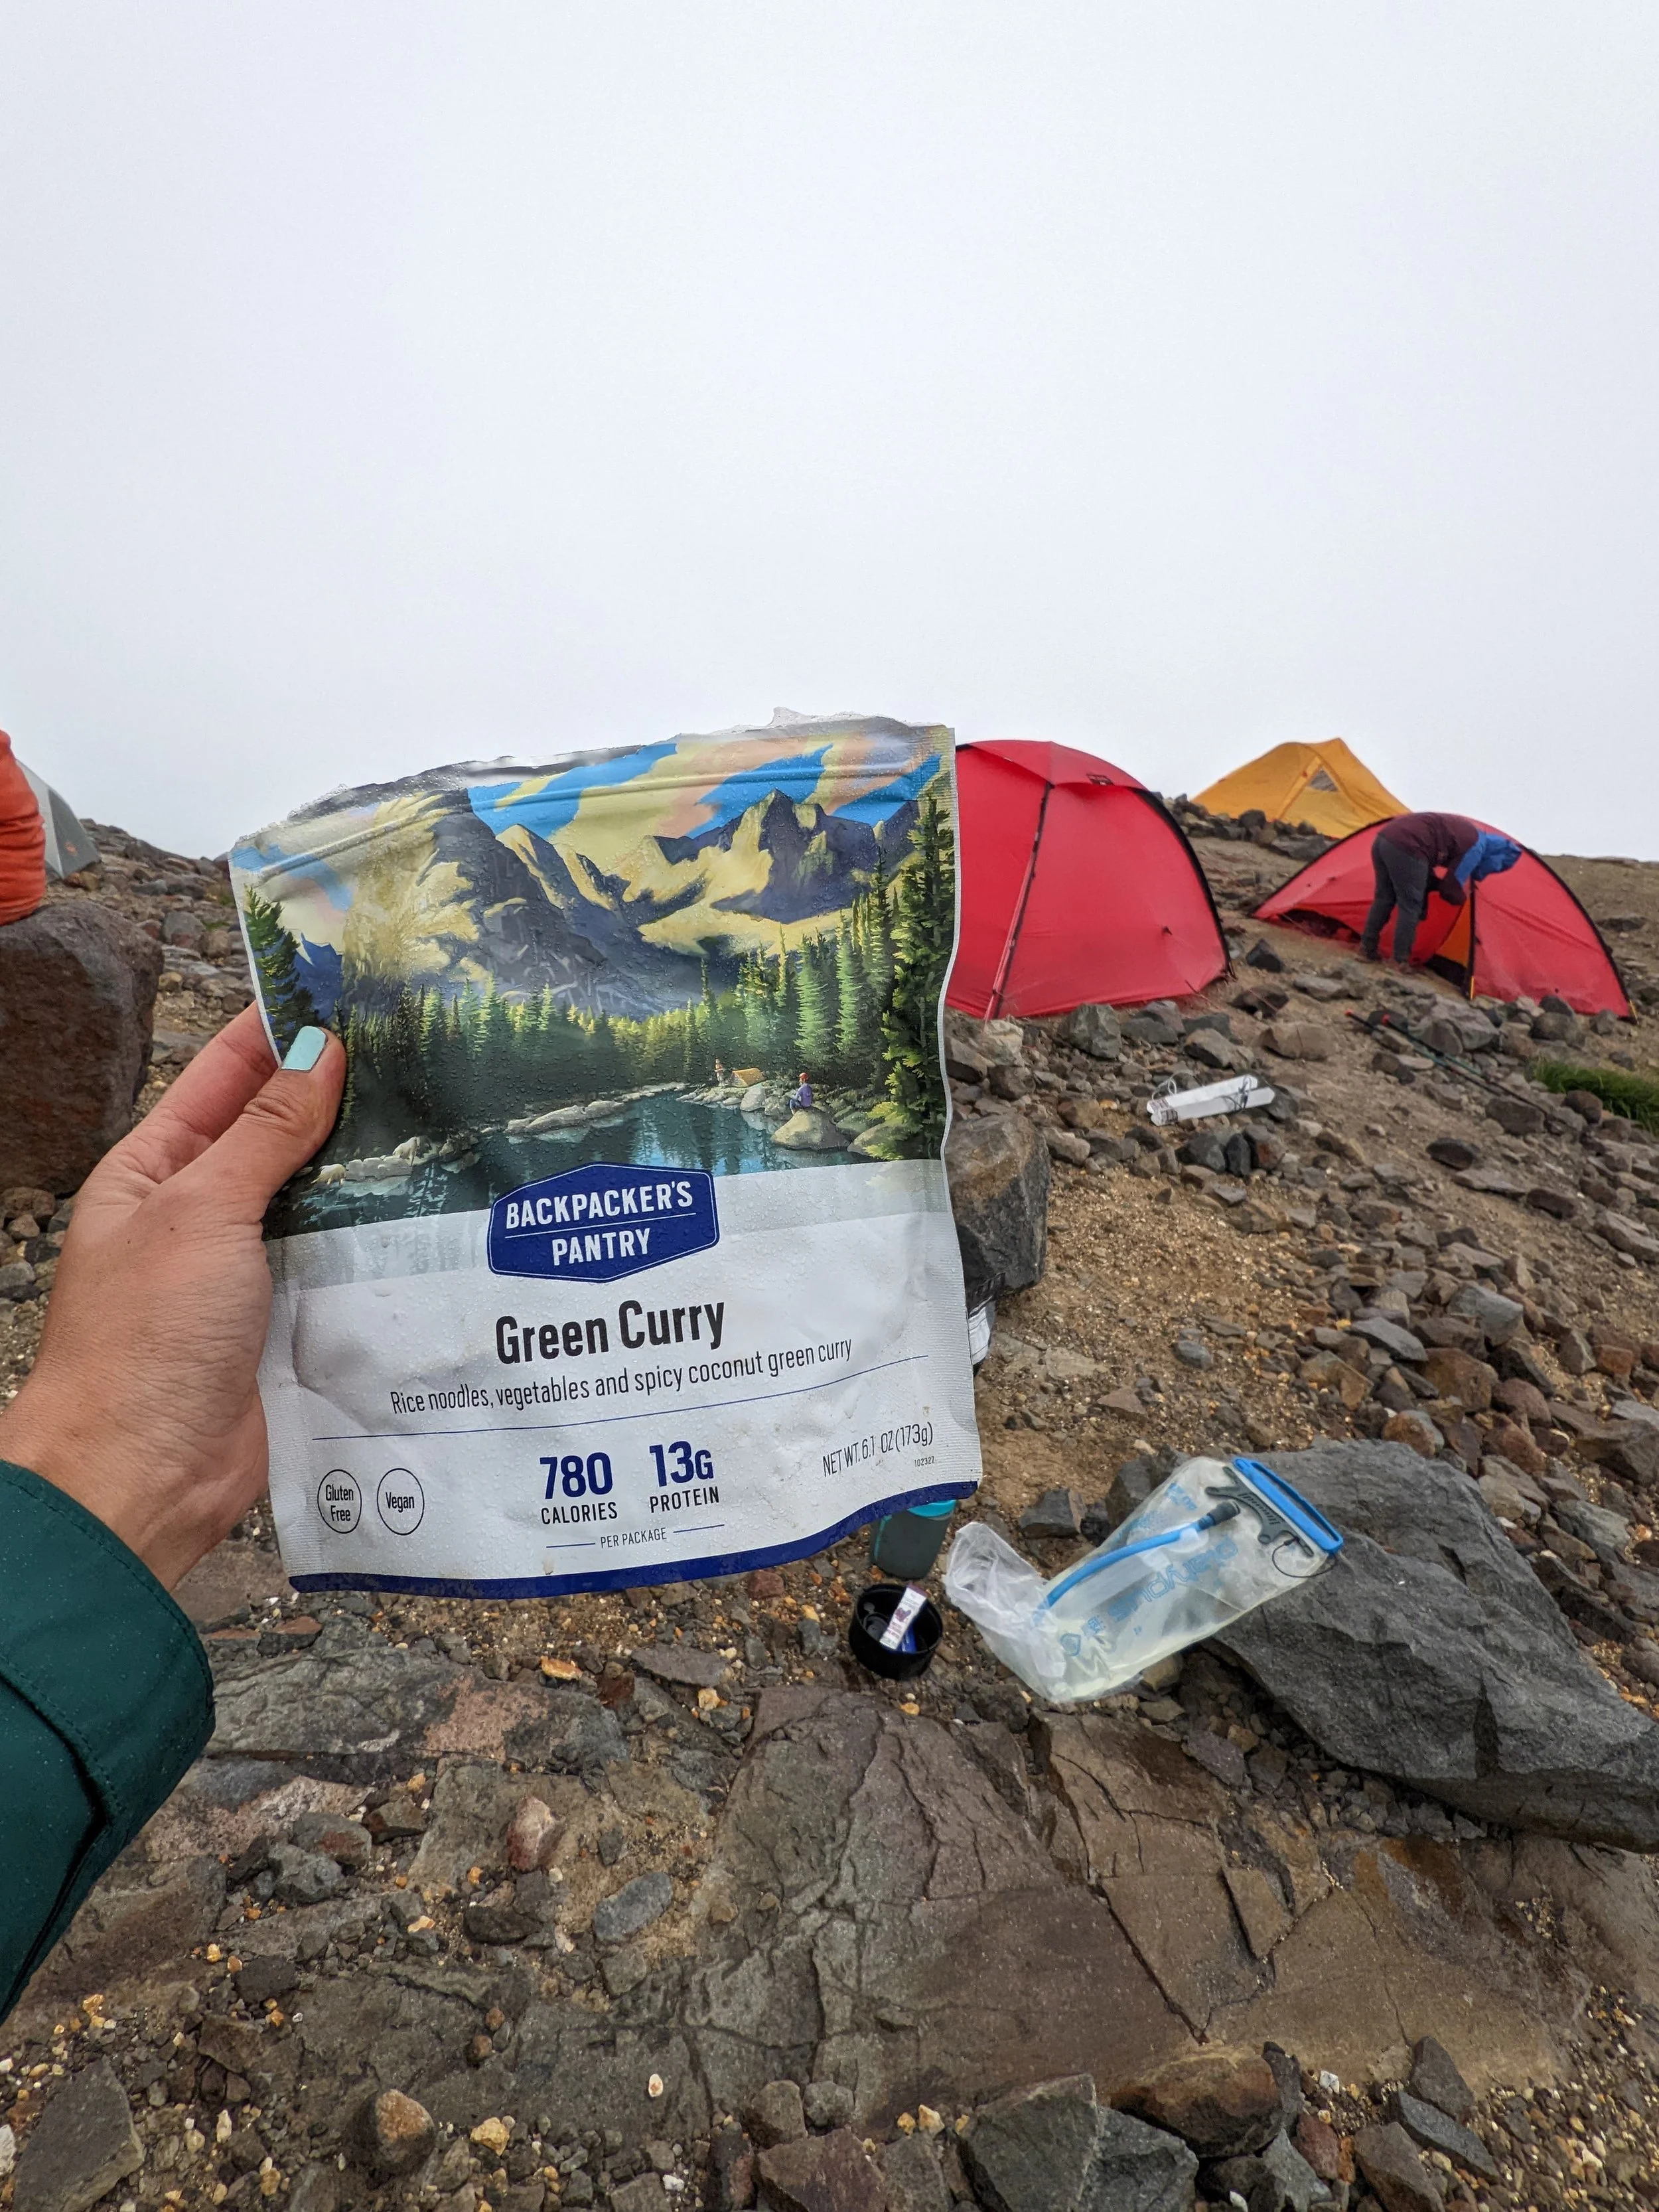
Evening Routine: Classroom lessons right outside the tent while rain and fog roll over the glacier. We all went to bed by 8:30pm.
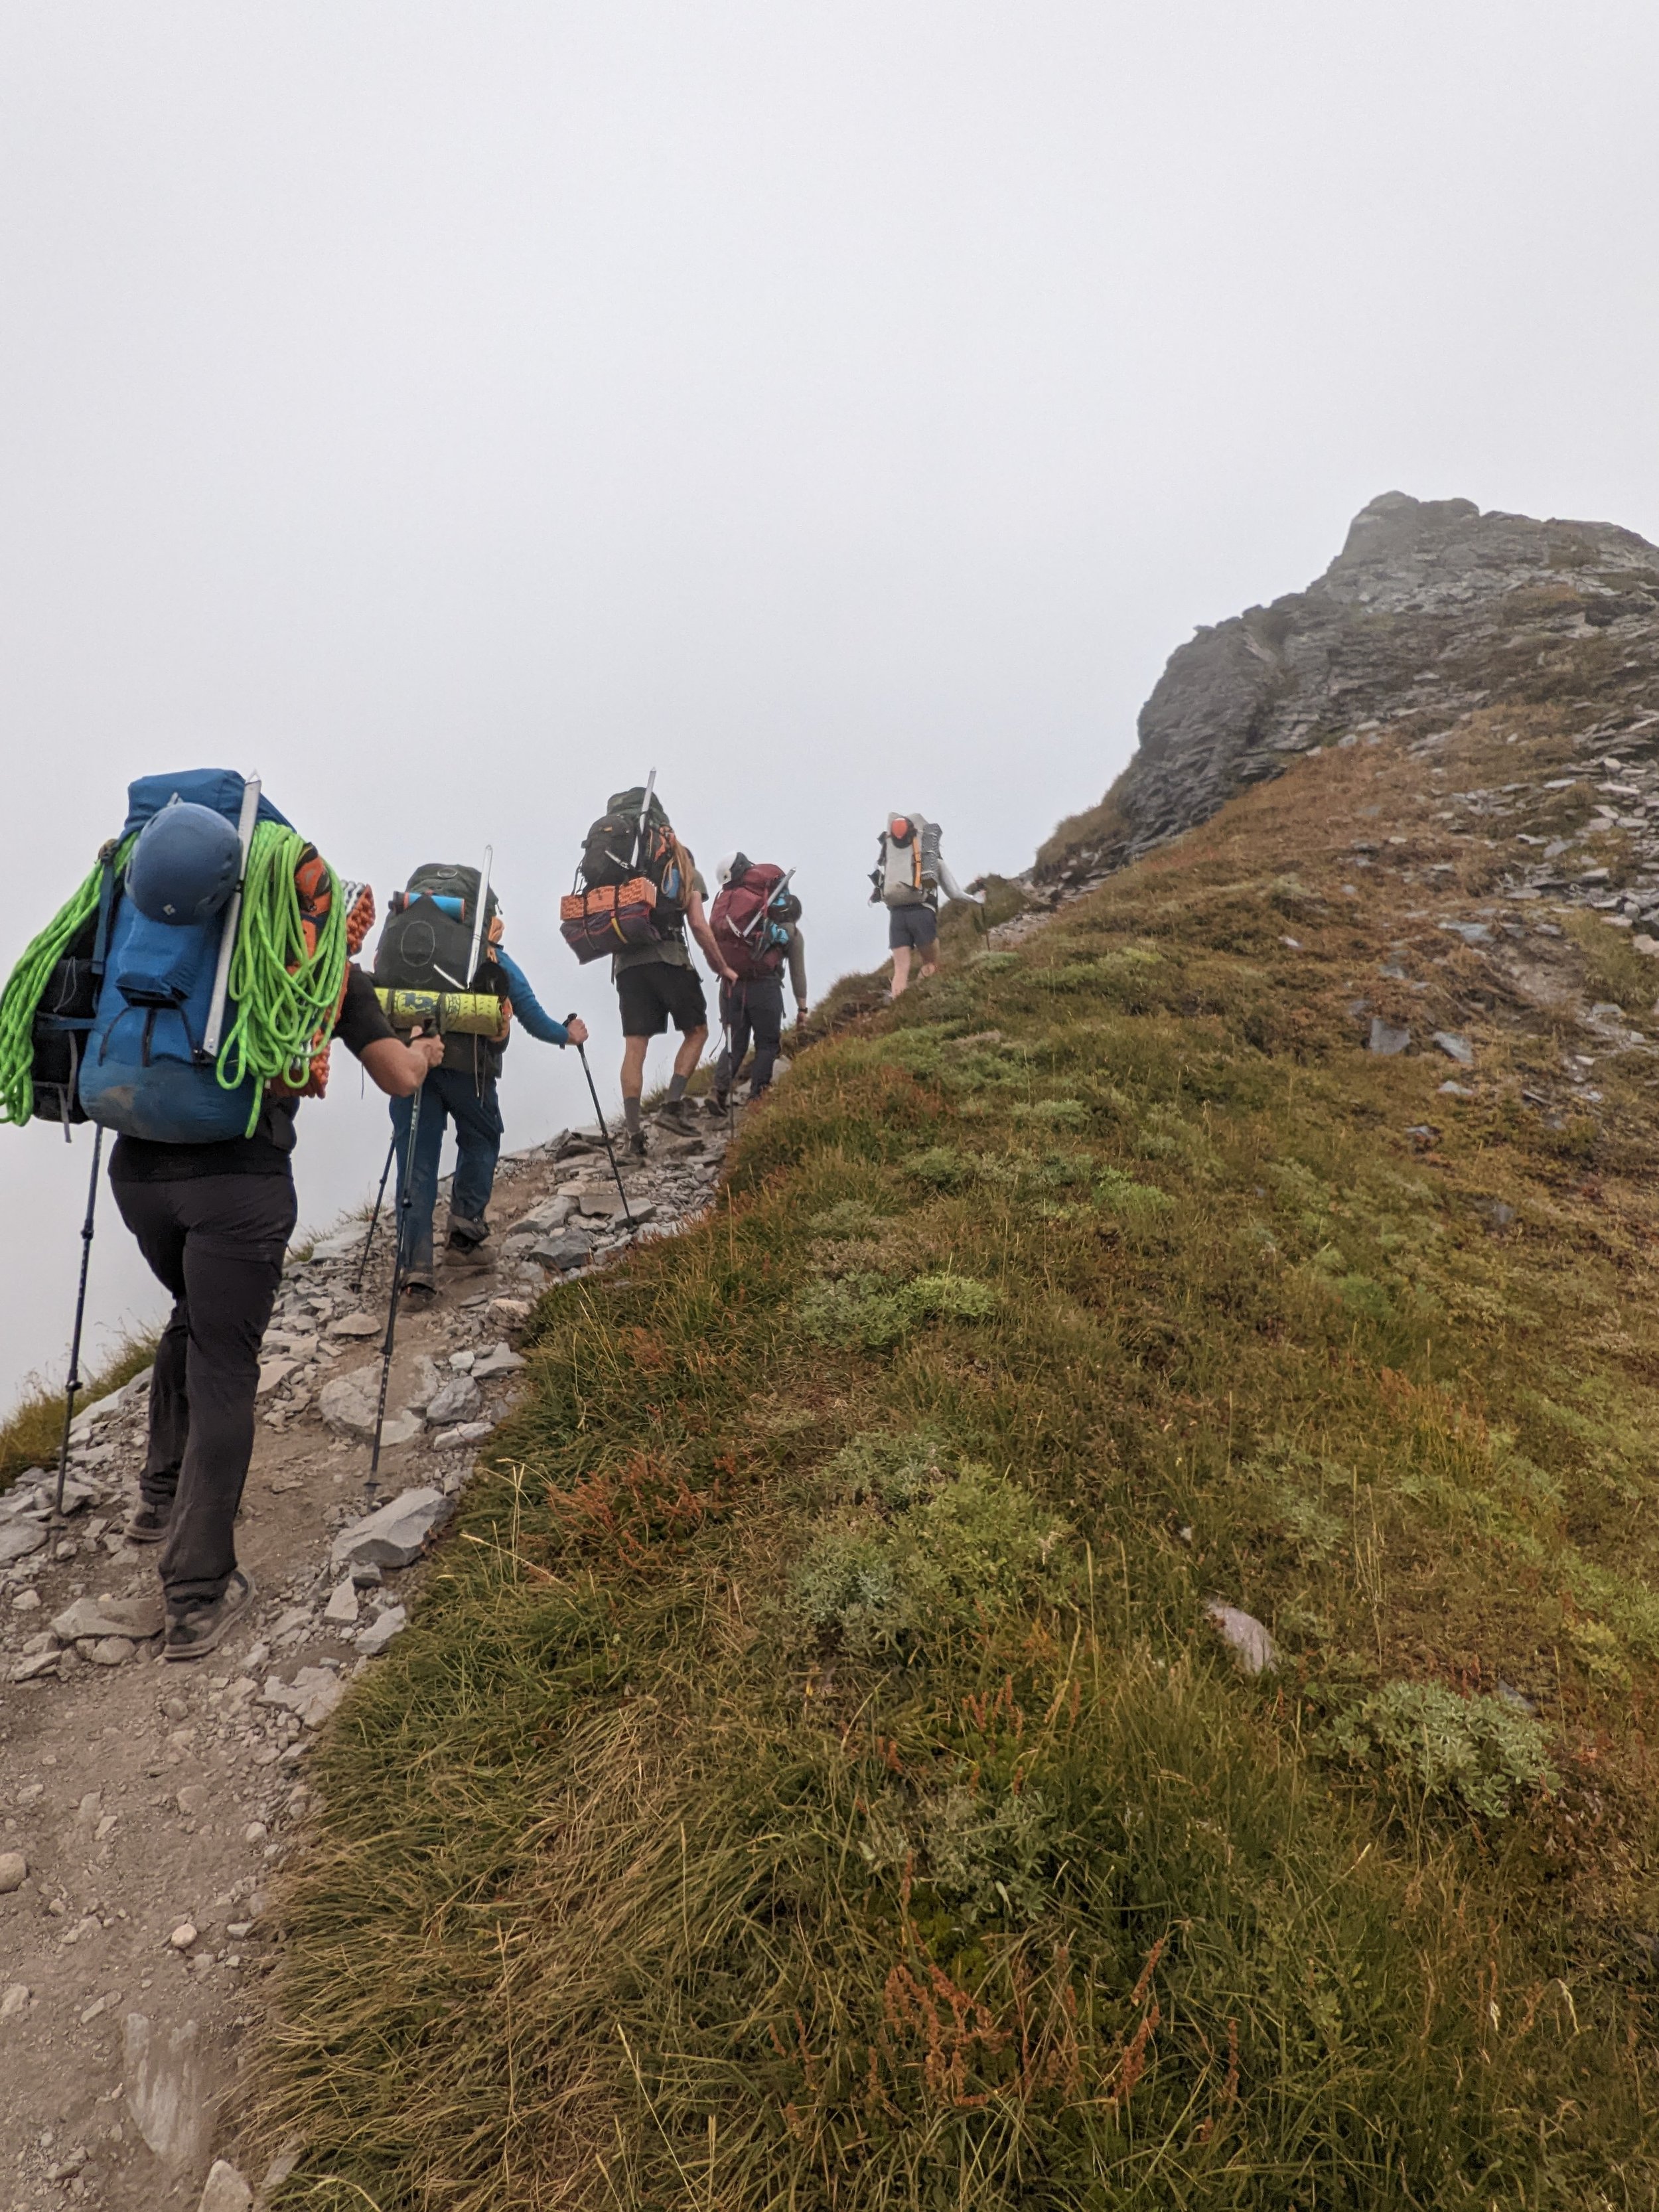
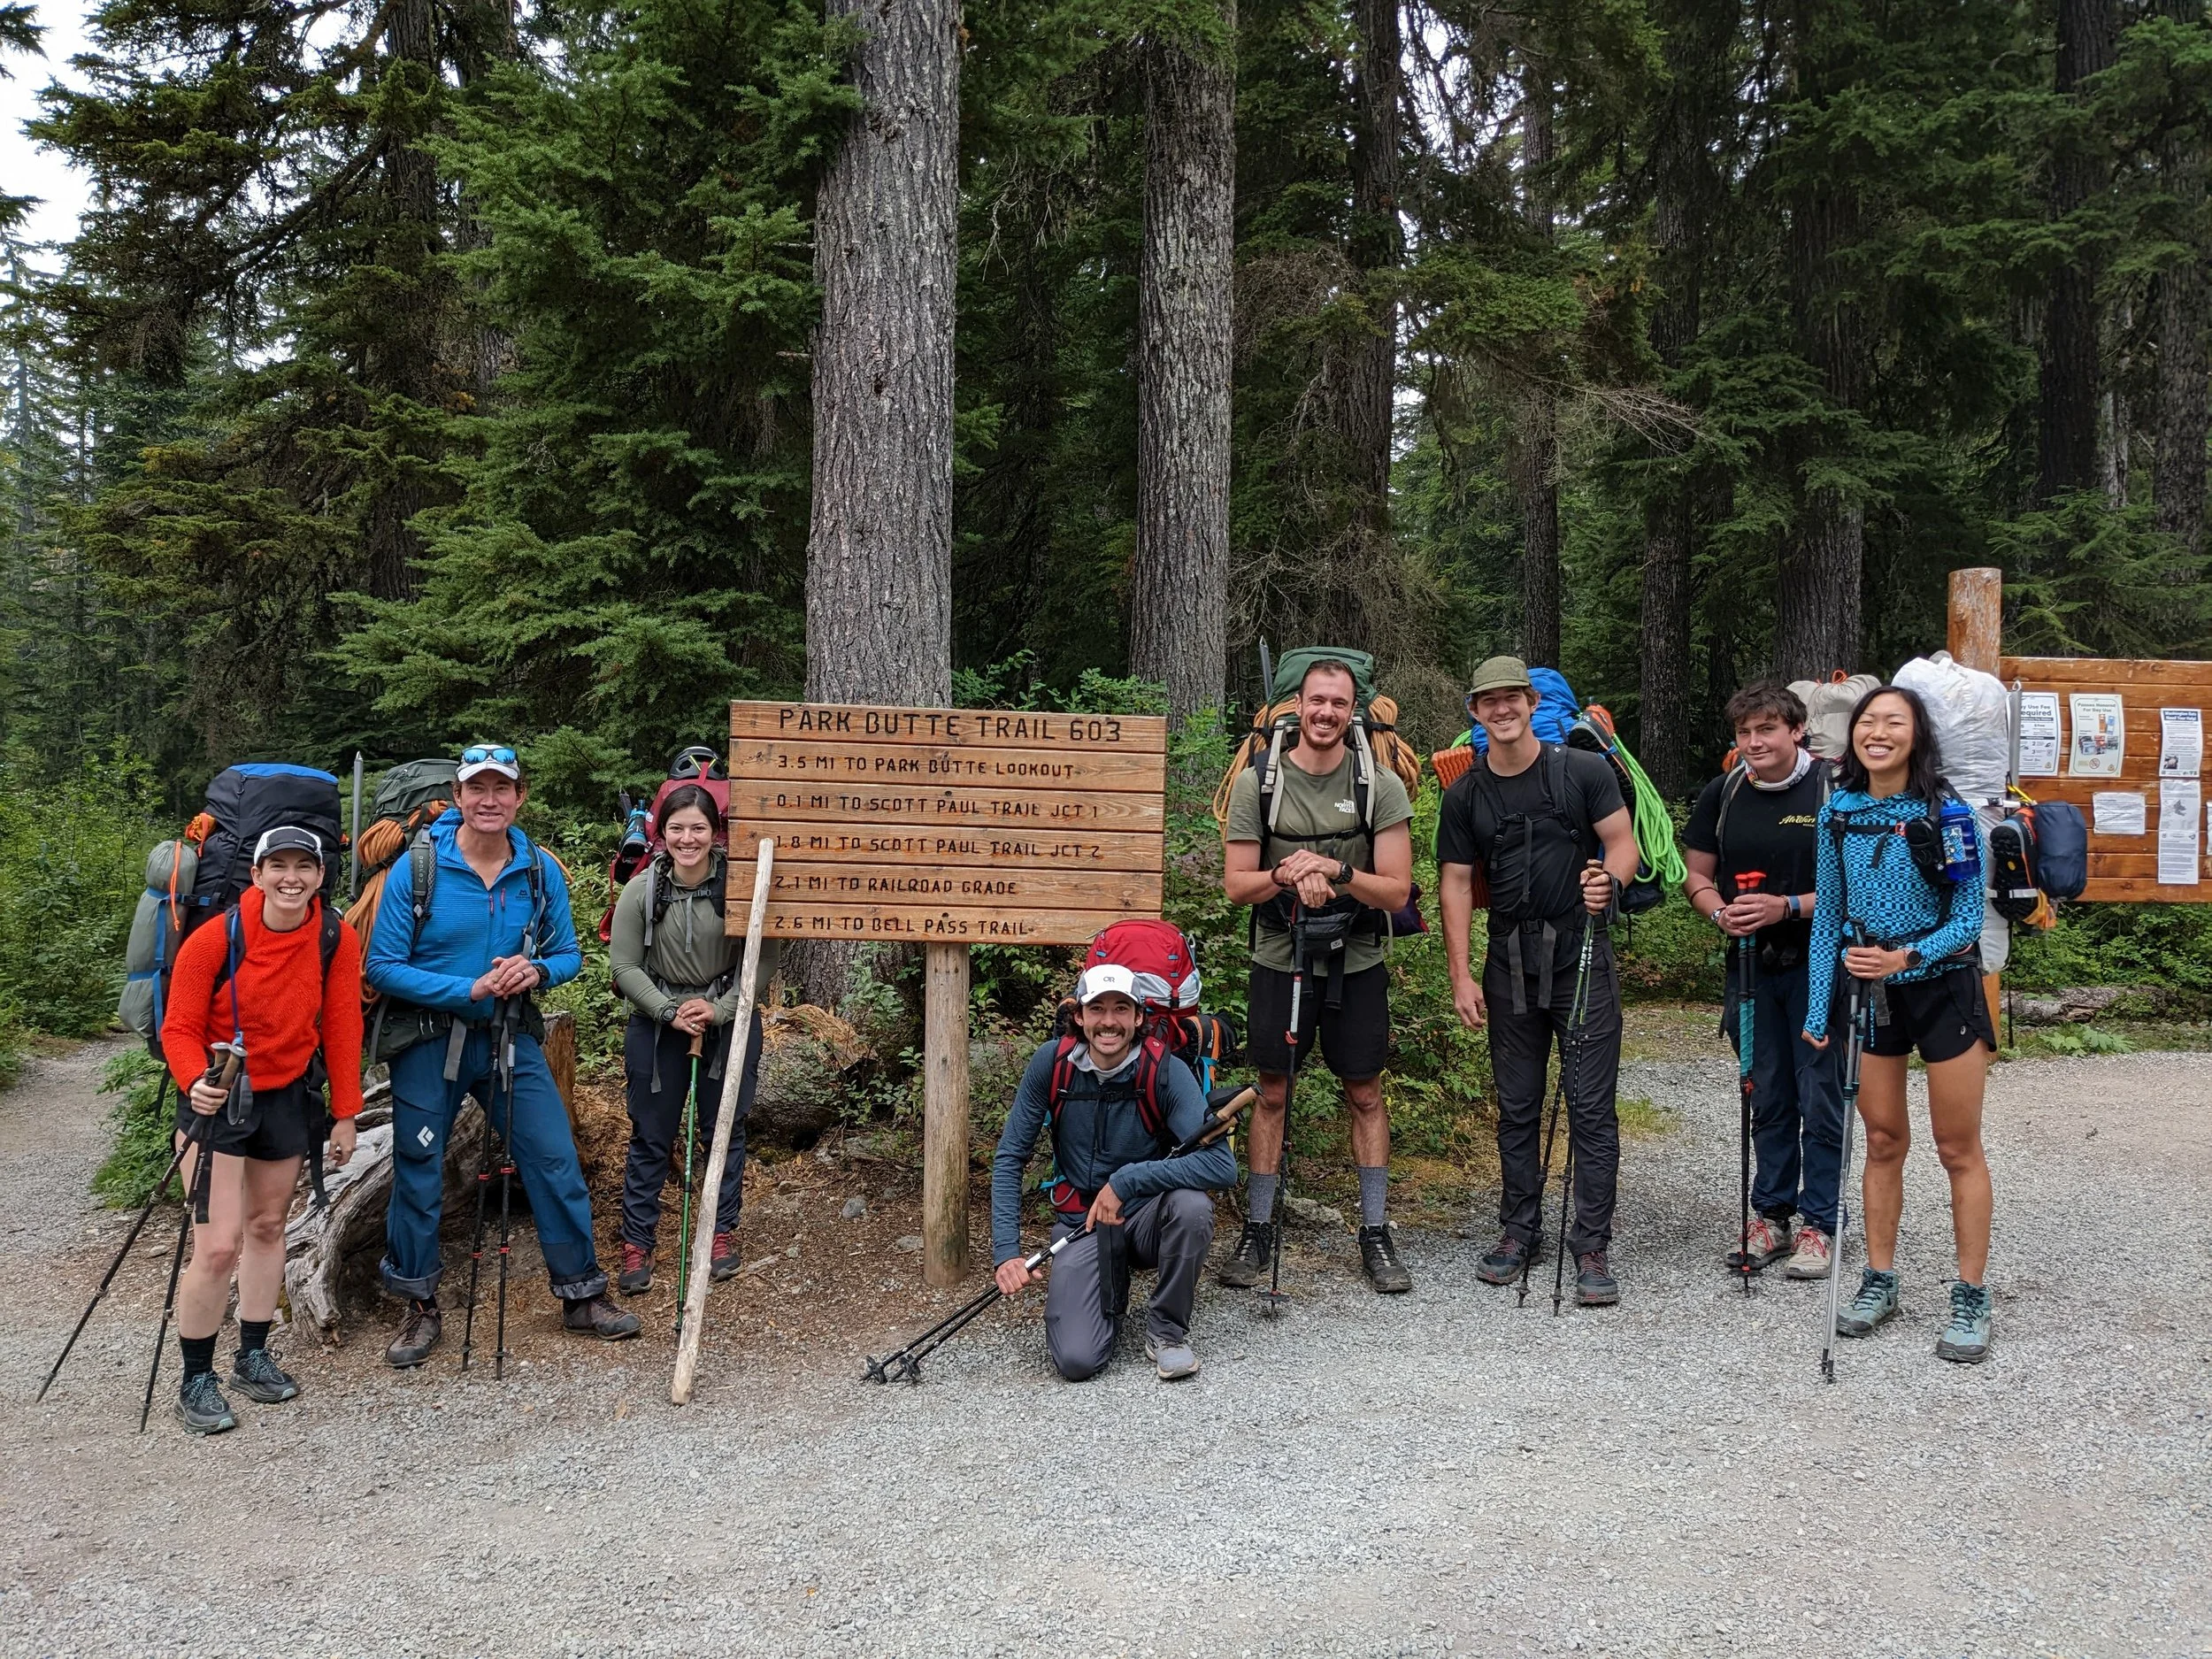
Day 3: Snow Kinetics, Anchors & Vertical Ice
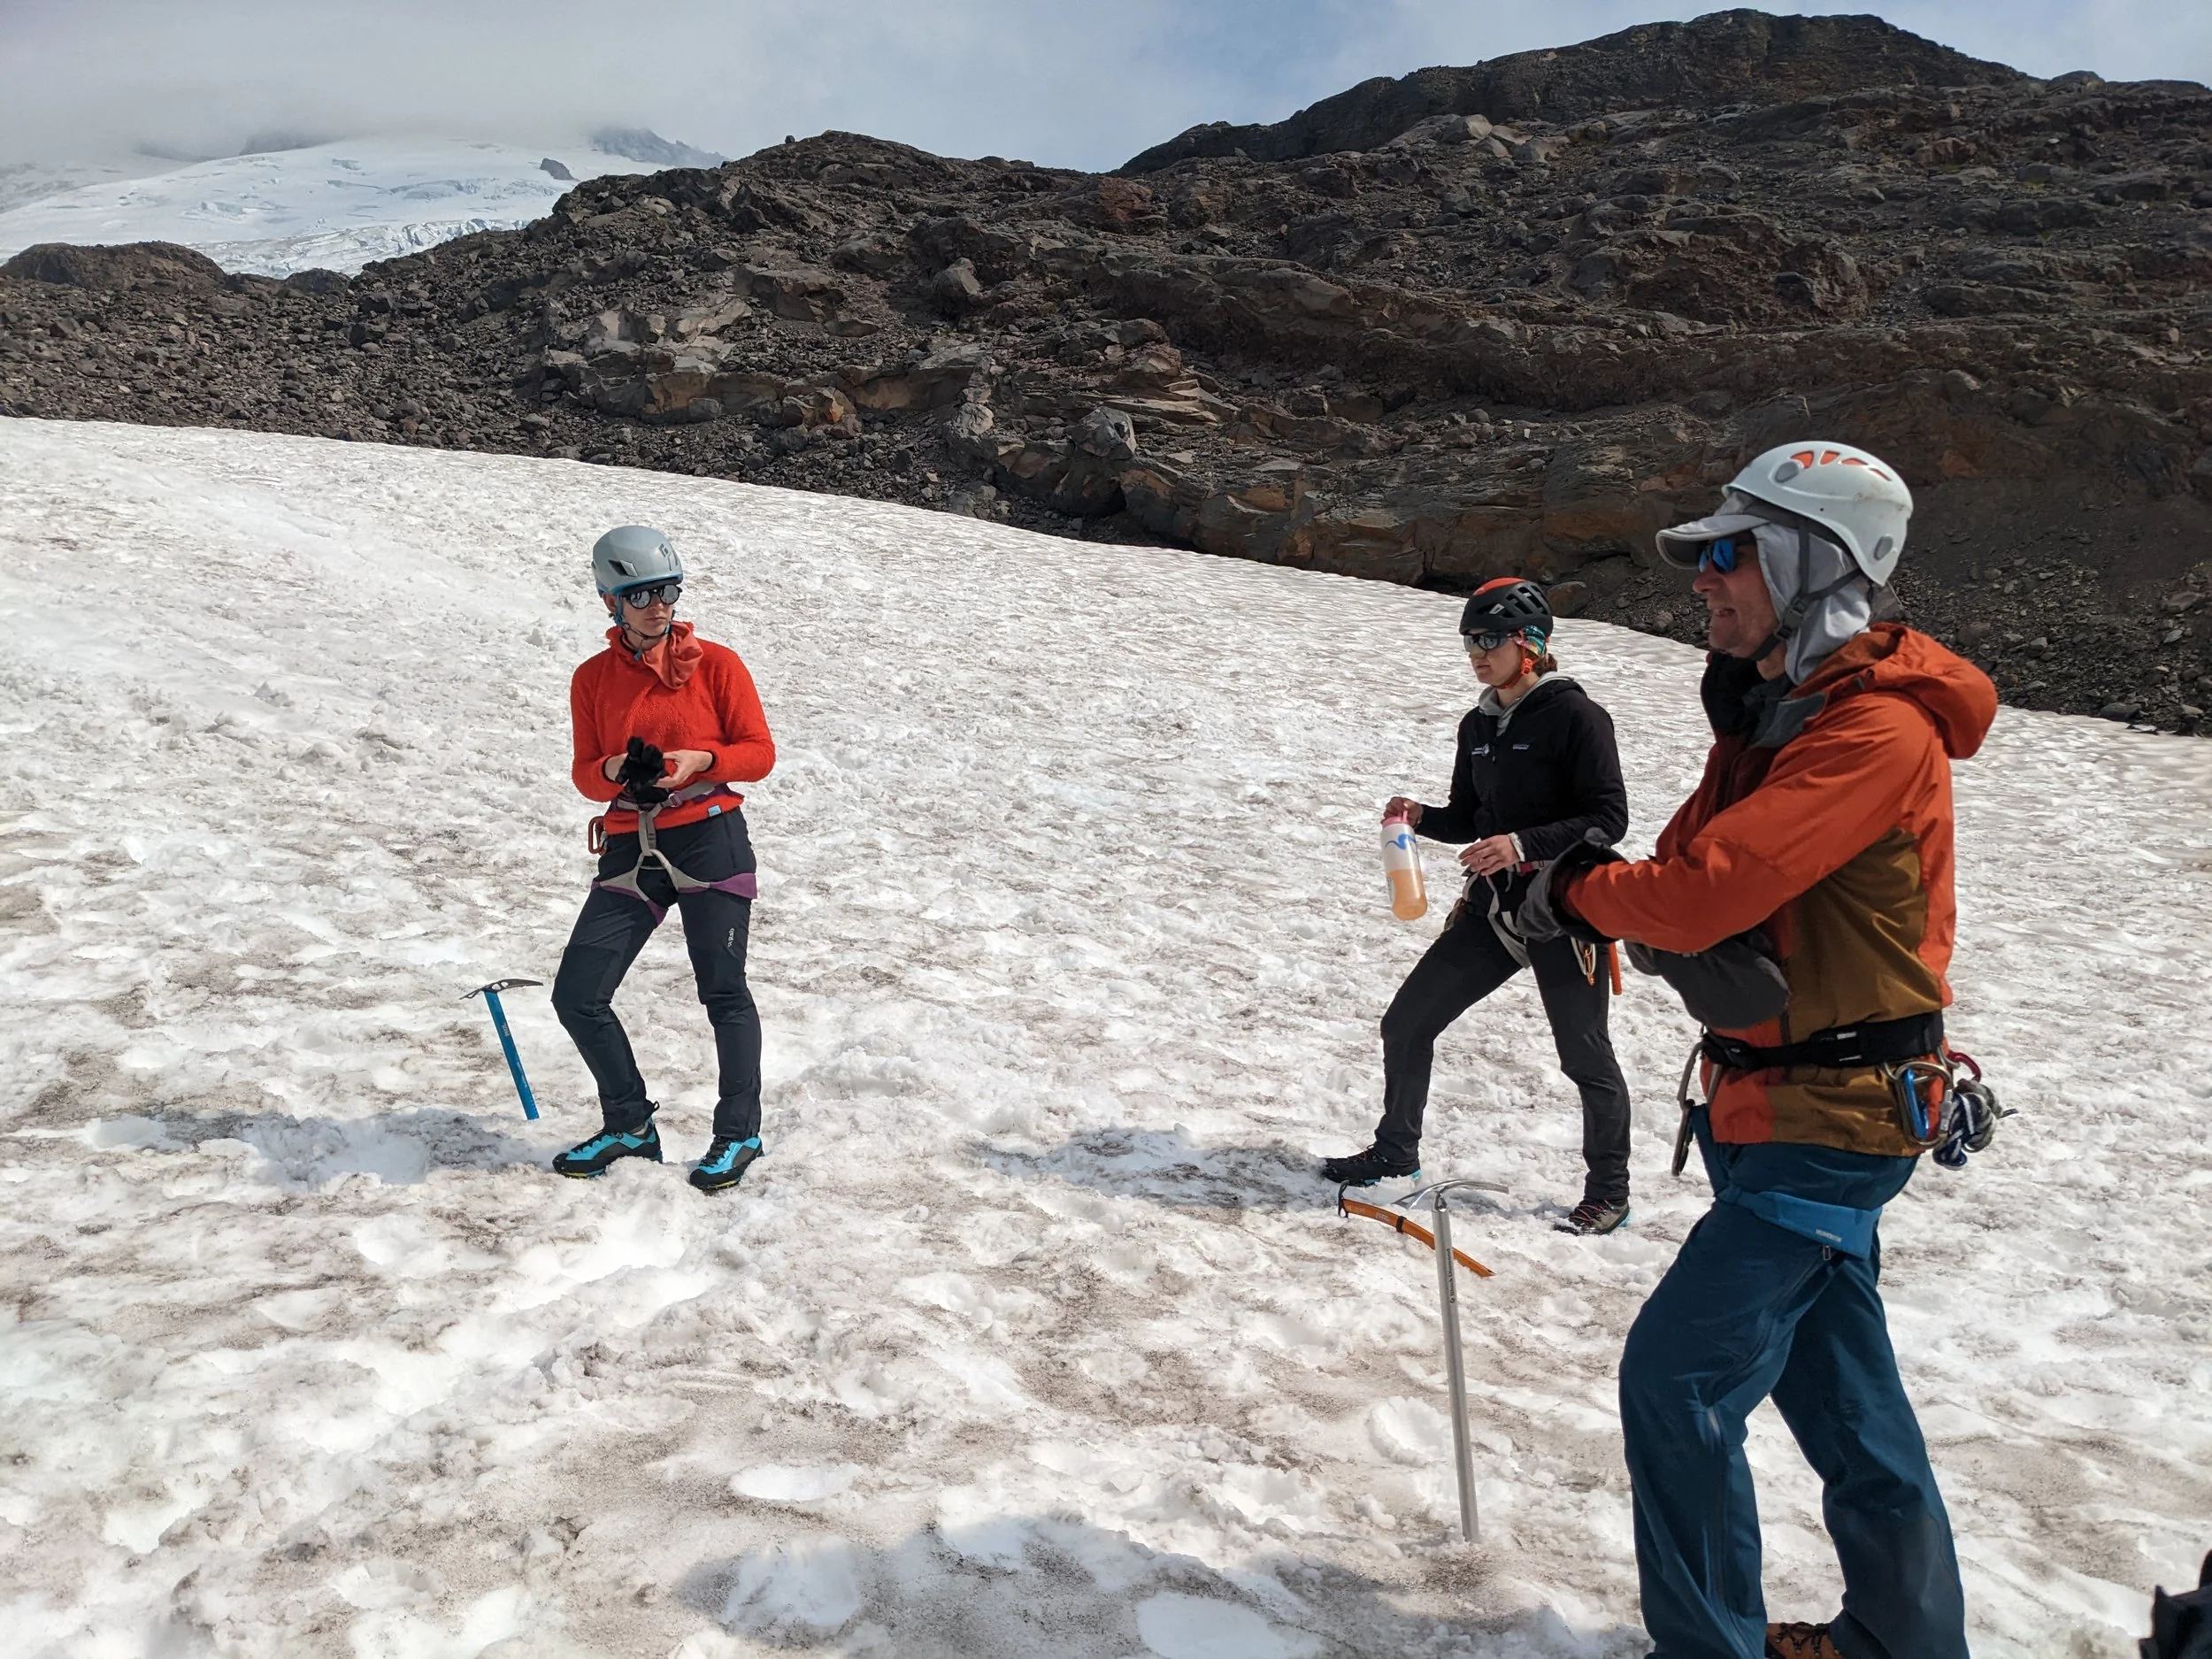
Snow Movement: Practiced crampon-less and crampon techniques—duck walking, heel plunging, side shuffling, and front pointing.
Self-Arrest Drill: Practice falling in every orientation. Key takeaway: Always remember to grab the pick/end of the axe properly to prevent it from wrenching out of your hand.
Anchor Mechanics: Building and testing equalized snow anchors (kept within a 45° angle) using trekking poles, ice axes, crampons, Nalgene bottles, and even a granola bar.
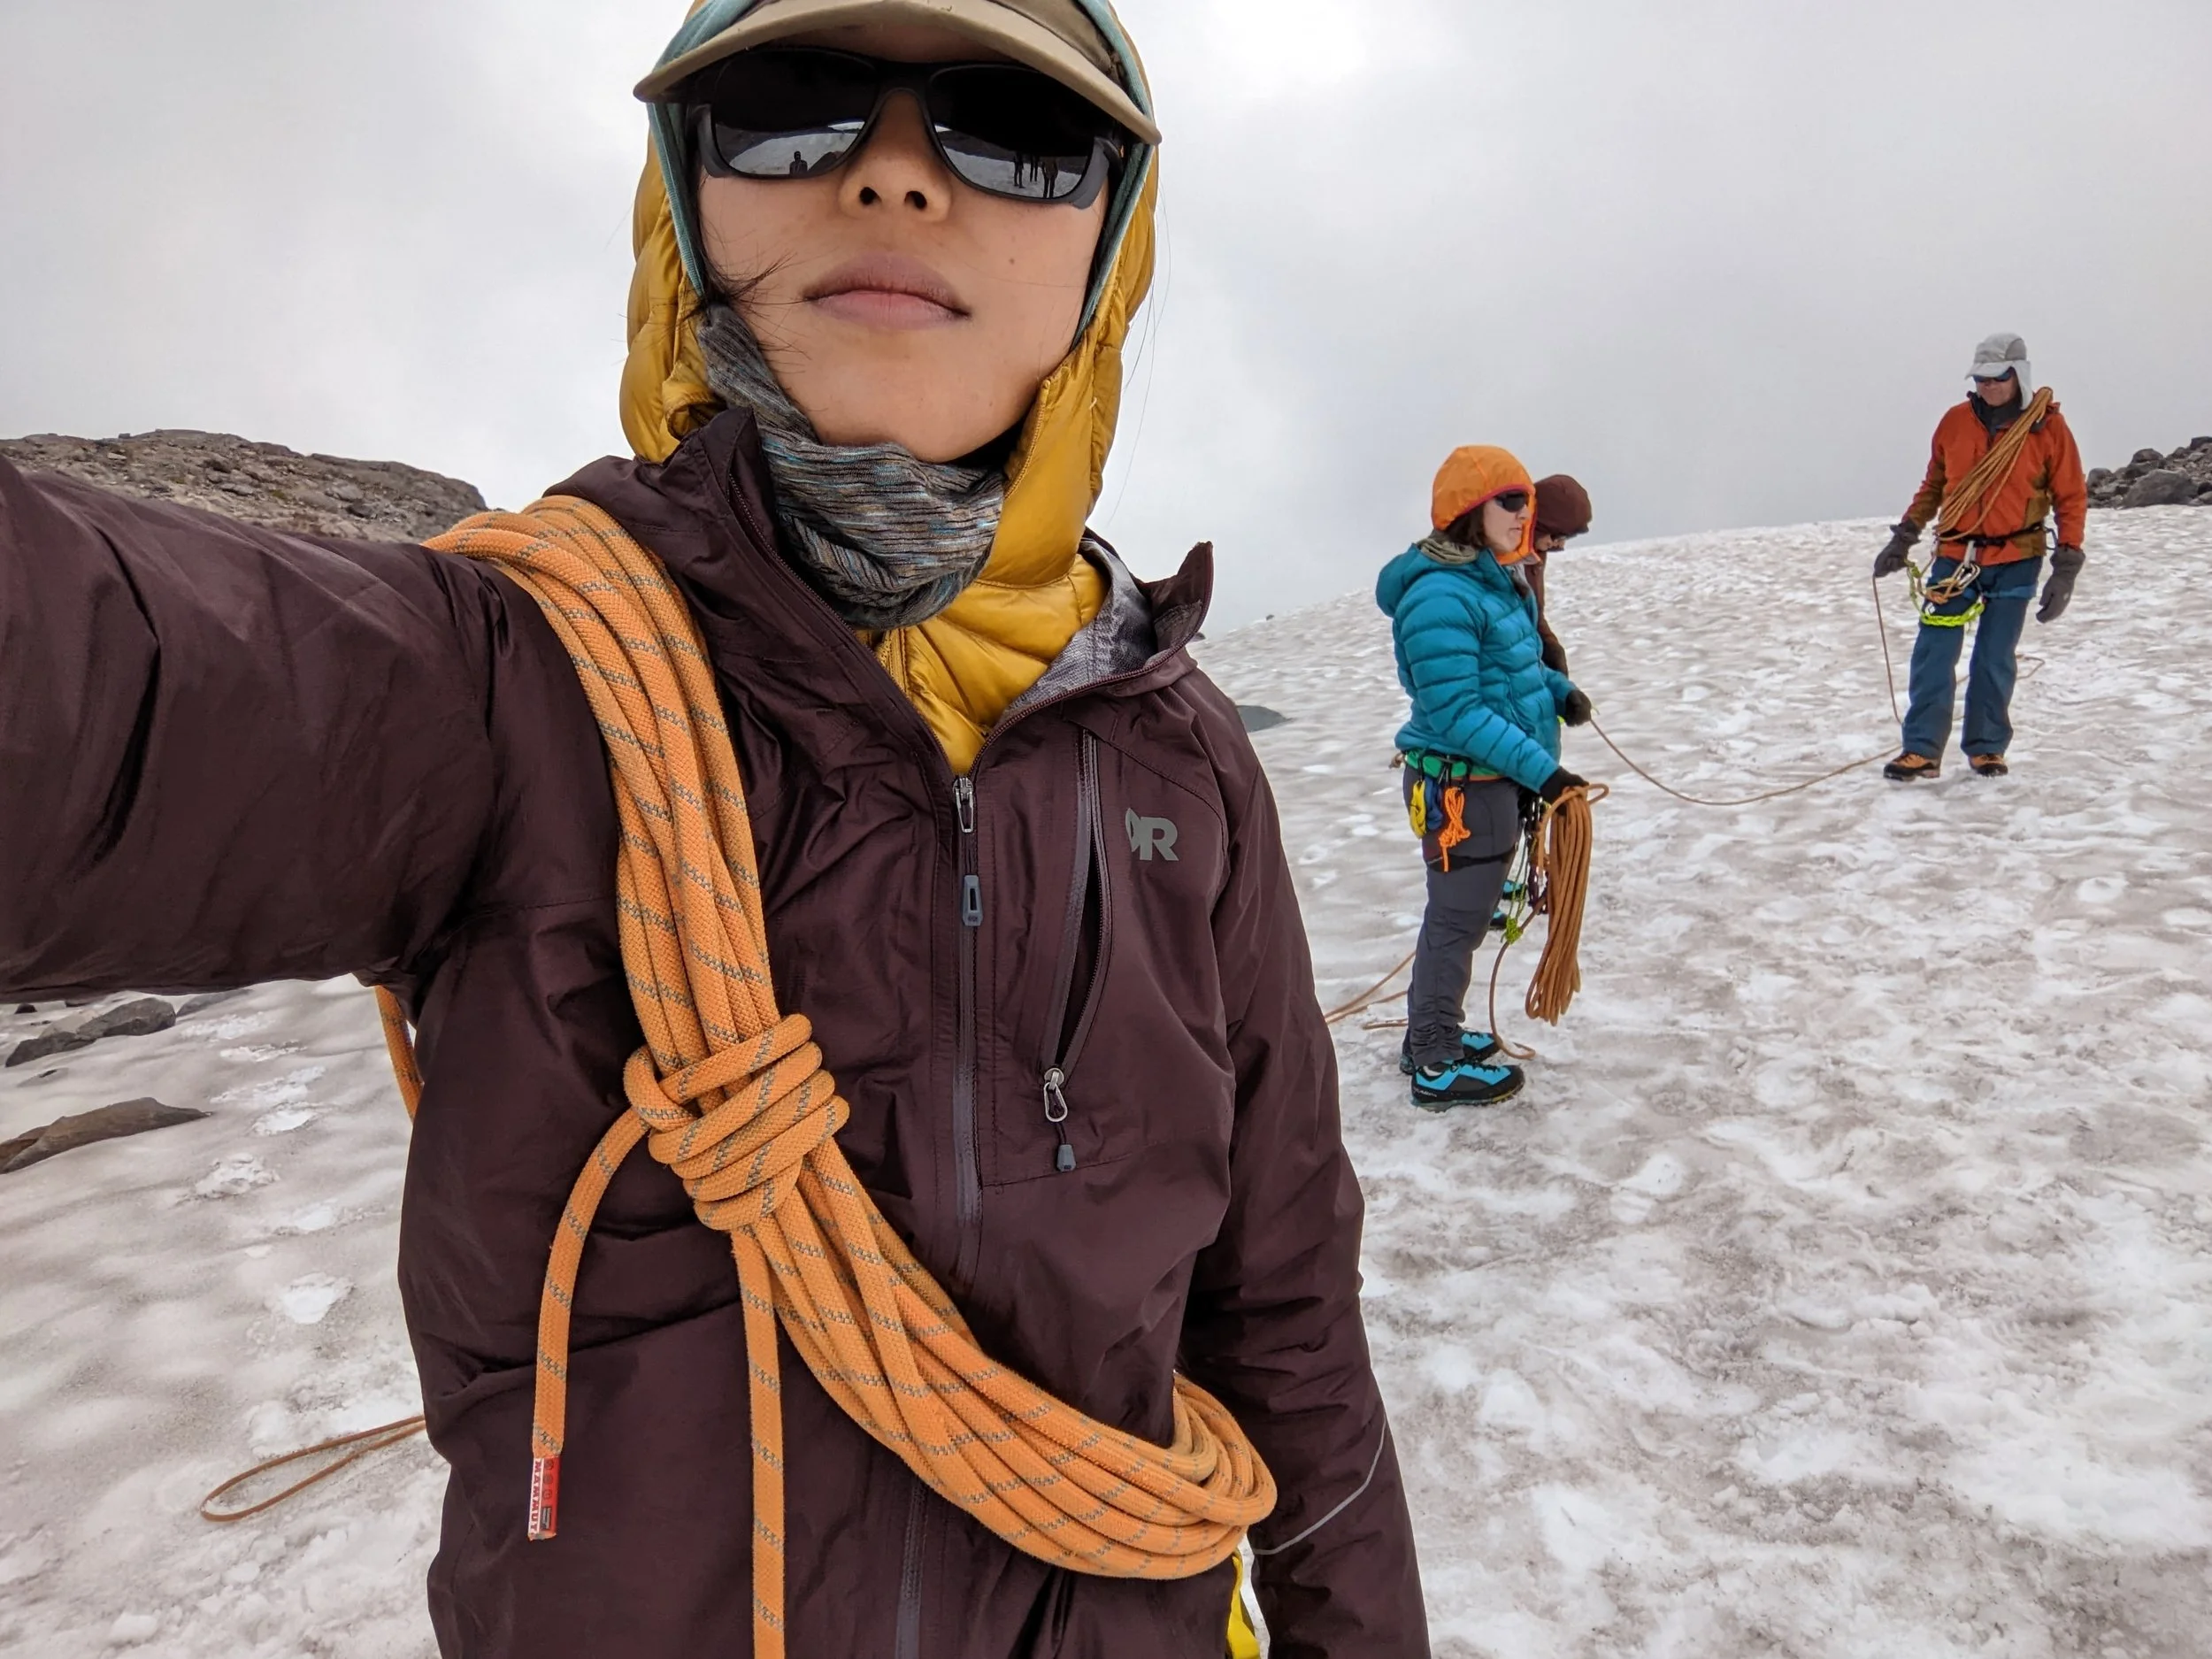
Rope Team Logistics: Mastered the mountaineer’s coil and calculated rope spacing: 10 minus the number of climbers on the team gives me the length from the midpoint of the rope.
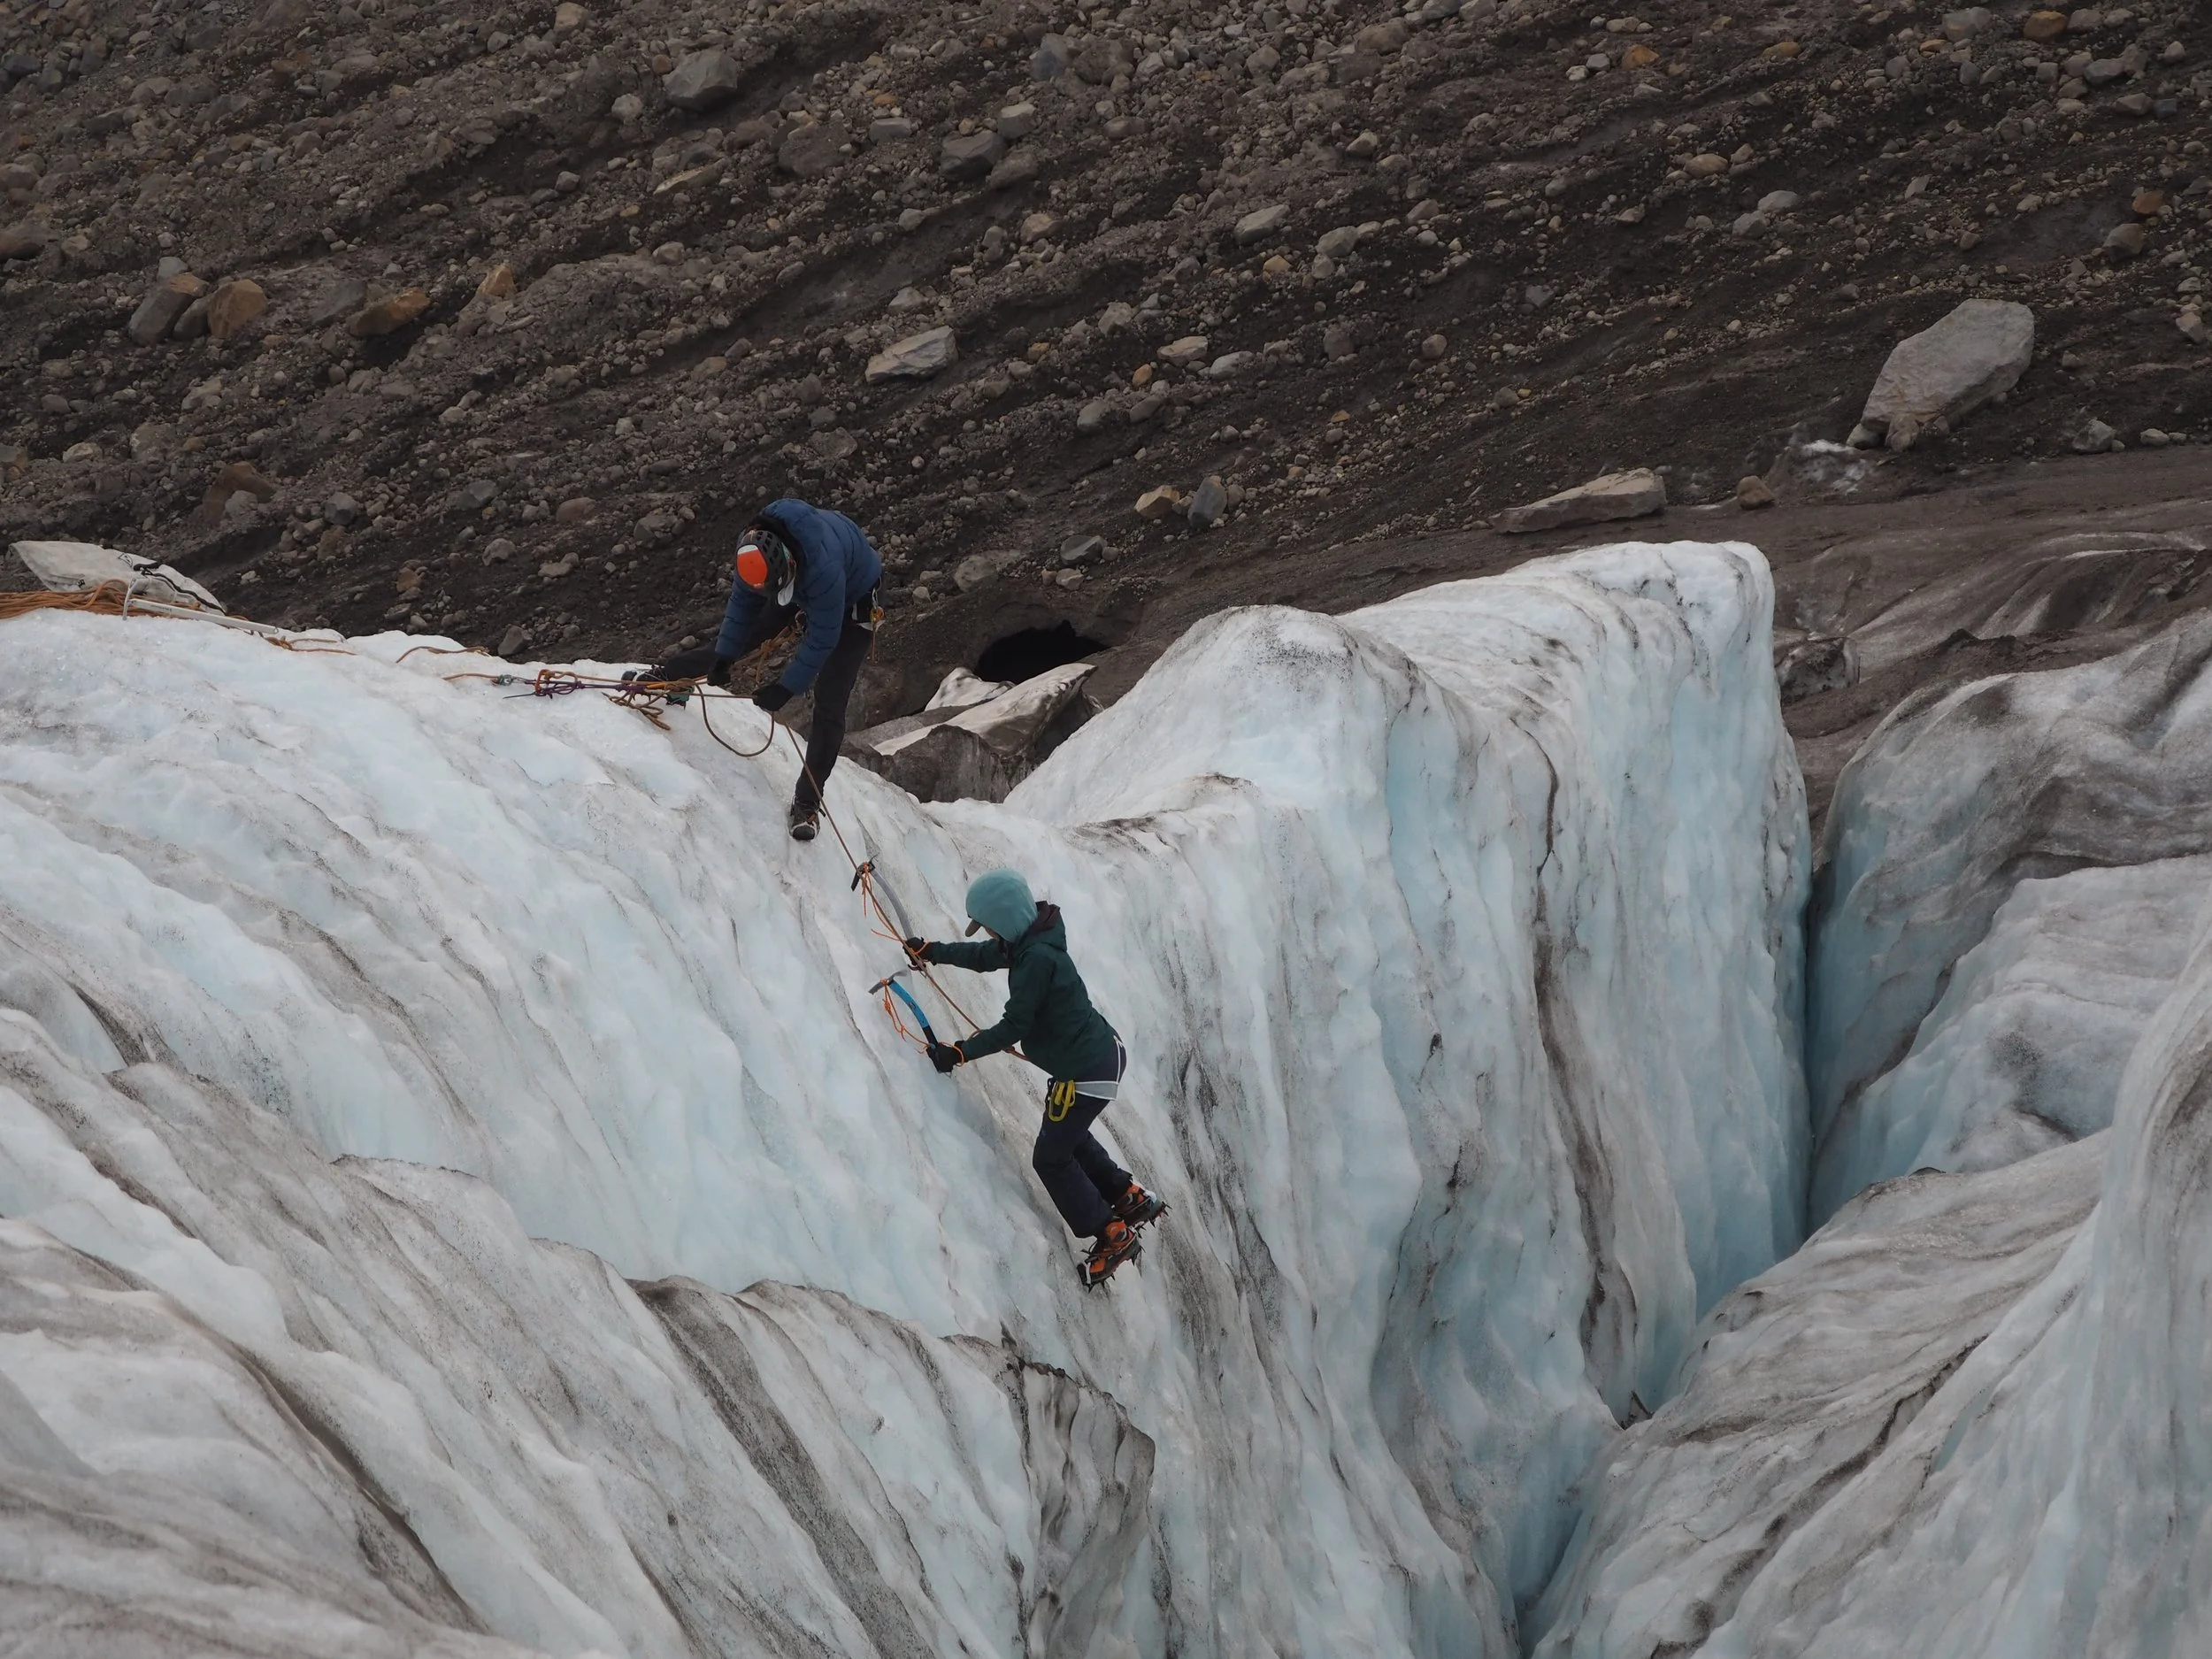
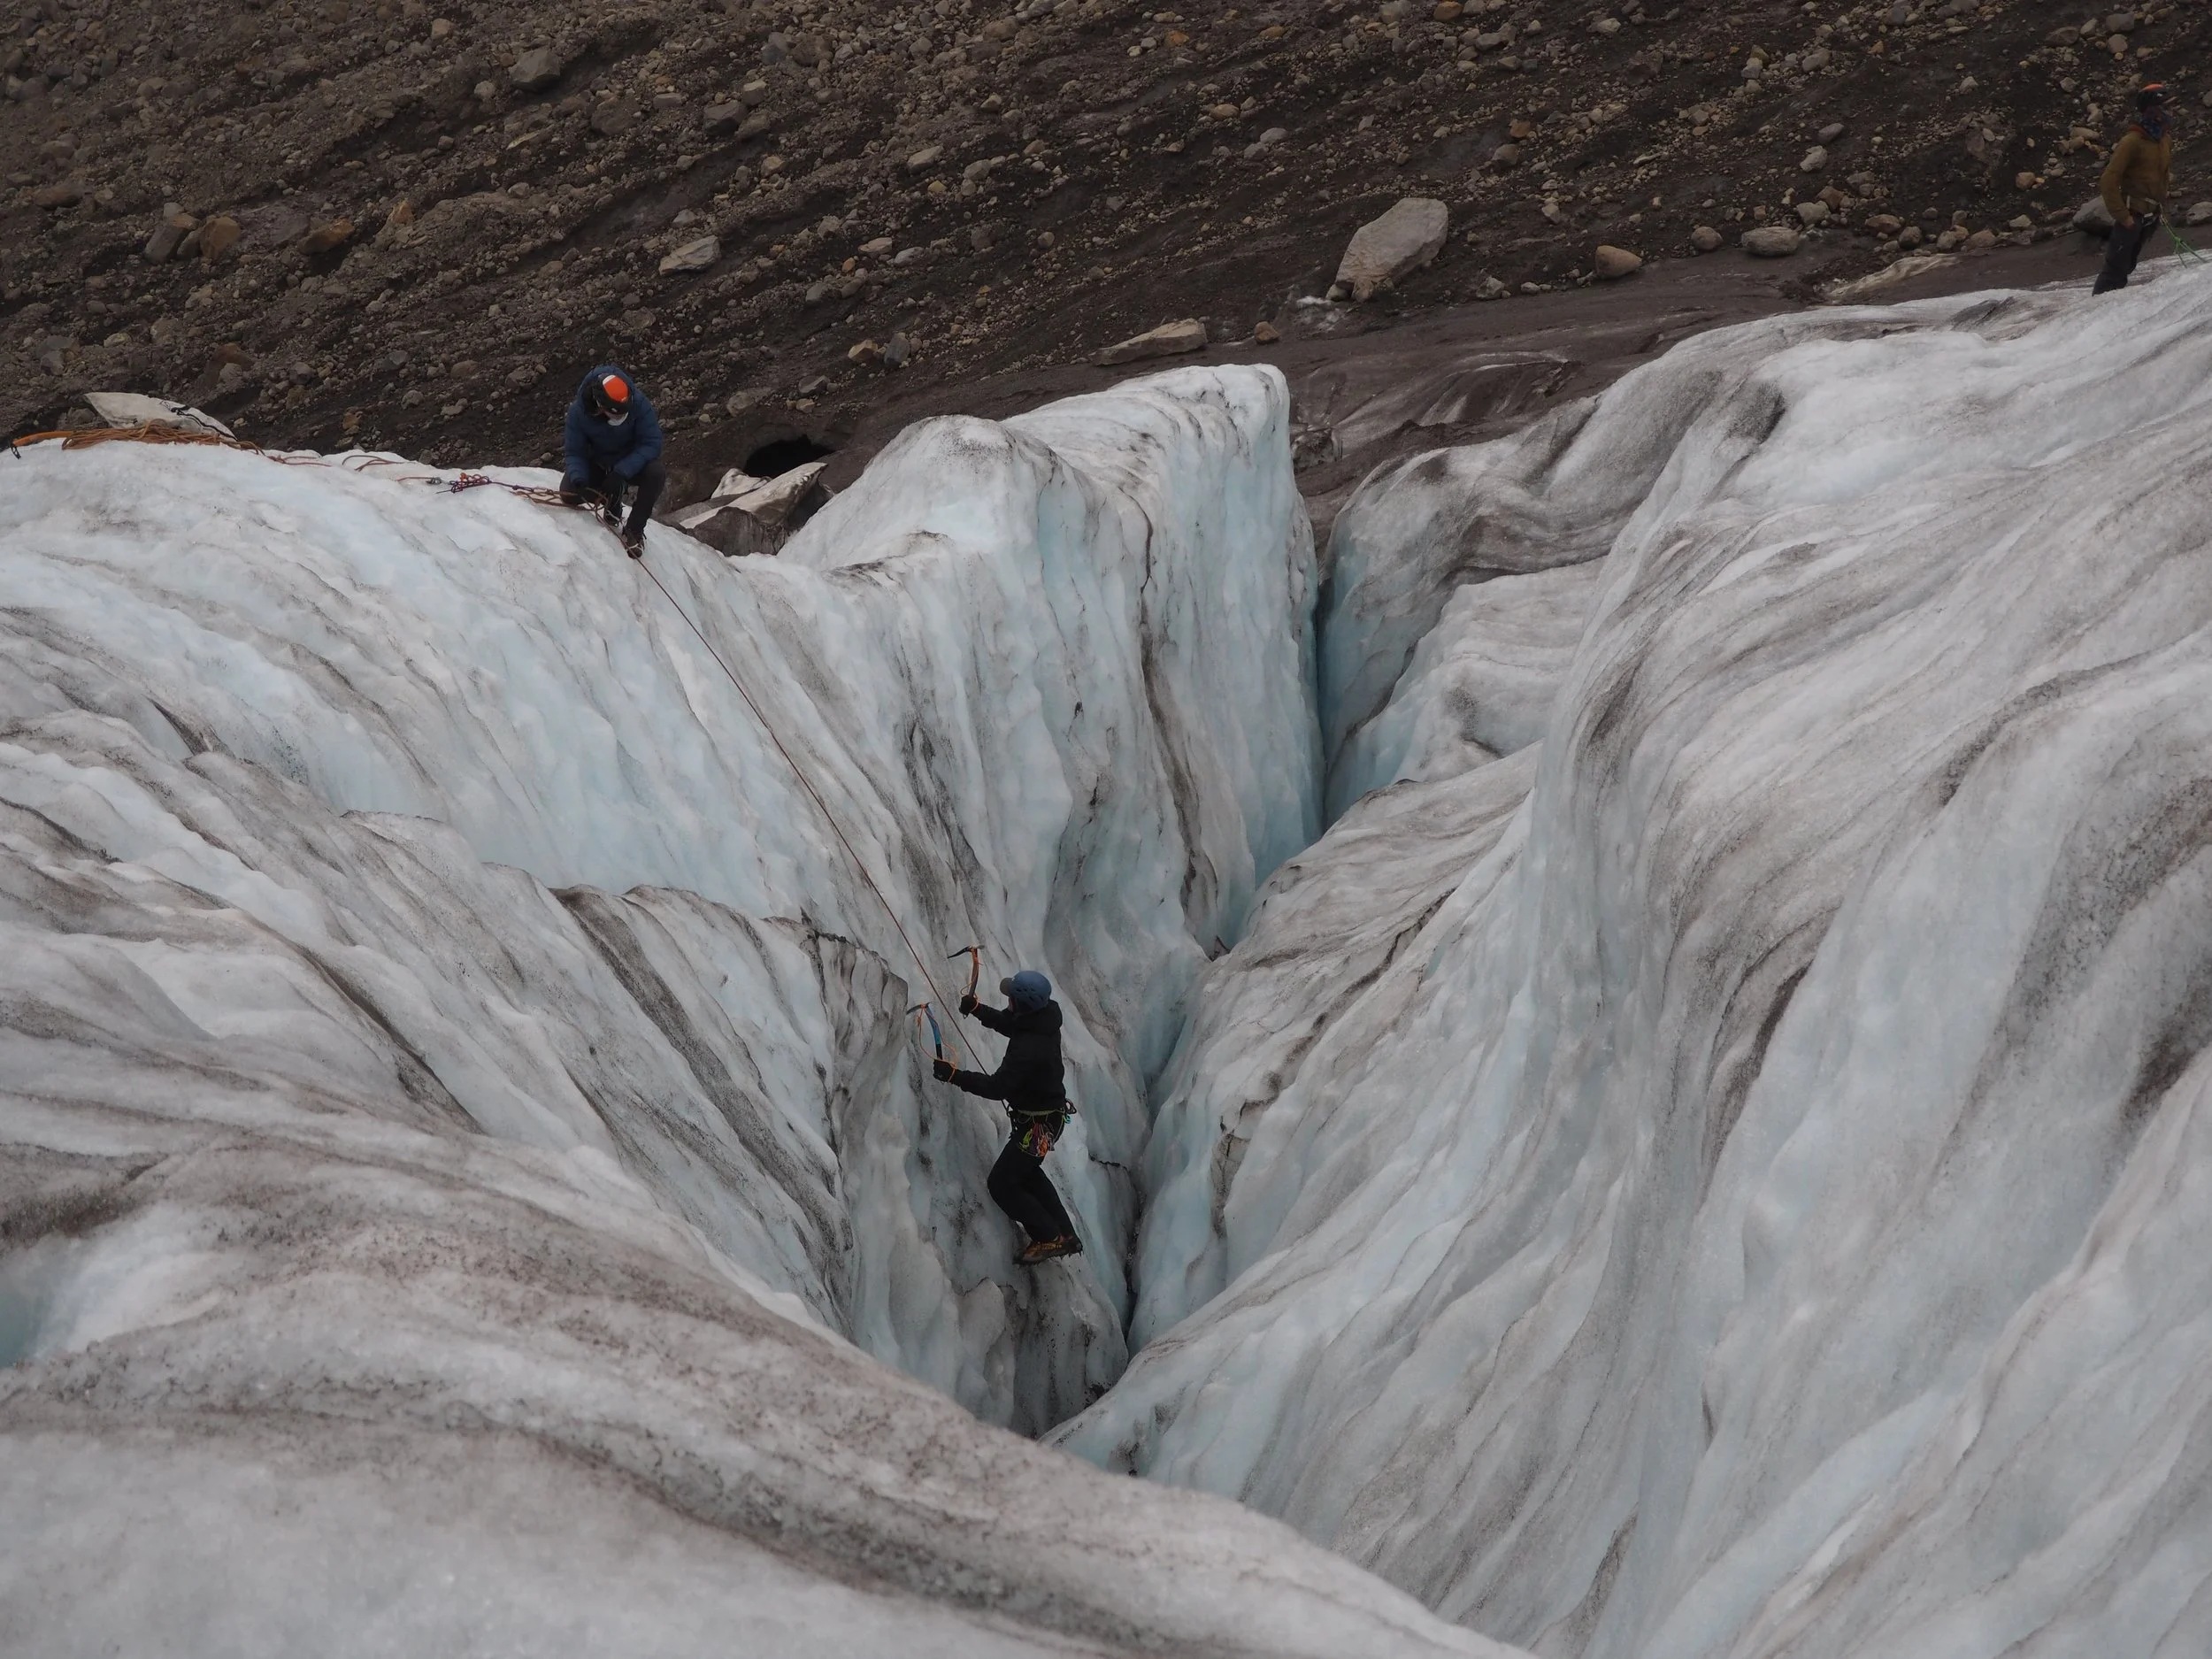
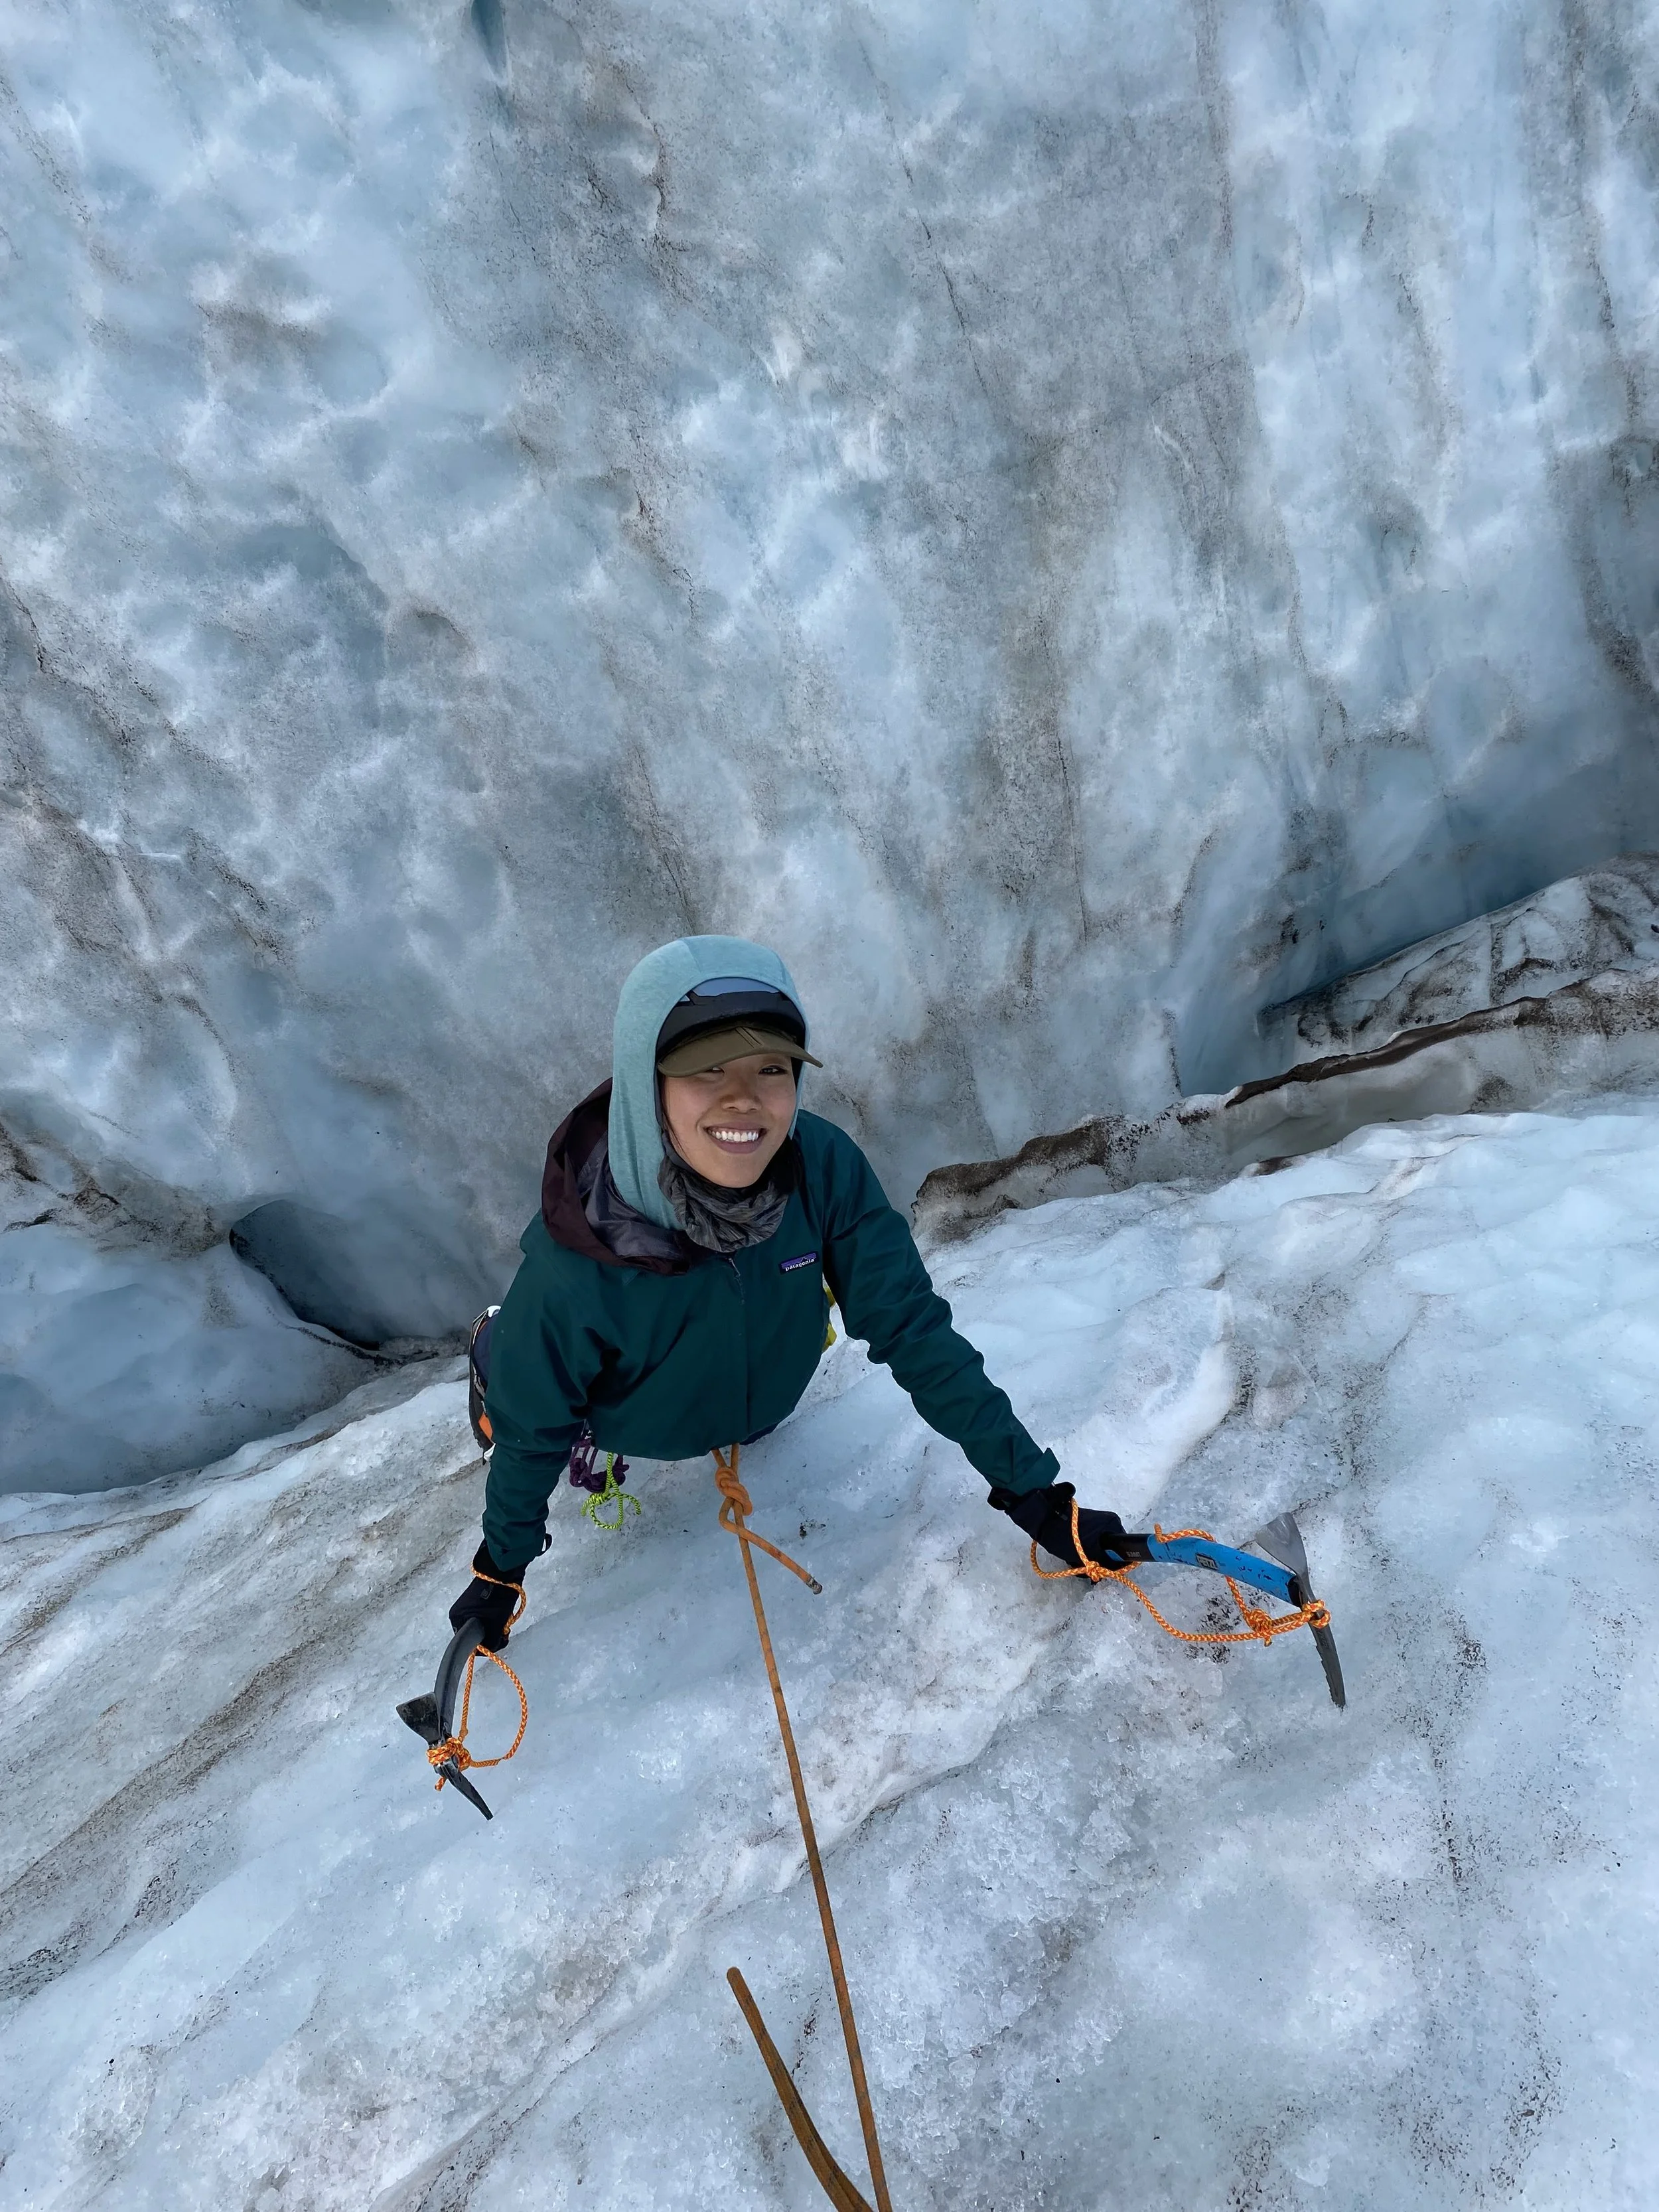
Ice Climbing: Got onto vertical ice to practice front-pointing and axe placements.
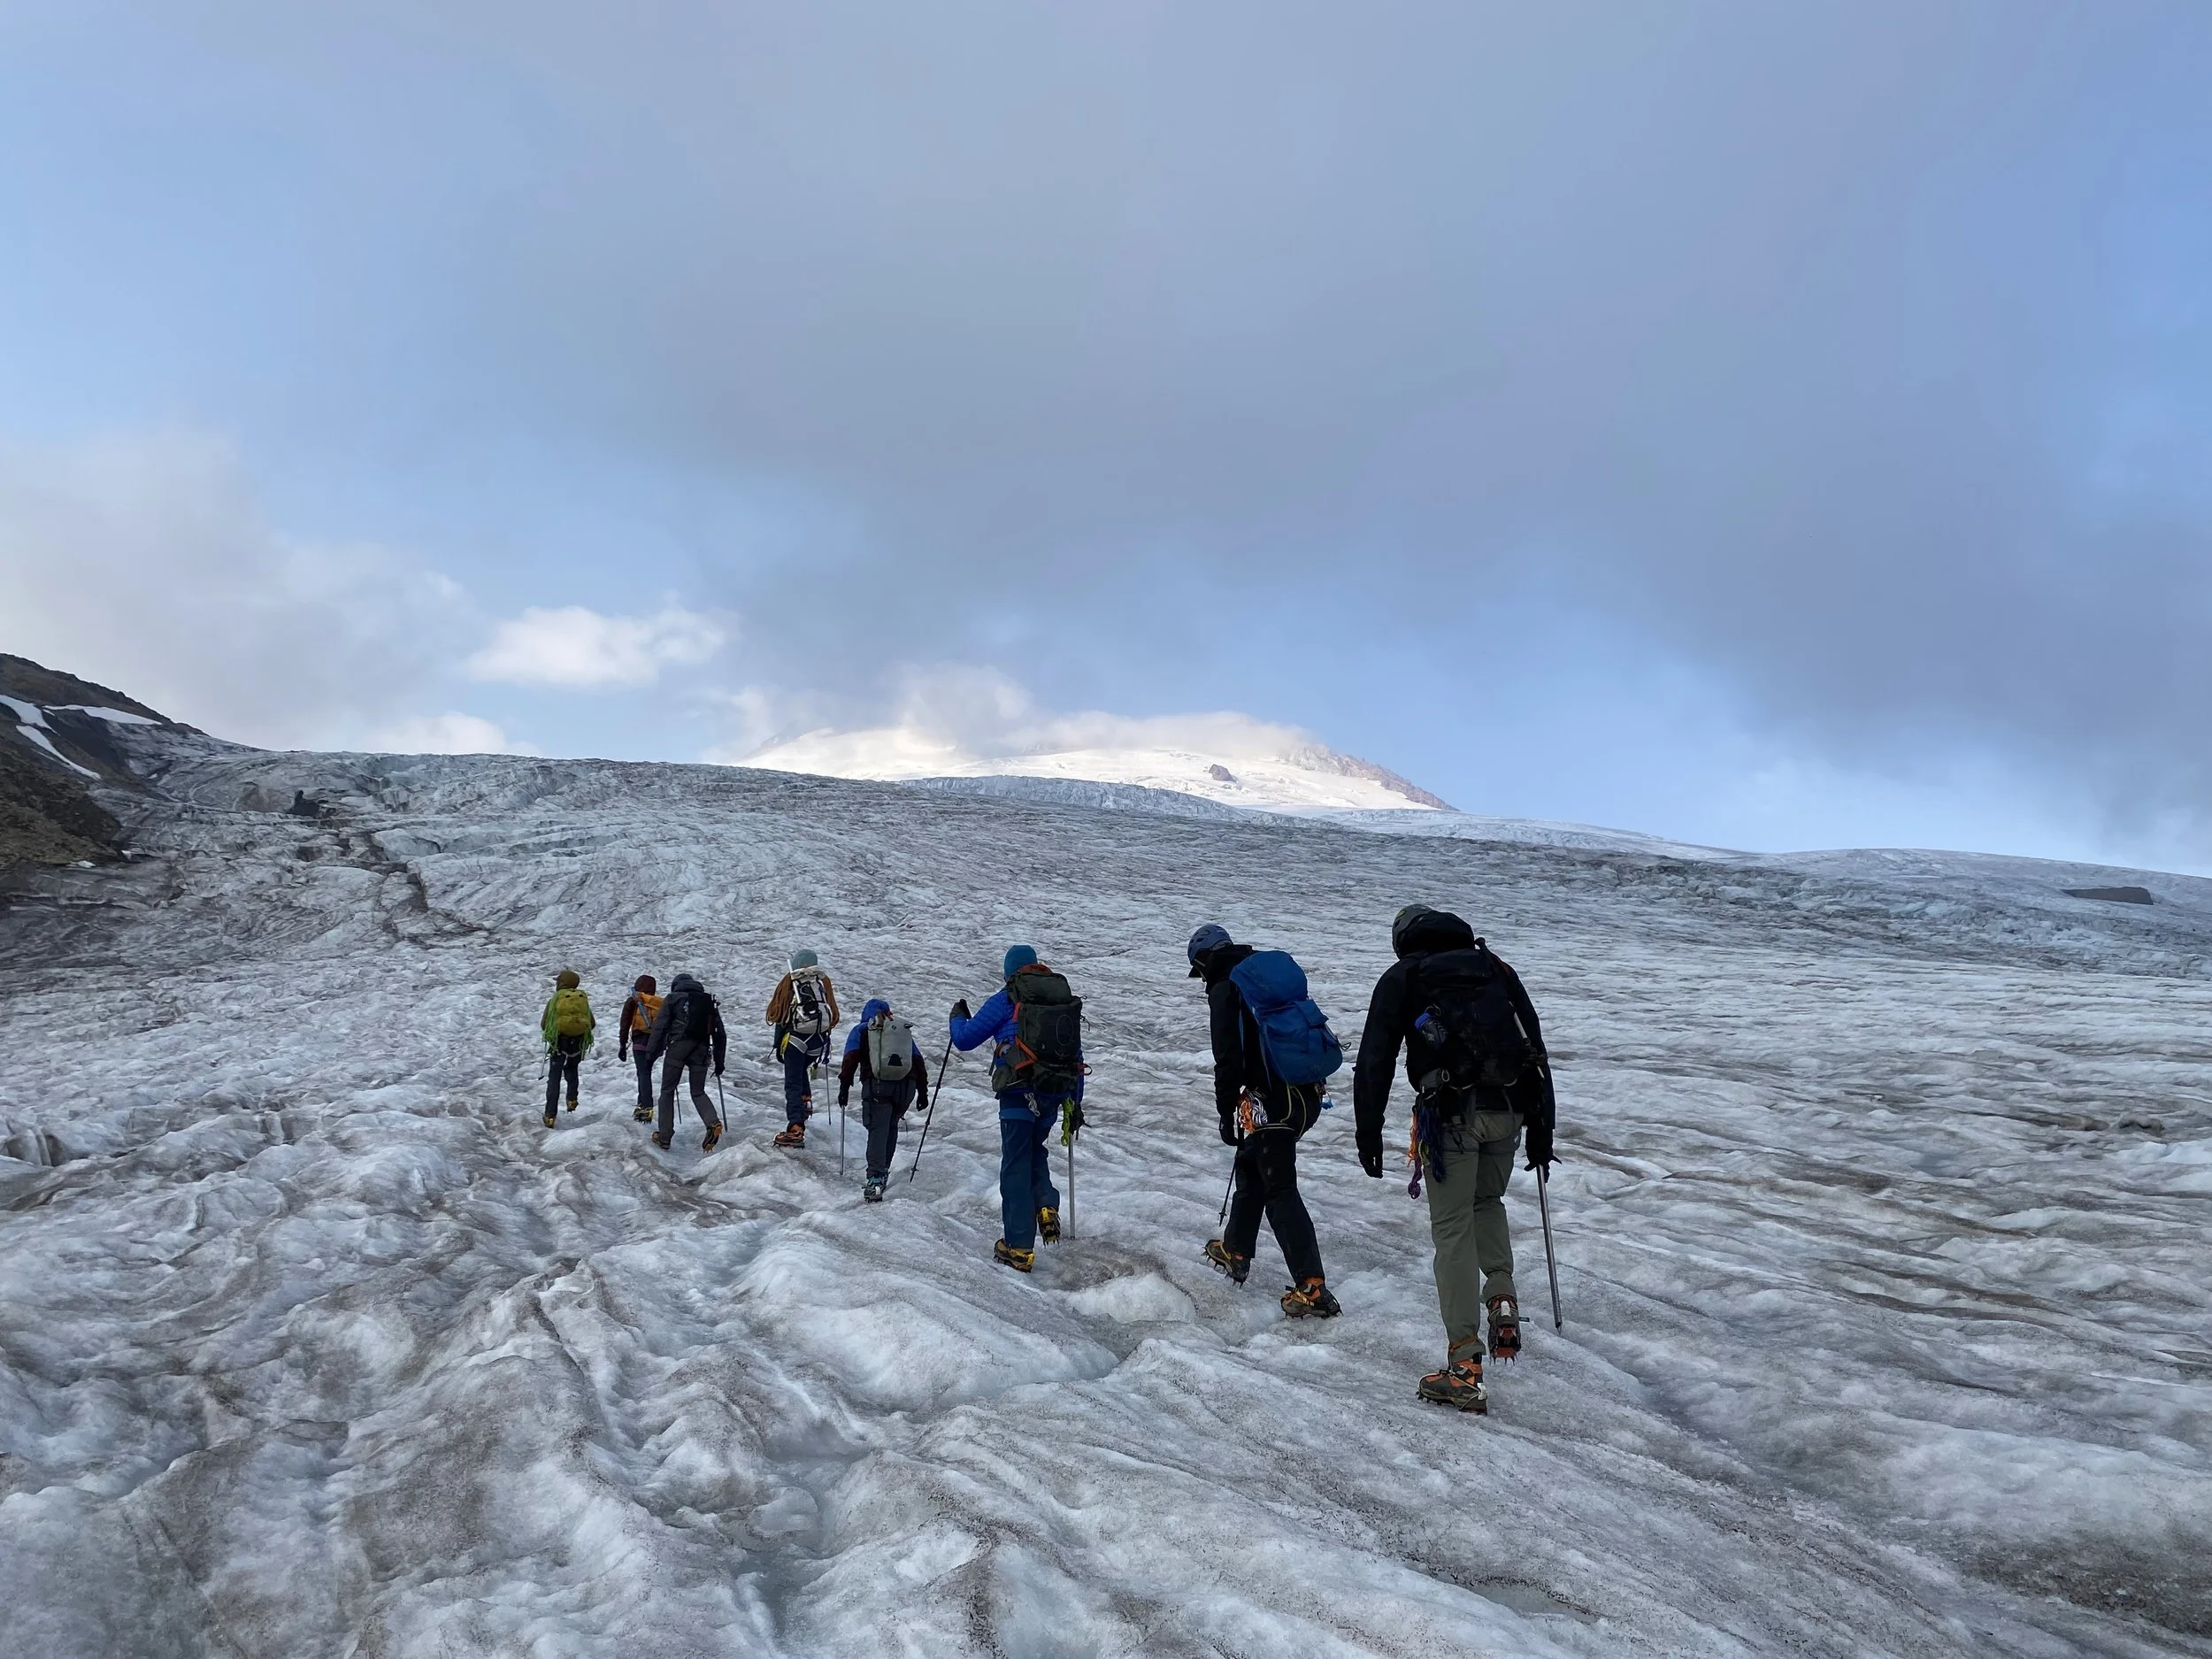
Day 4: Crevasse Rescue & Sub-Zero Wind Chill
Hauling Systems: We learned to build and operate mechanical advantage systems—rigging a 3:1 pulley into a 2:1 to create a 6:1 mechanical advantage off vertical master anchors.
It was a lot of learning today and honestly a bit overwhelming. We were back to camp at 2:00 PM in preparation for debrief at 3:00 PM. The guides warned us that the temperature with wind chill is -7°F with 20 mph winds! We were strongly urged to tie down our tents securely. I prepped for the next day—securing my headlamp to my helmet and prepping my food bag. I also spent a good amount of time using rocks to use as an anchor with tiedowns to my tent and made it secure.
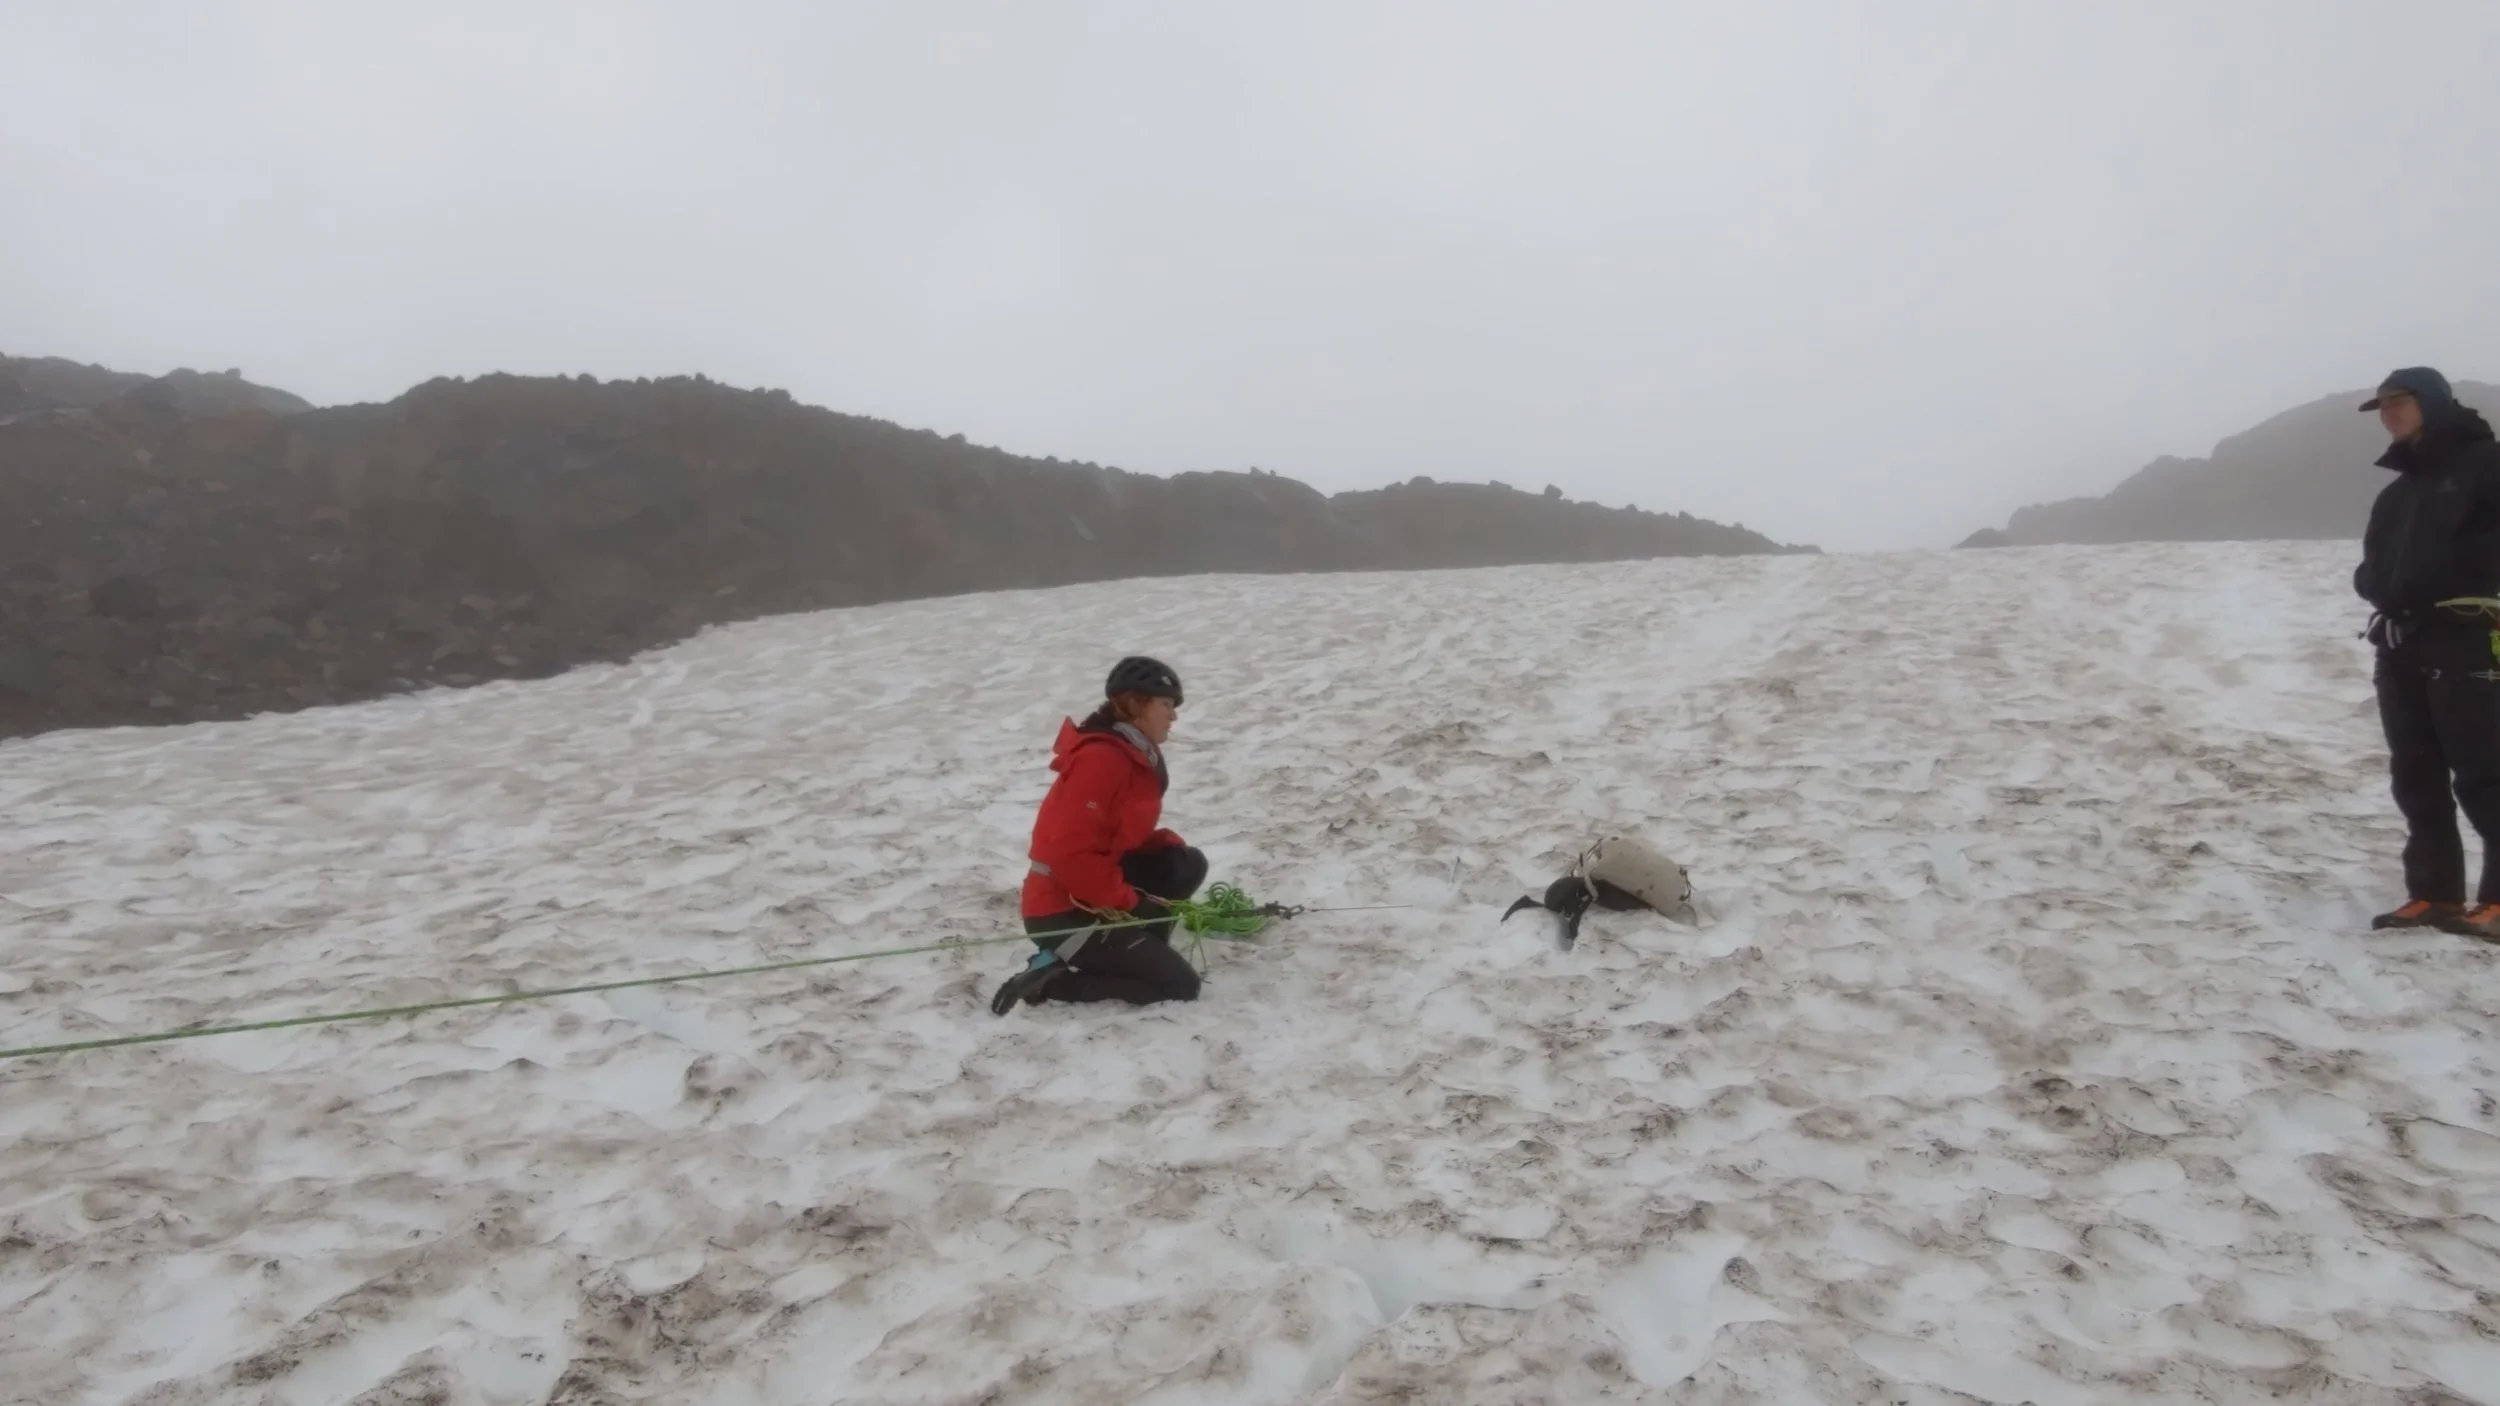
Cold Weather Glove Hack: Dry damp gloves by filling a Nalgene with boiling water and stuffing it inside the glove, holding them near cooking stoves, or sleeping with them inside your sleeping bag. Lesson learned: Bring at least 4 pairs of gloves, keeping one dry pair strictly reserved for summit day.
Day 5: Baker Summit Push & Glaciated Whiteout
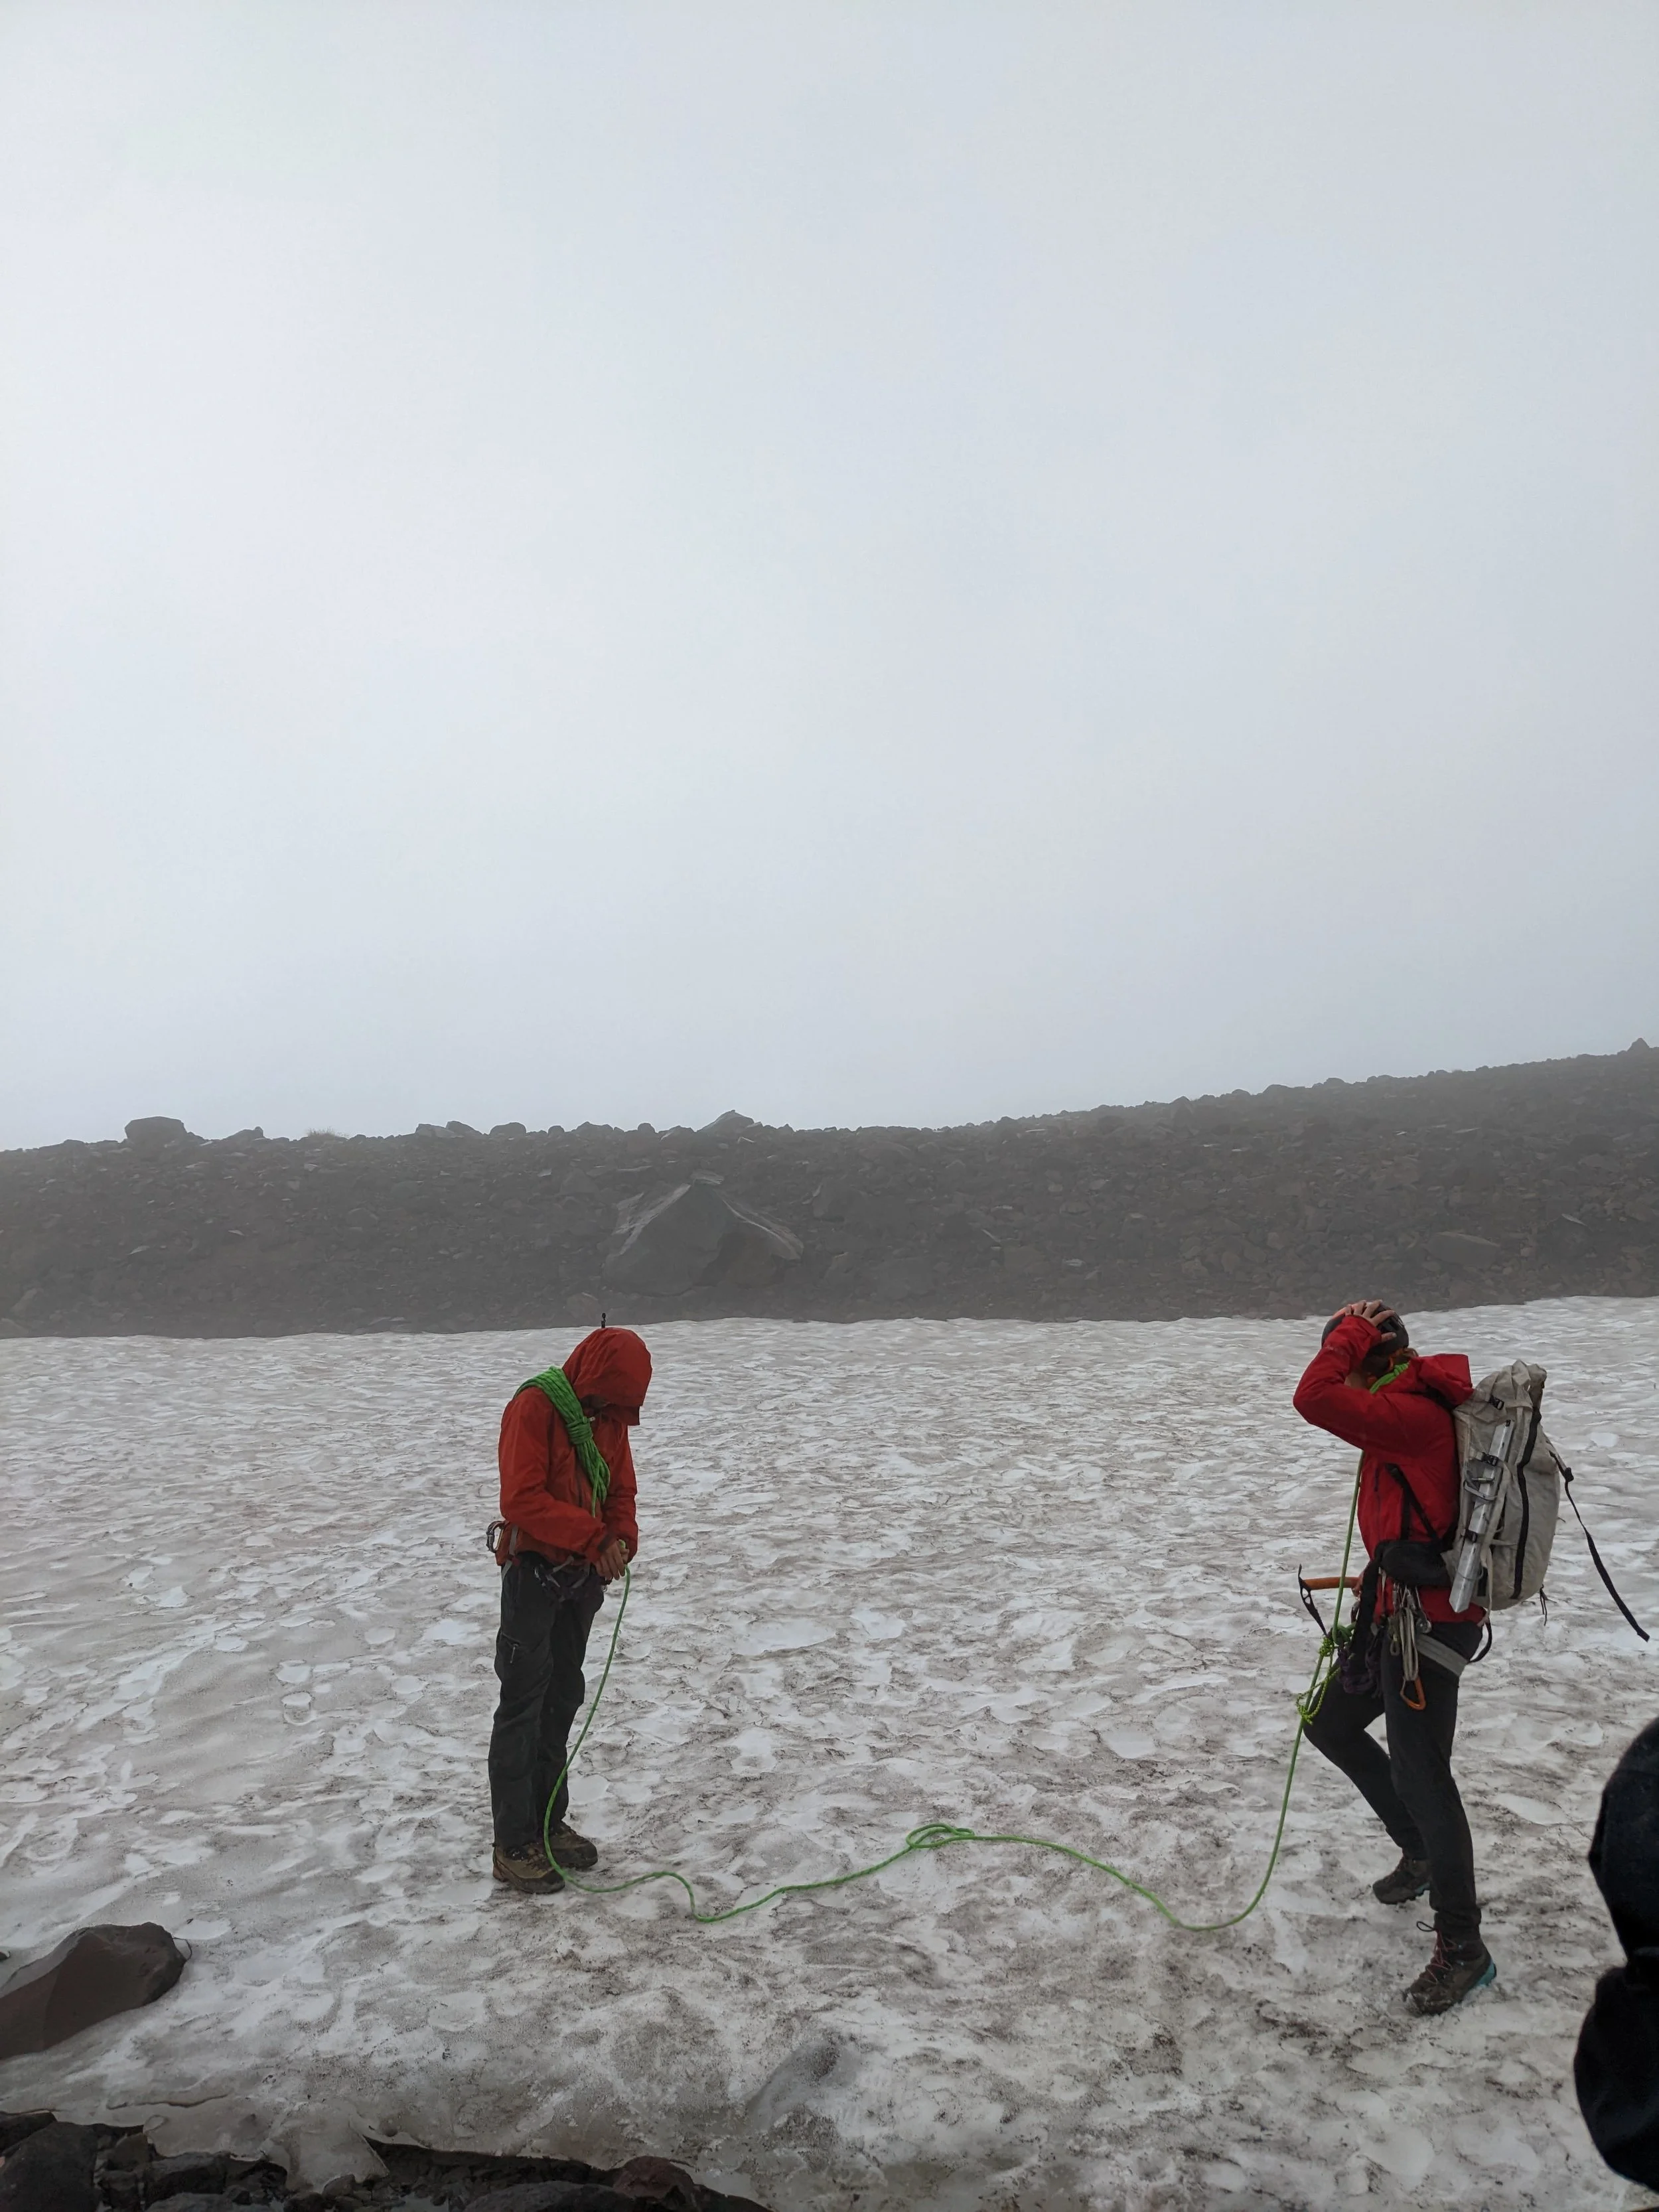
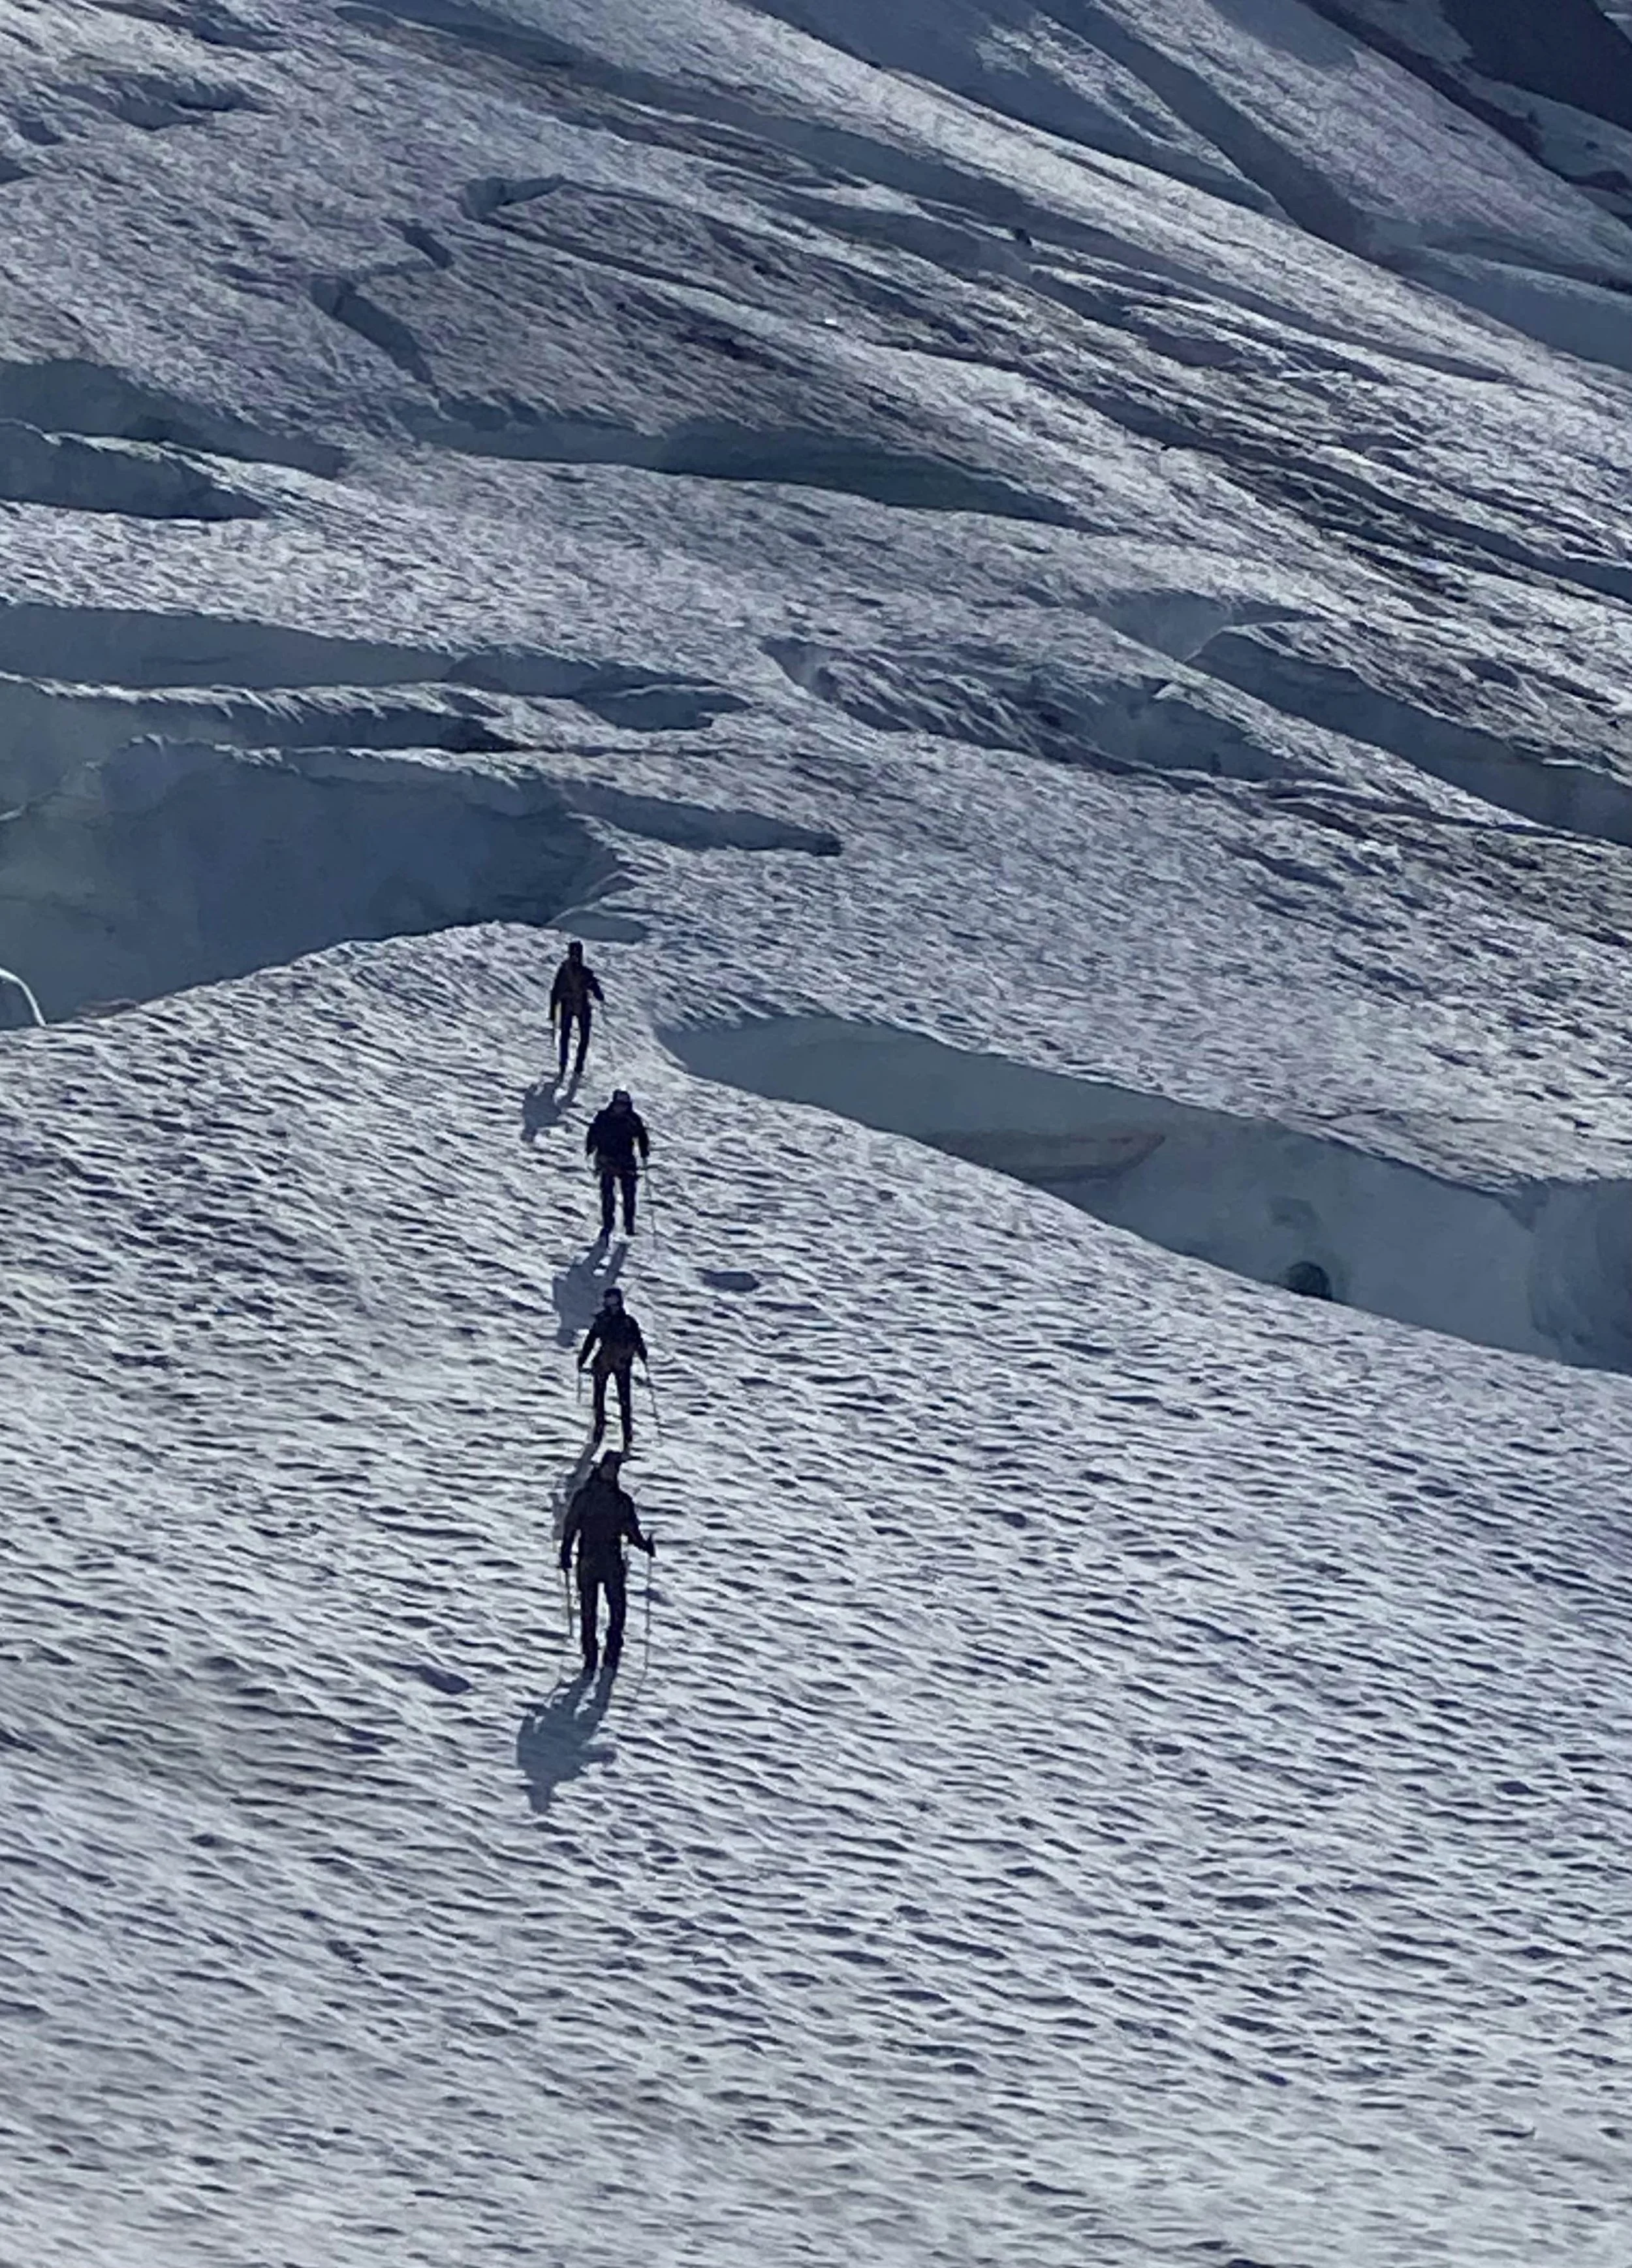
Alpine Start: 2:00 AM wake-up for a 3:00 AM start on a 3-person rope team.
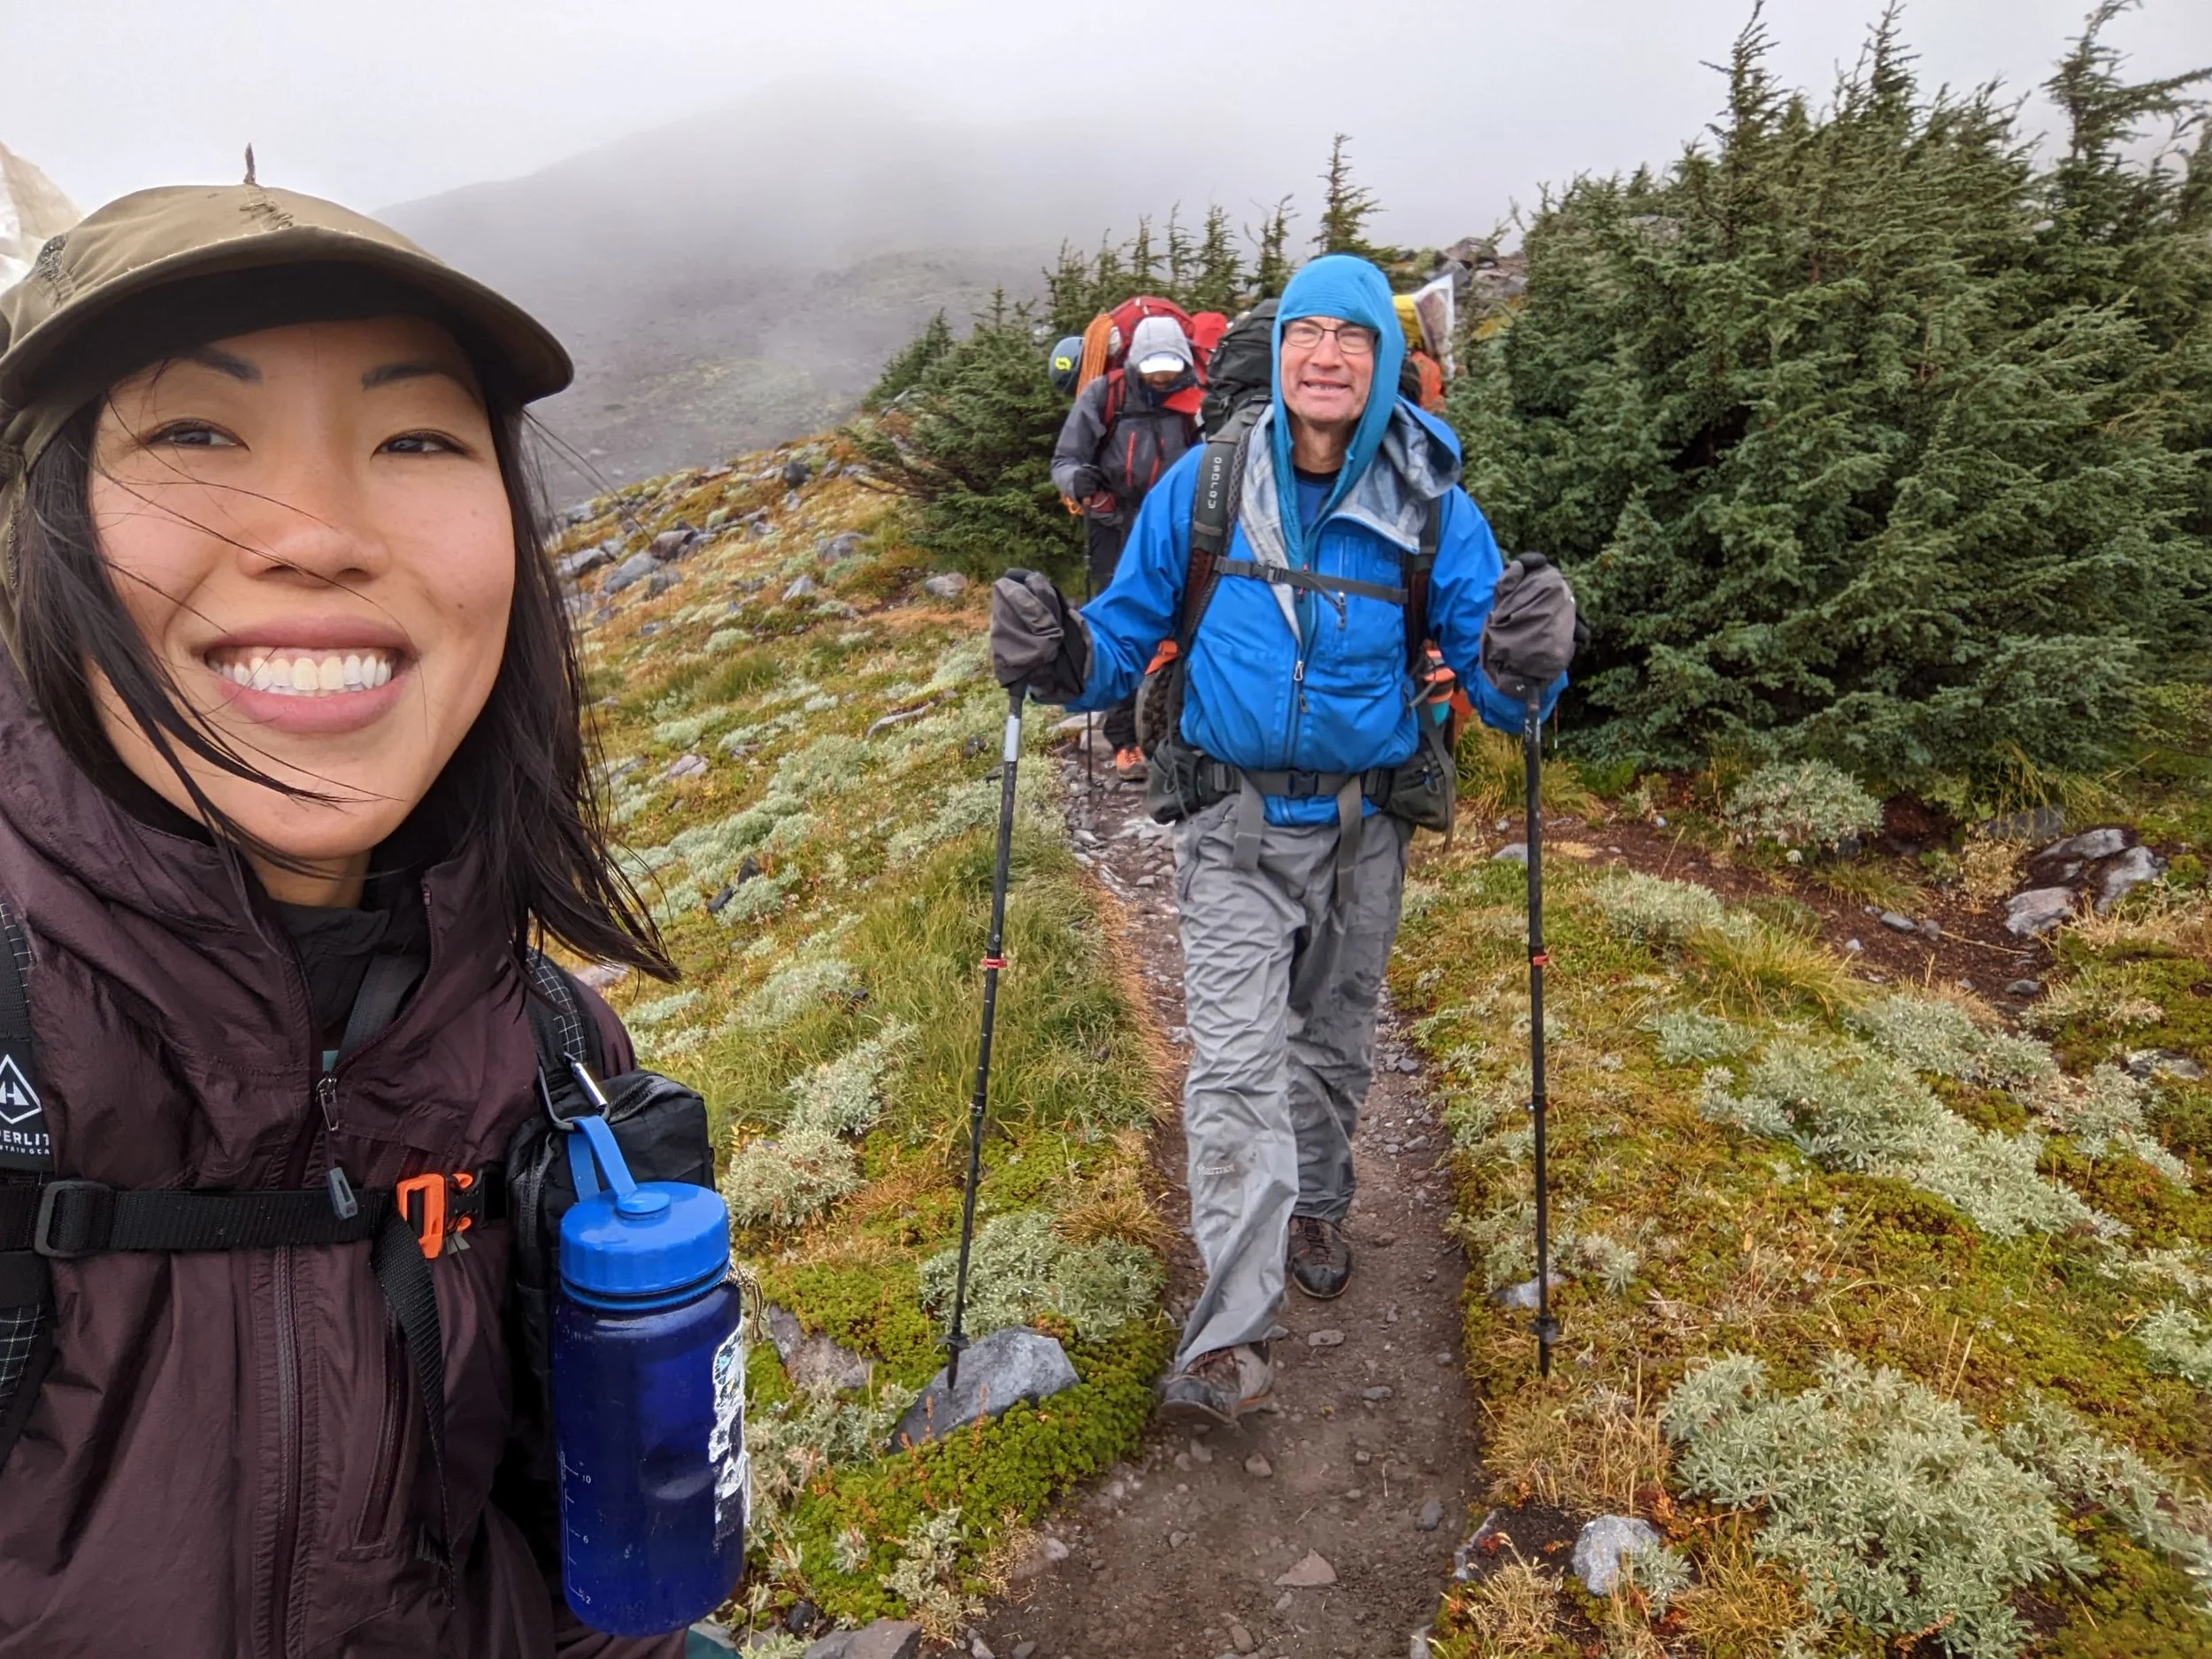
The Turnaround: I was in the middle of a three-person rope team, constantly reminding myself to keep the rope to my side and not between my legs. The last person carried the picket and remaining rope. Hit a total whiteout with freezing rain at 7,100 ft and the guides made the safety call to turn around.
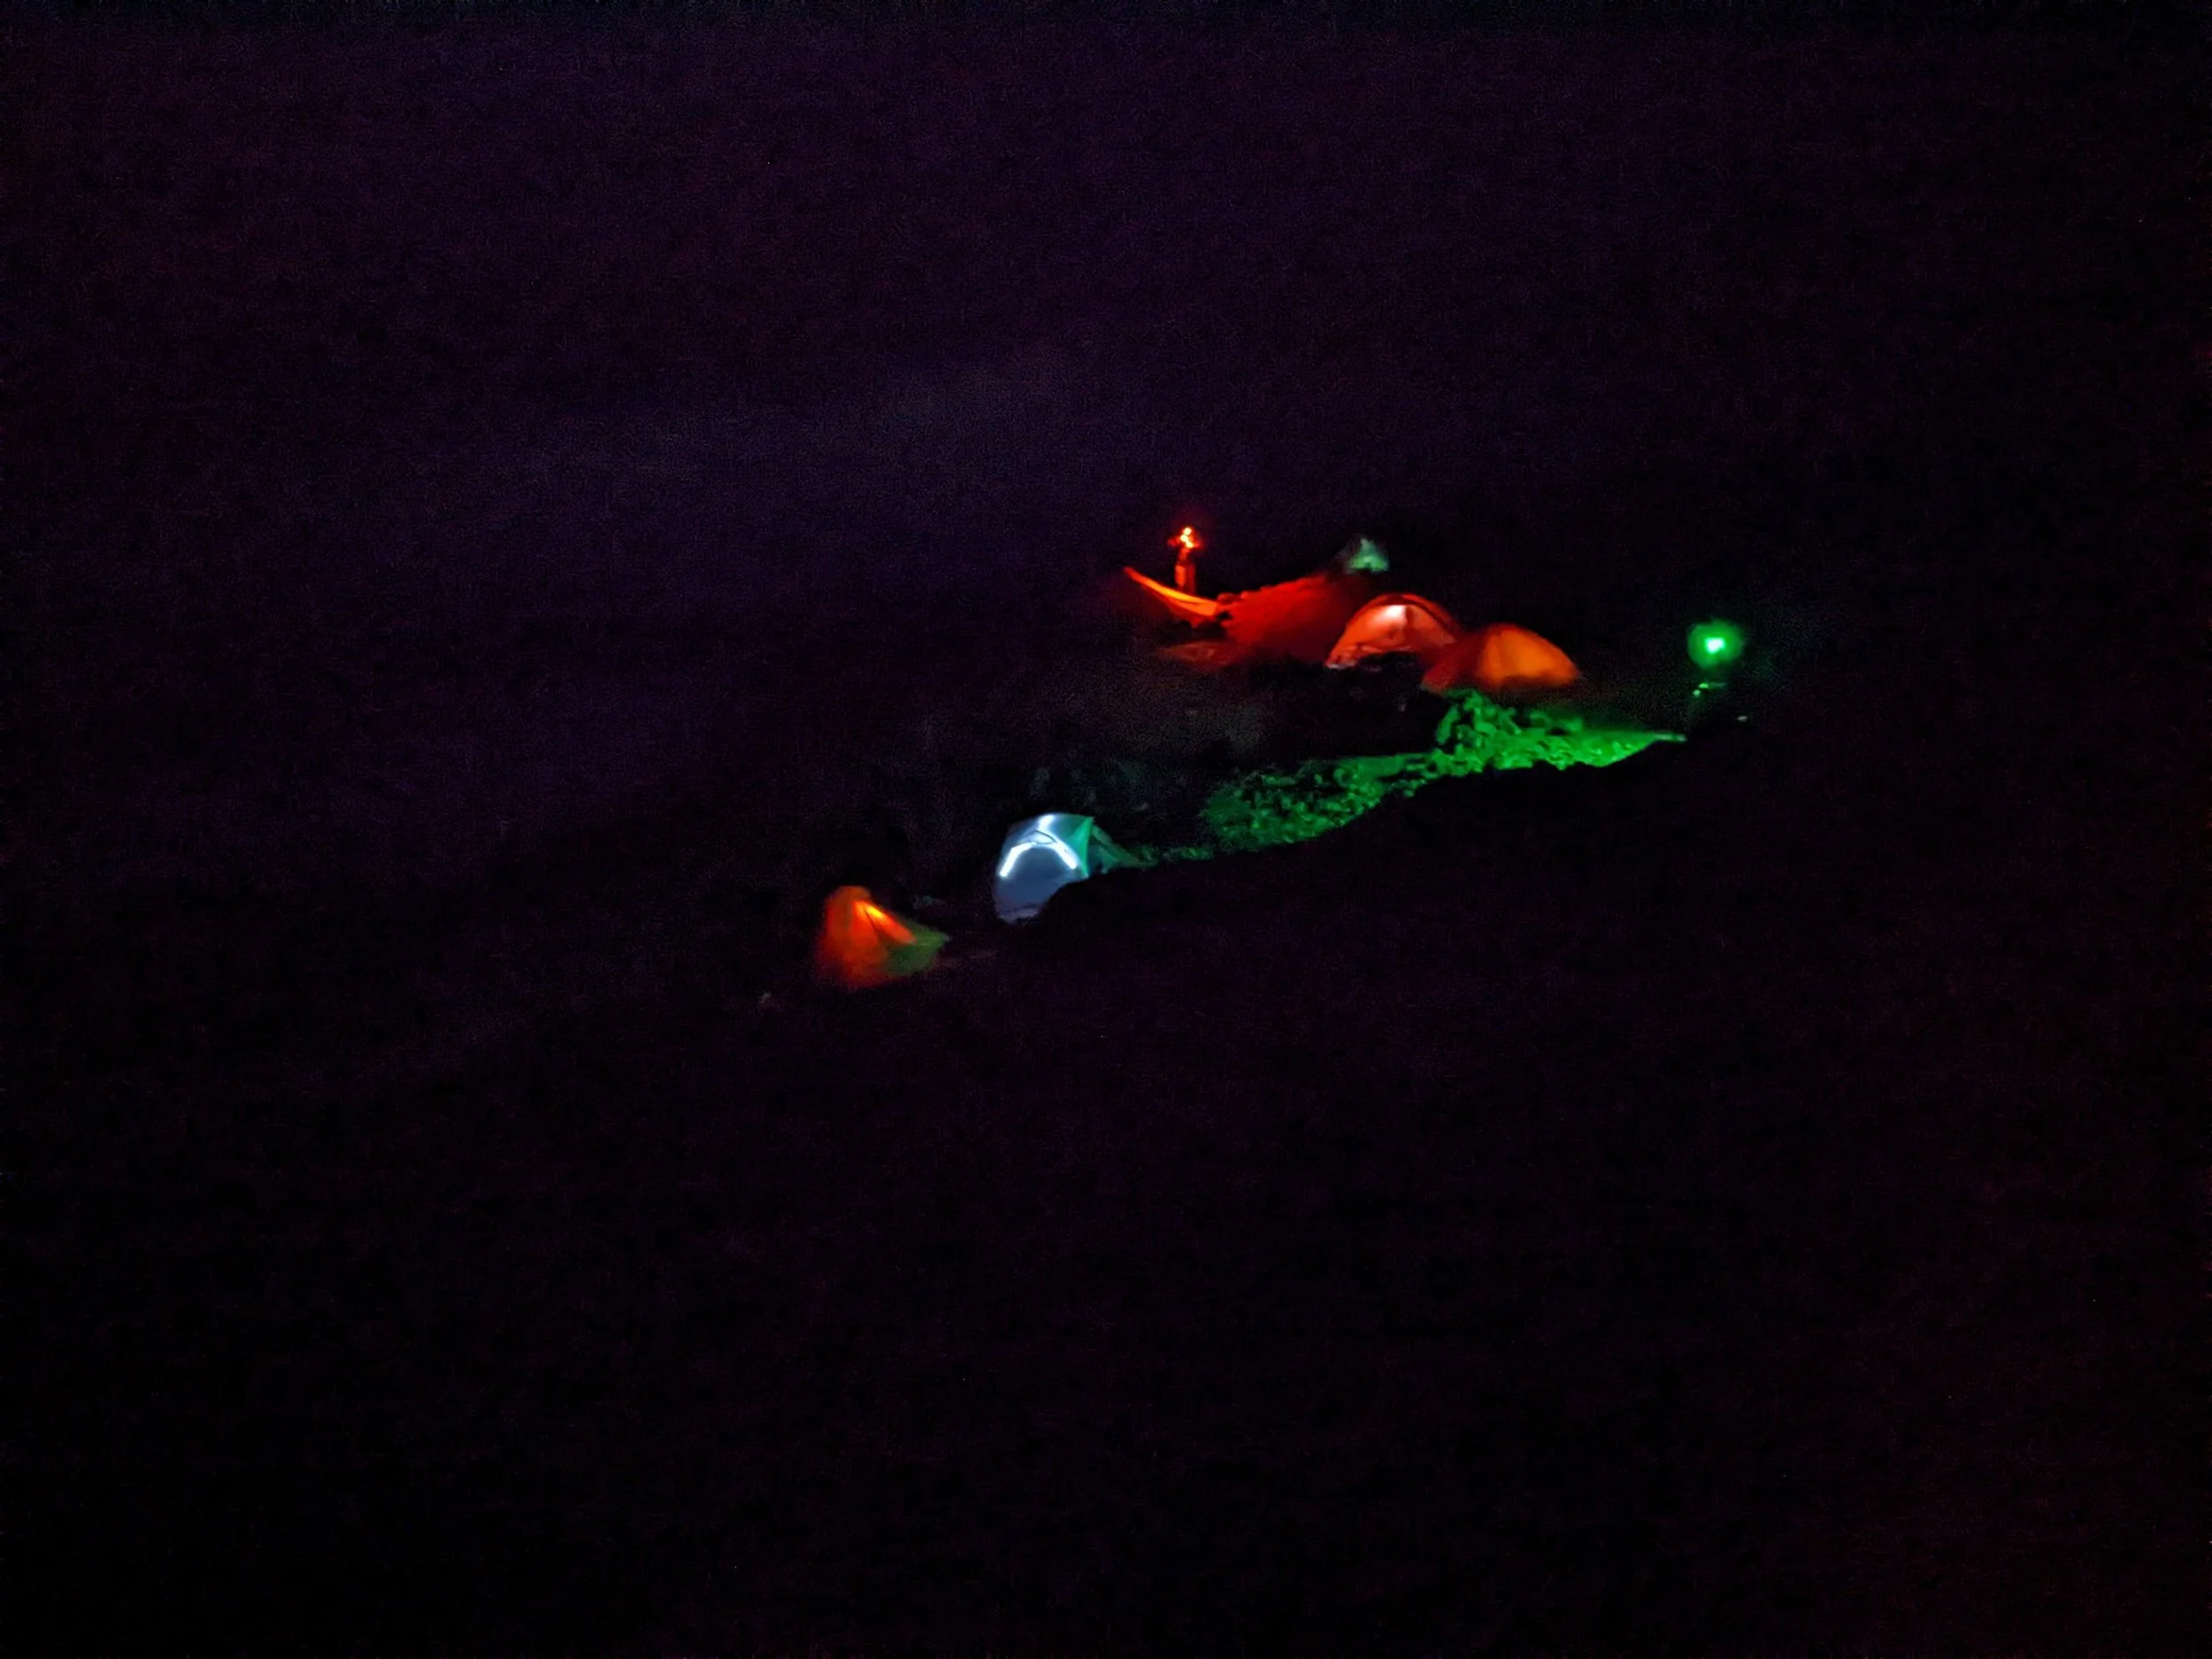
We made it back to camp by 6:45 AM and rested until 9:00 AM before packing up and heading out at 10:30 AM. After leaving, we grabbed groceries—buying three bags of salad turned out to be a great call. We finished the day with group dinner at a Korean restaurant, then showered, did laundry, and enjoyed having cell service at the Alpine RV park.
Part 2: Alpine Rock & Multi-Pitch (Washington Pass)
Day 6: Mountain Boots on Granite
08:30 – Packed up and left camp. No cell service along the drive.
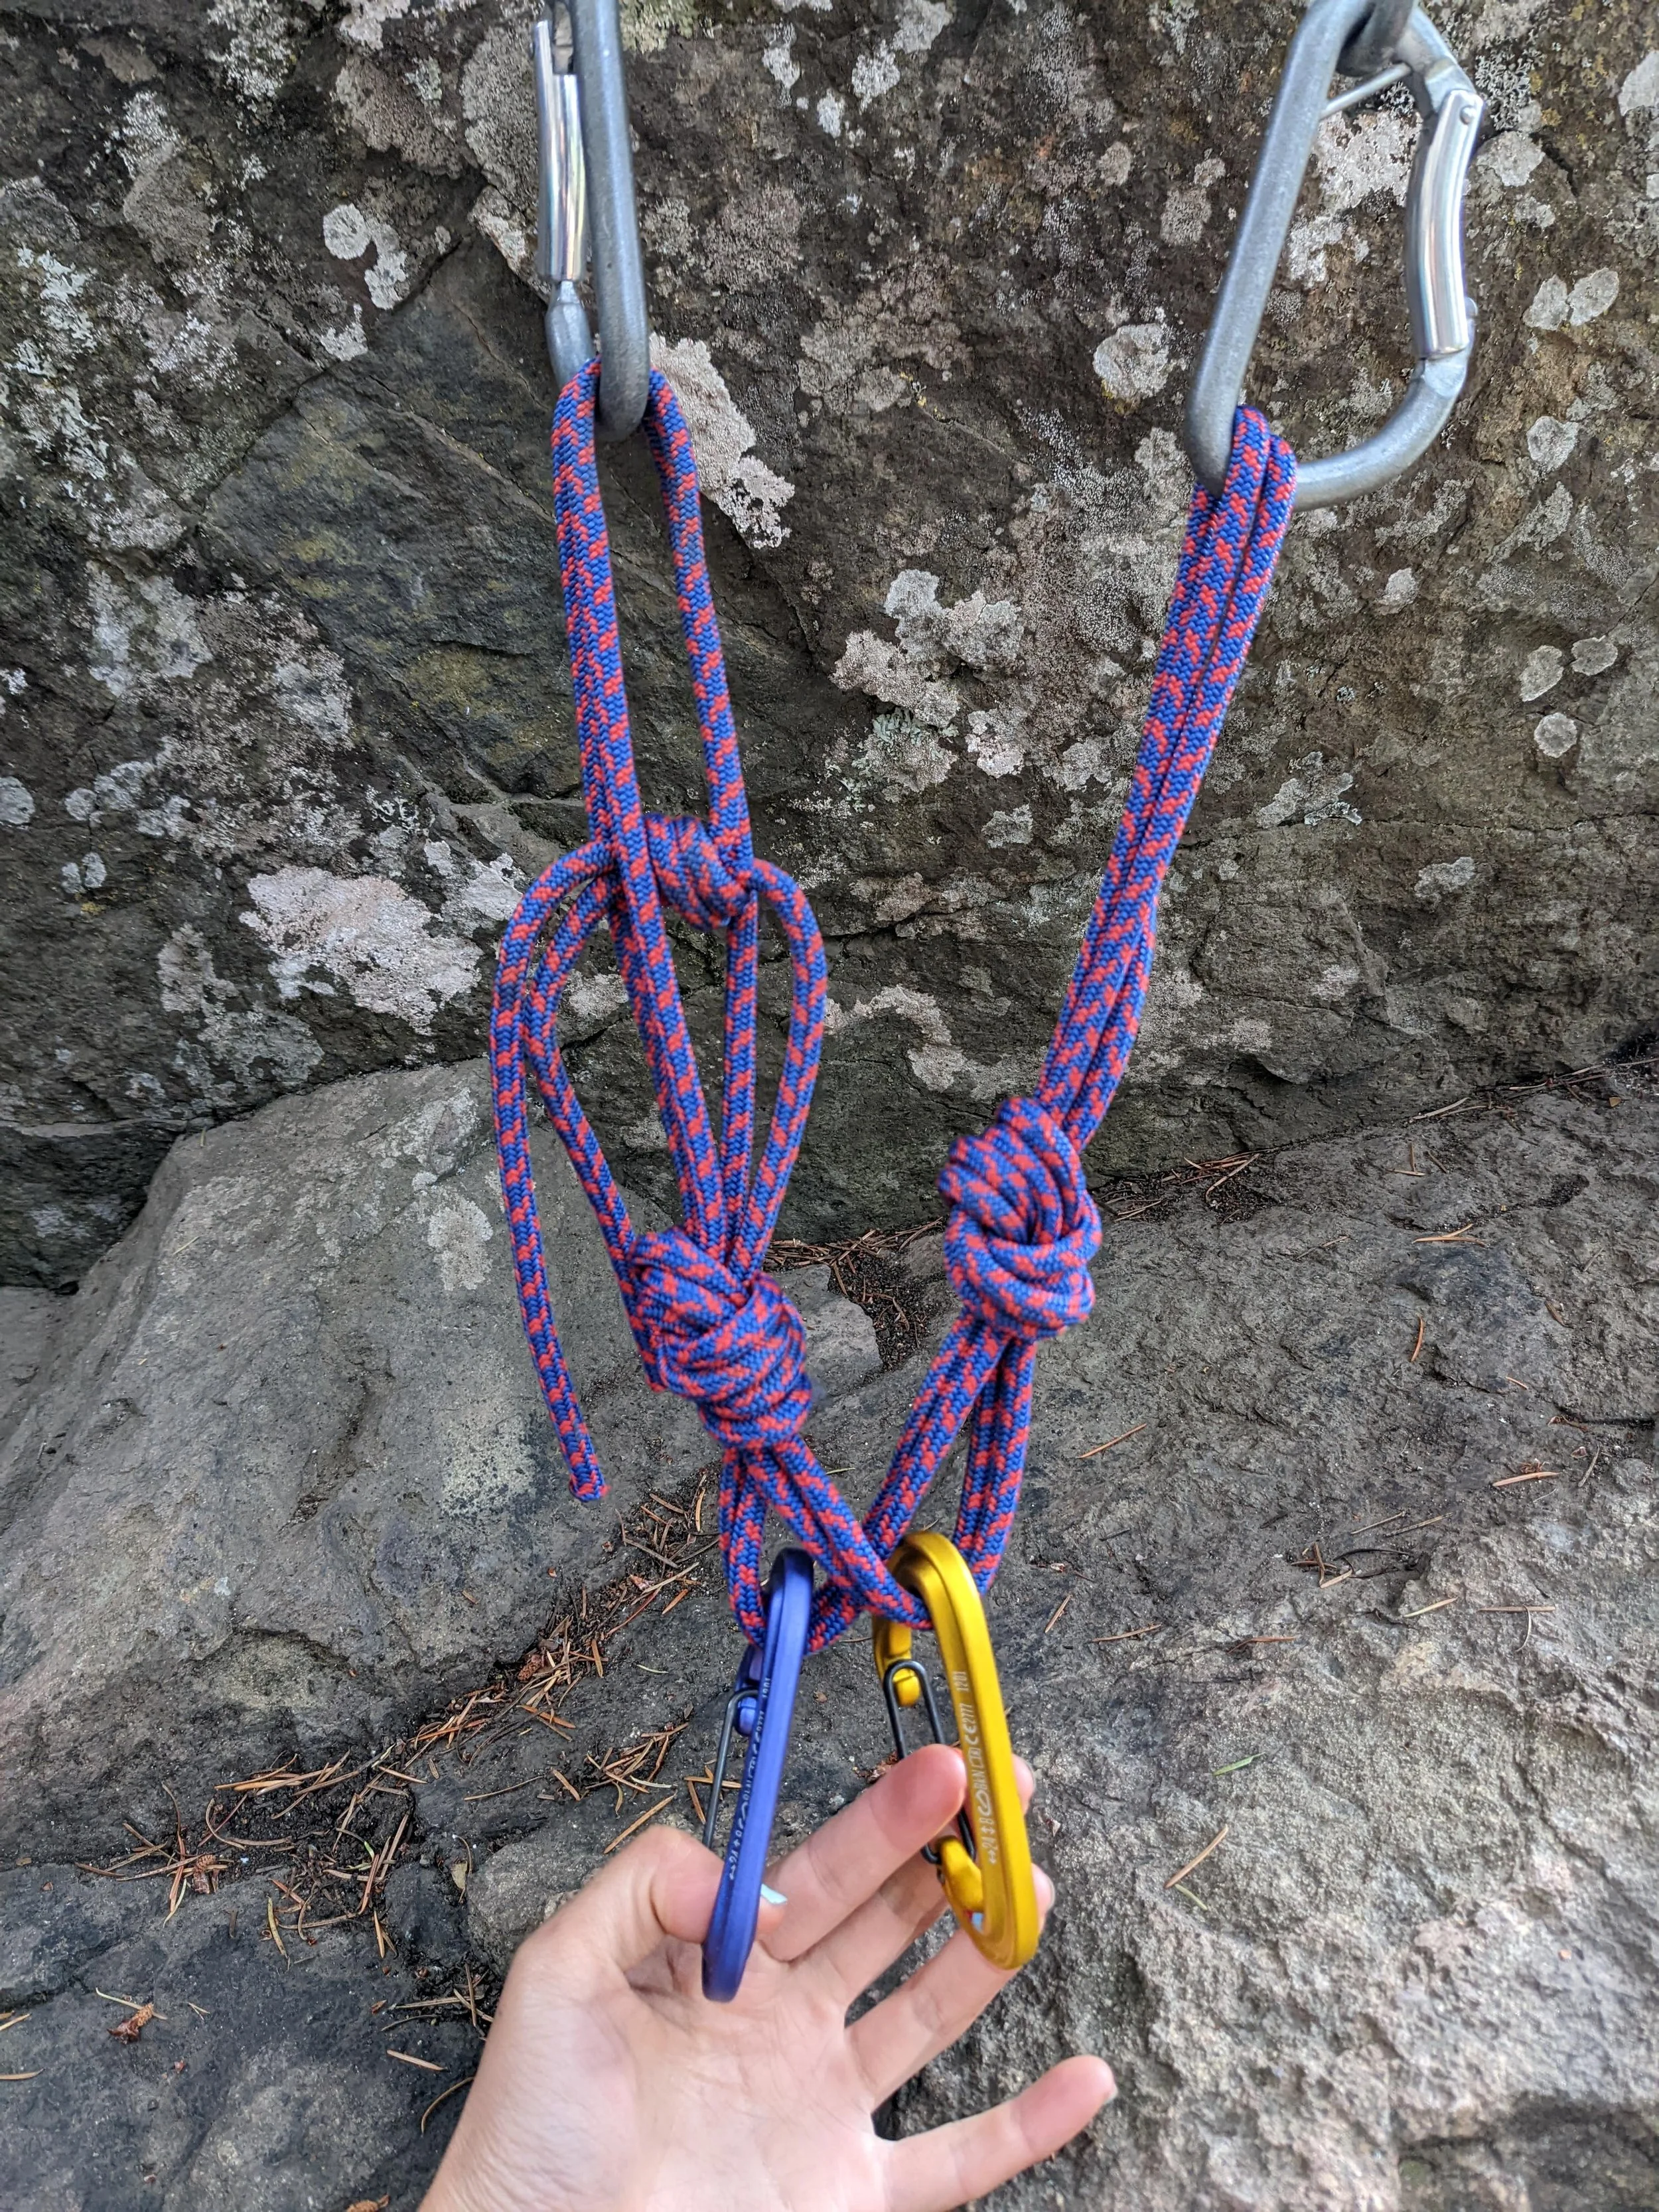
Skills Session: Covered anchor building mechanics—self-equalizing anchors (equalized load across 2 points with limiting knots) vs. fixed-point anchors.
Climbing: Climbed 3 routes at Fun Rock: a 5.10 crack, a 5.6, and a 5.5 chimney (all in mountaineering boots).
Camp: Early Winters Campground. Vault toilets and water available; no showers or cell coverage.
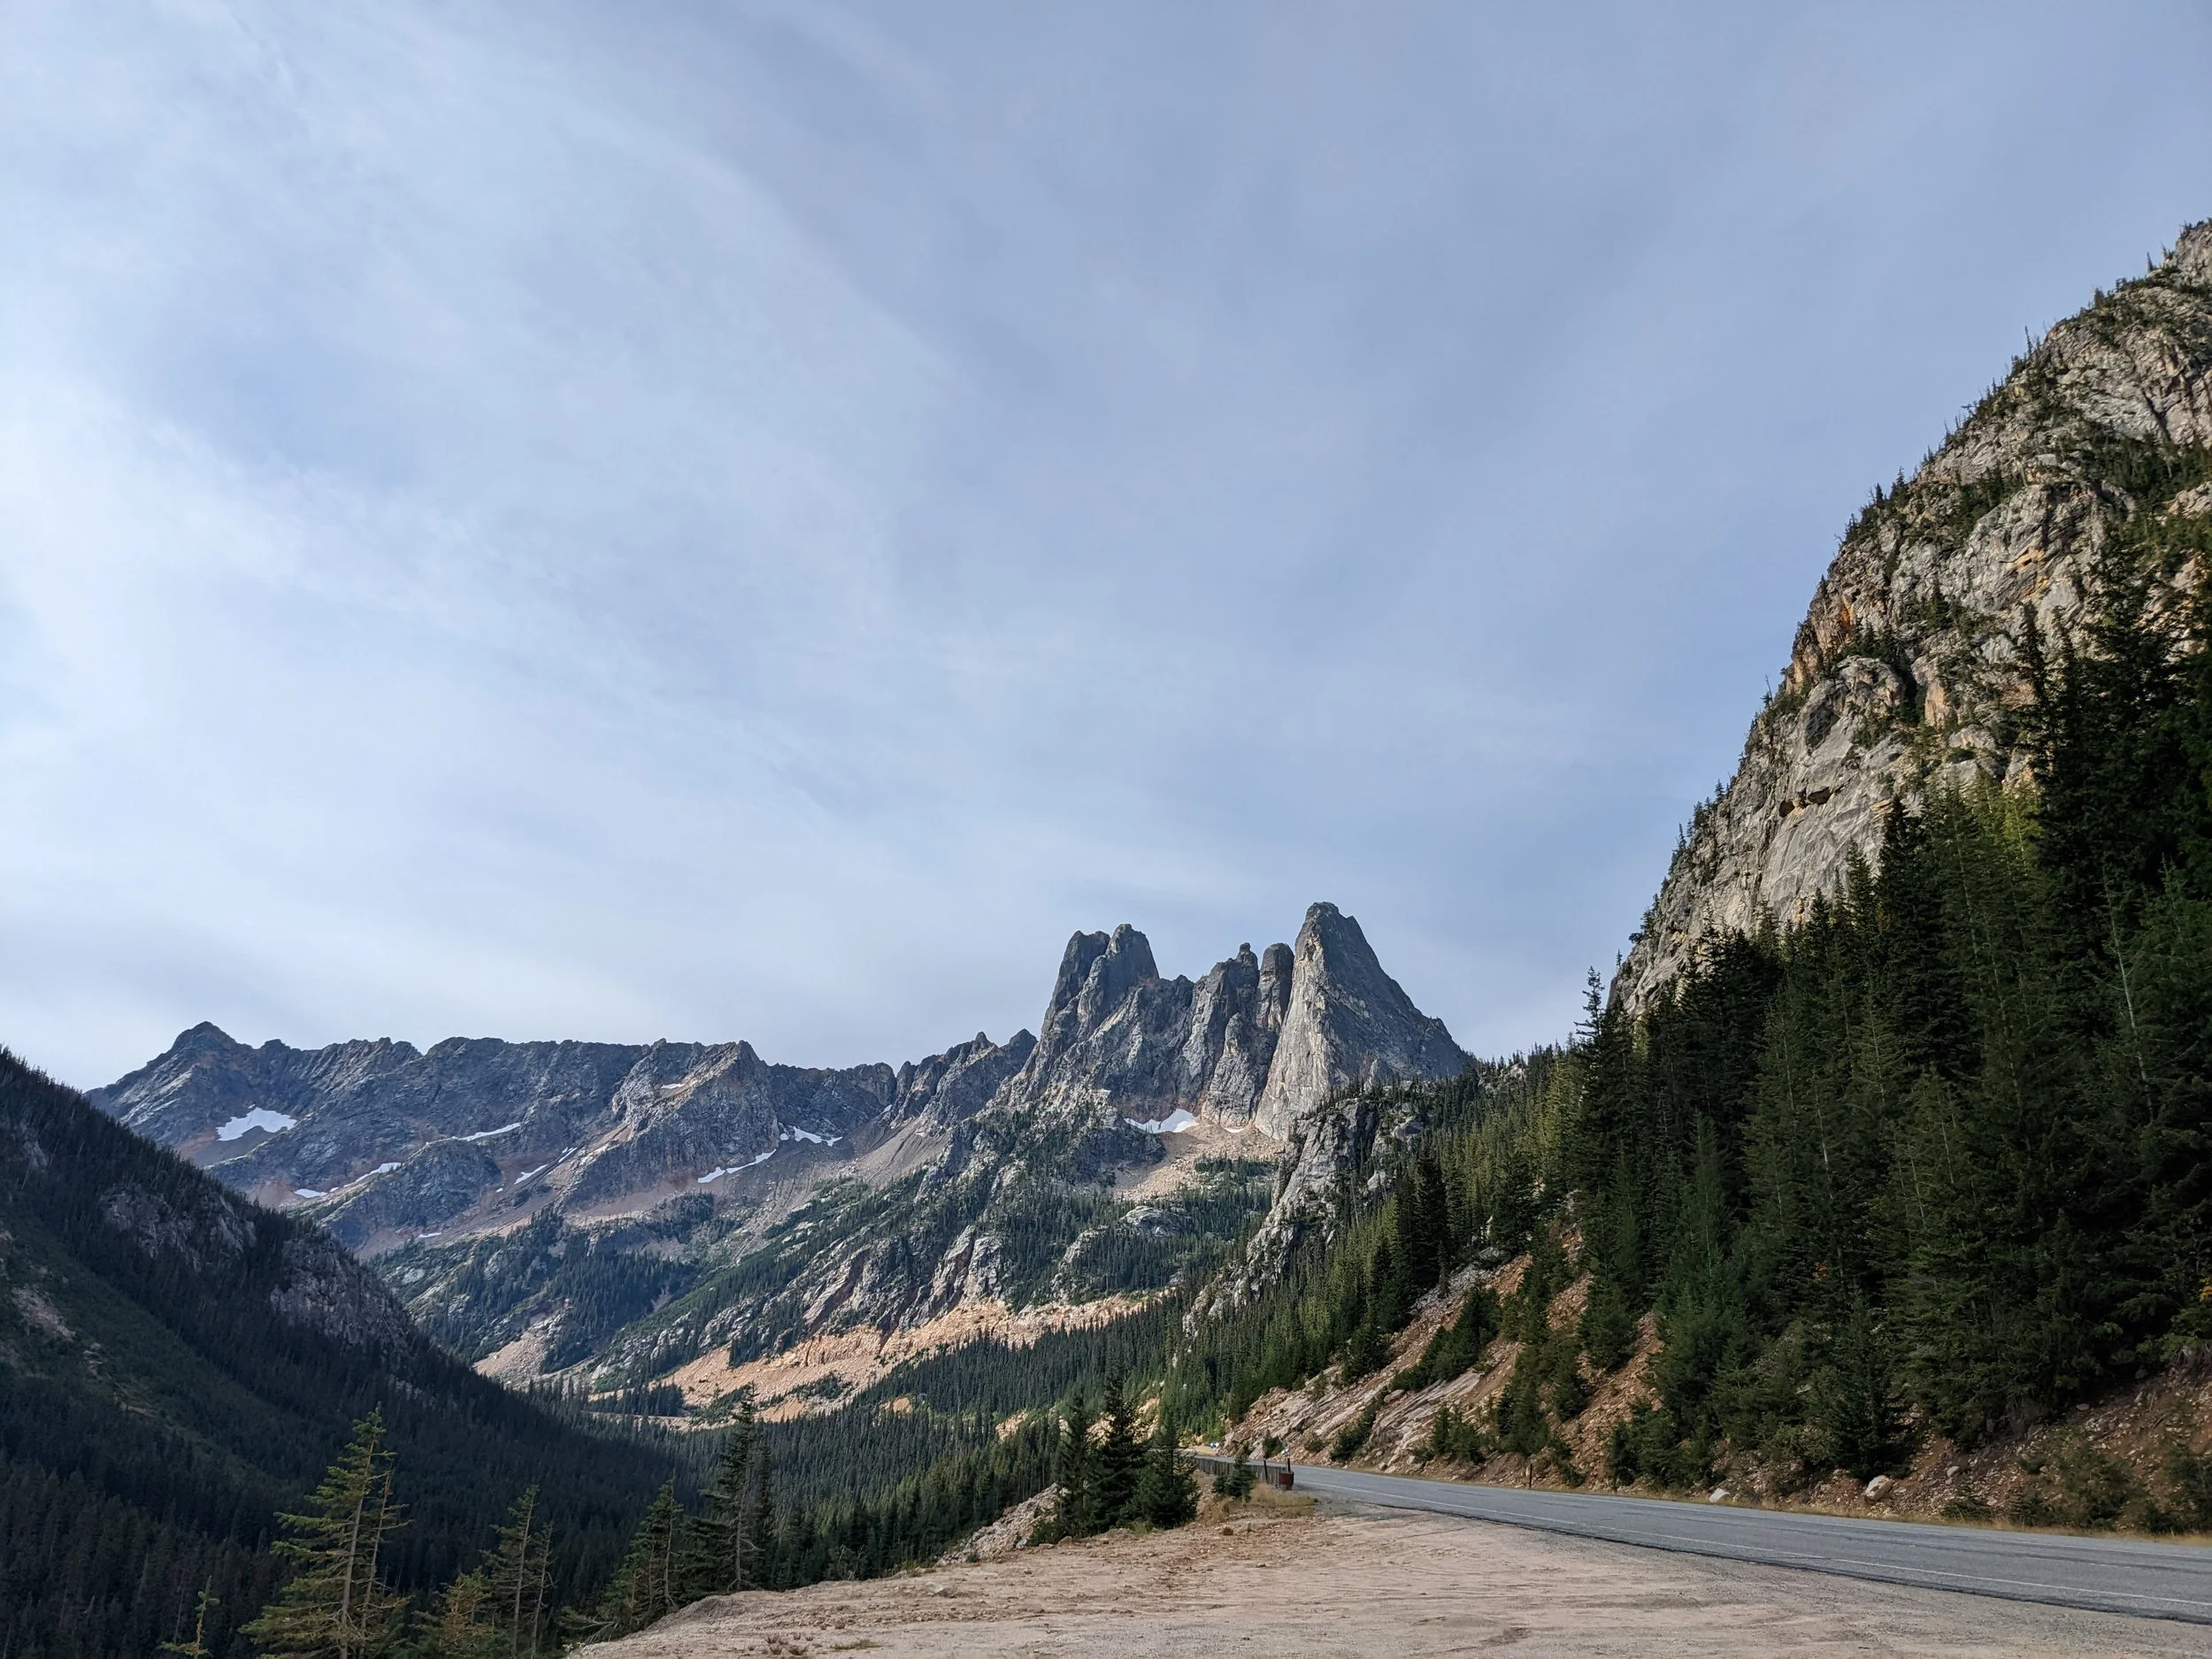
This part of Washington is so beautiful!
Day 7: Multi-Pitch Mechanics & Route Planning
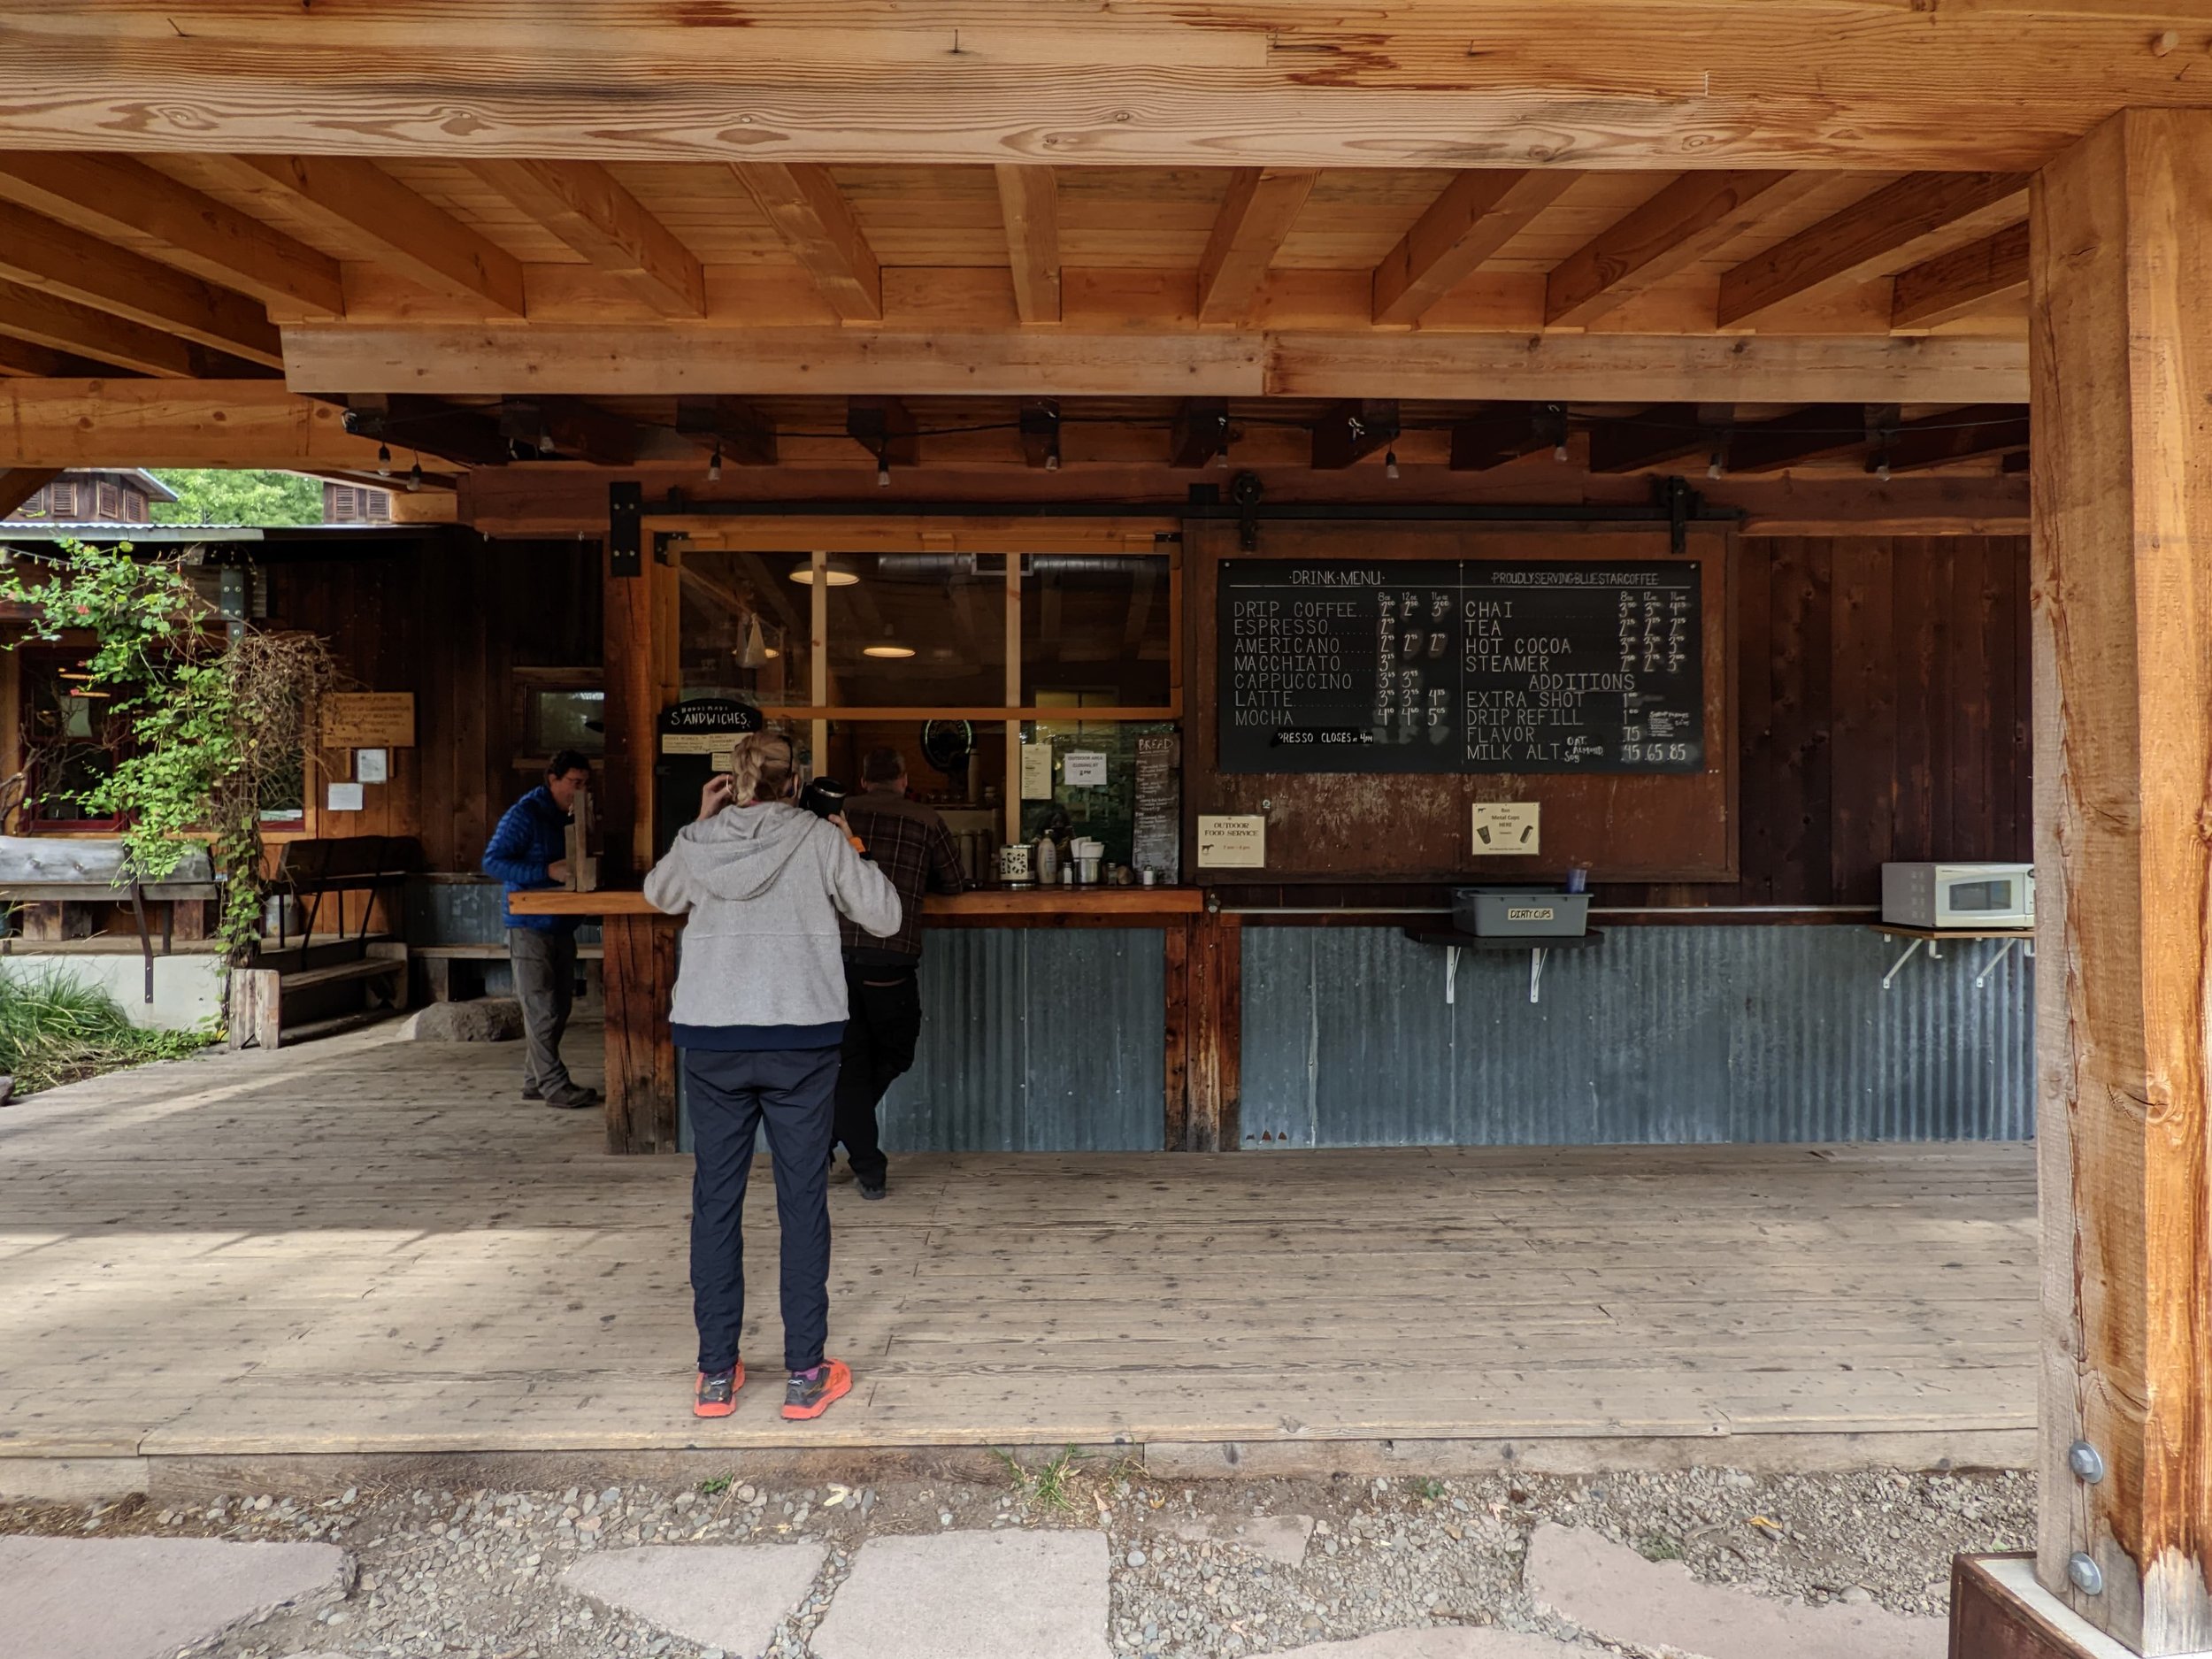
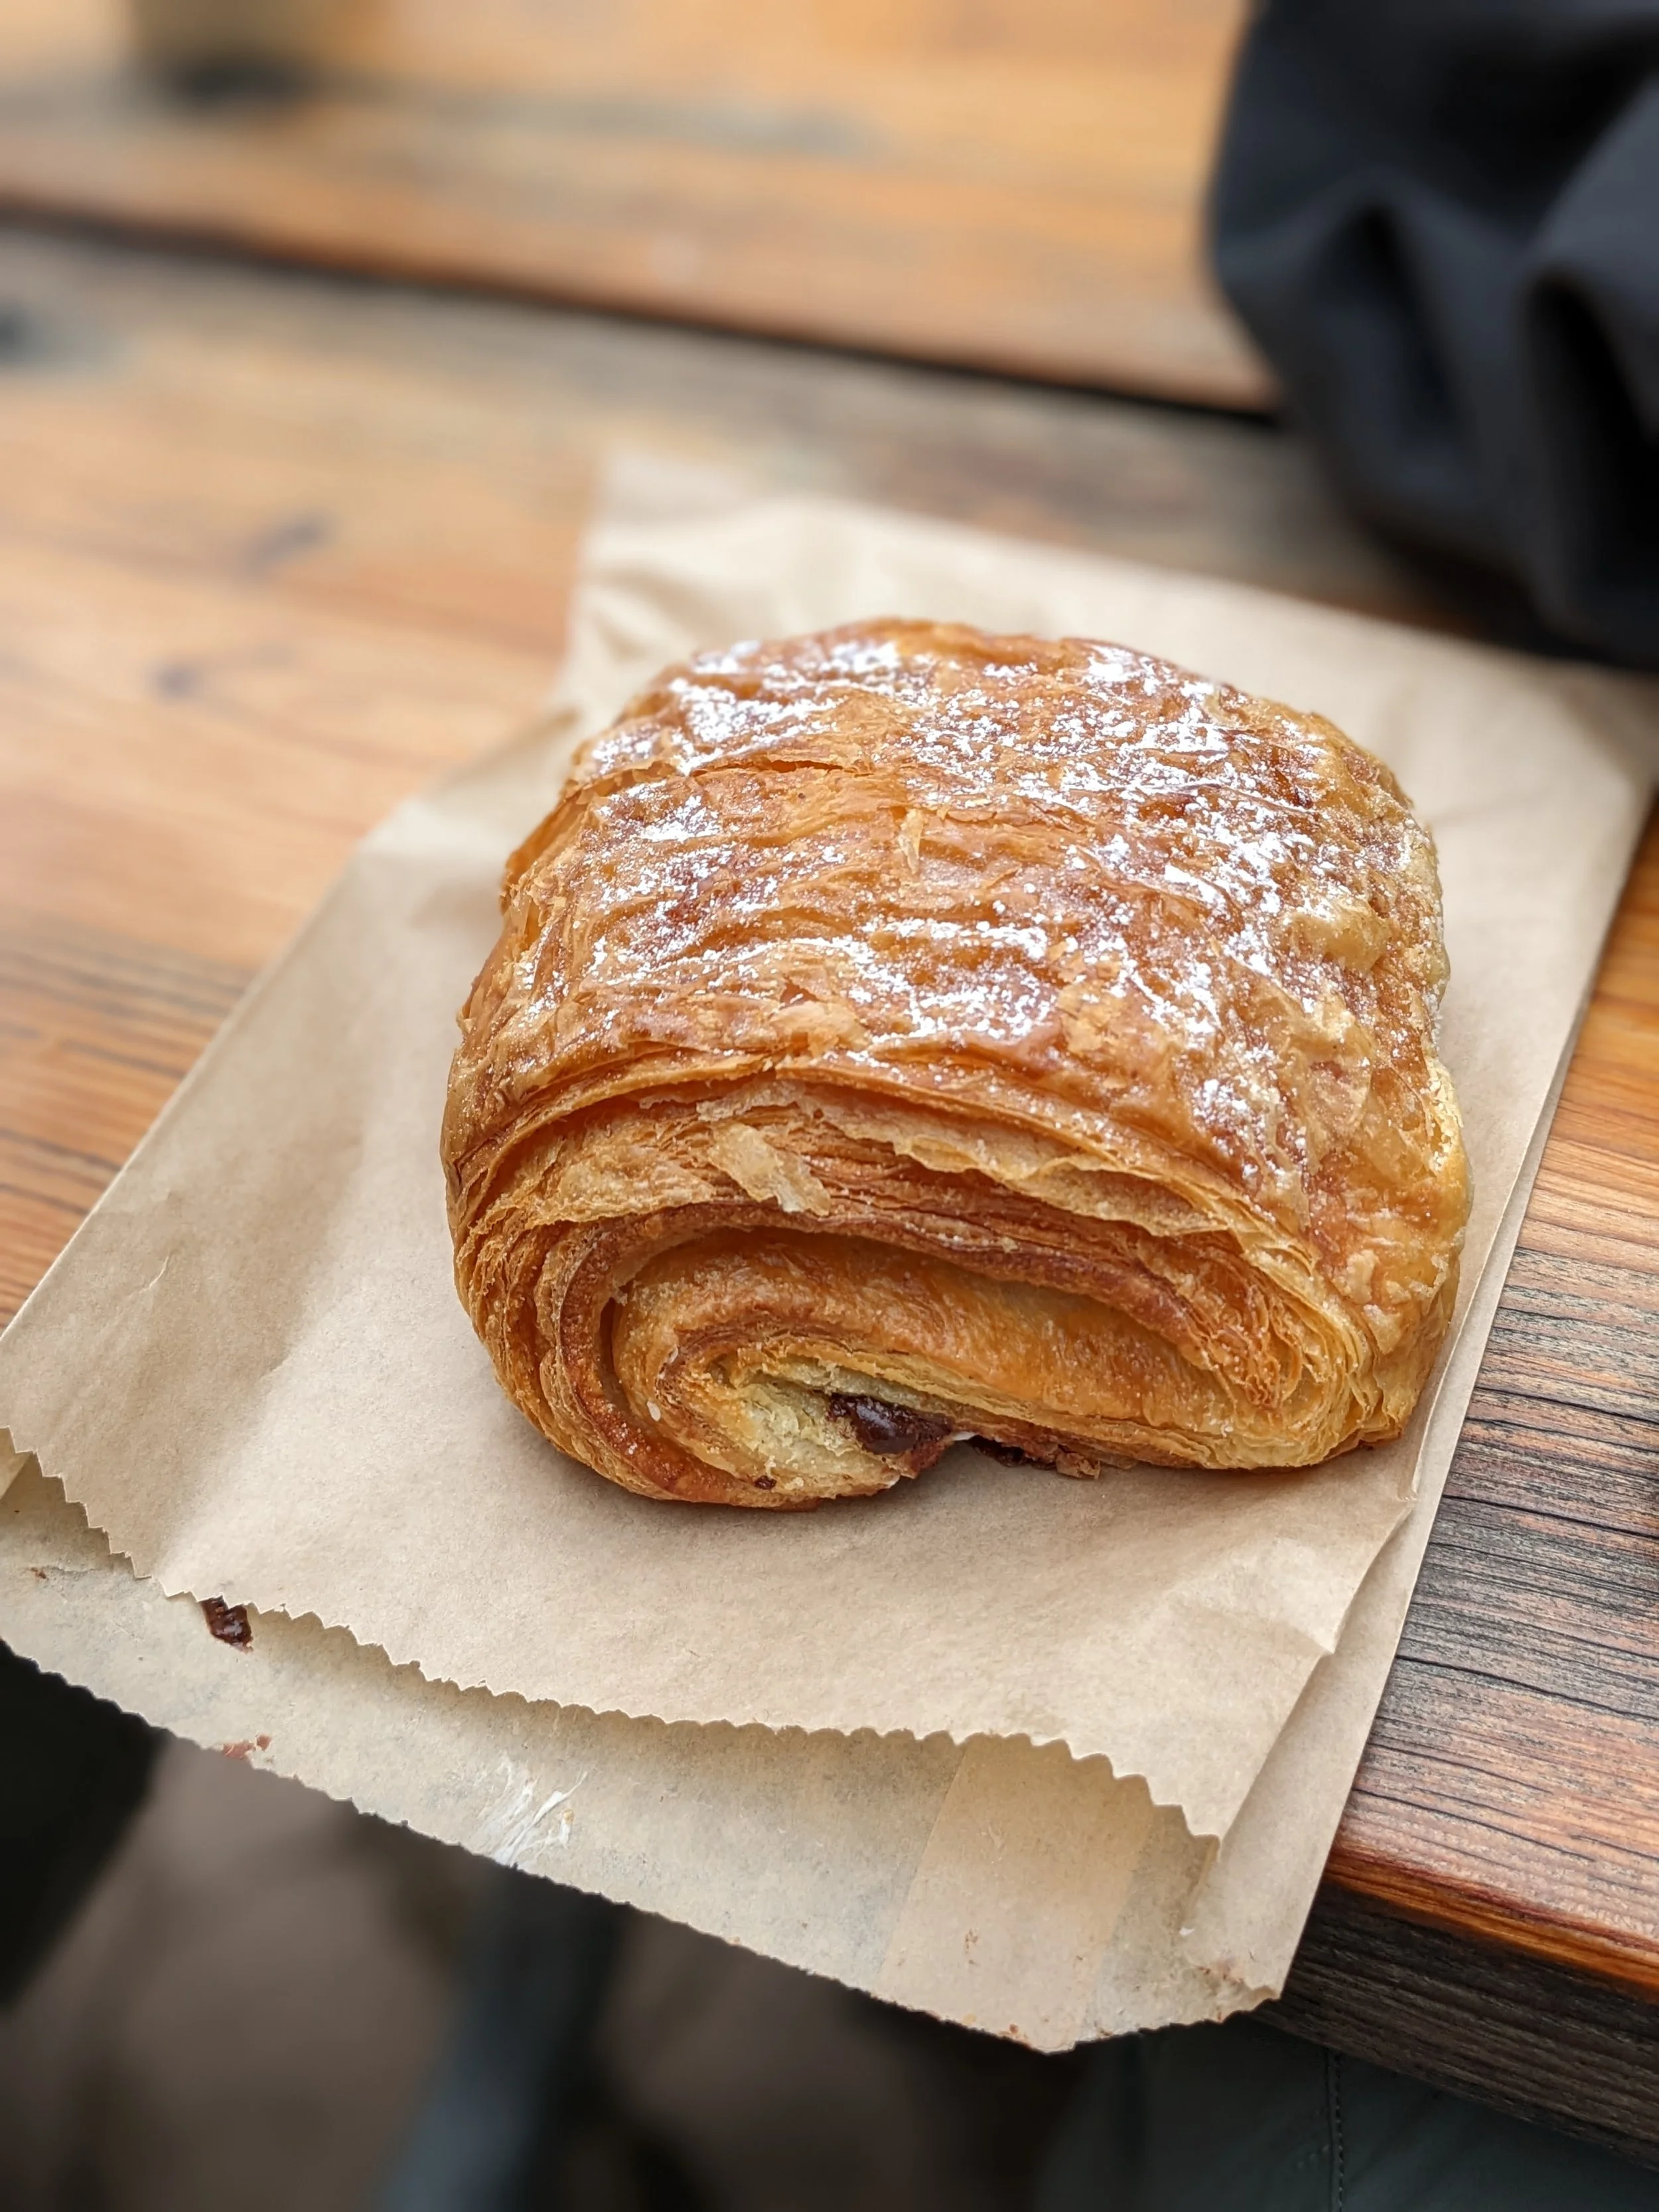
Today was Sunday, so as usual, we stopped at the Mazama Store—the food and treats there are so delicious! During training, we covered rappelling and introduced the principles of multi-pitch climbing. I haven't done a multi-pitch route yet, so I’m super stoked for the adventure.
Later, the guides laid out options for our upcoming student-led objective, where we’ll take the lead role while the guides join as rope team members:
Sahale Peak: Class 3–4 scrambling with a 3- to 4-hour approach. Permit required; toilet at camp.
Eldorado Peak: Demanding approach with 4,000–5,000 ft of elevation gain. Features a long glacier traverse and a classic snow knife-edge ridge. Permit required; toilet available.
Silver Star Mountain: Lesser-known peak with a steep approach to camp. Routes ascend via a couloir followed by Class 3–4 rock scrambling. No permit required.
Mount Shuksan: ~5 miles approach with sub-4,000 ft gain. Features Class 4 to low 5th-class moves on a massive, rock-heavy peak. Toilet available.
Munter Method: Learned how to calculate backcountry touring and climbing time based on distance and vertical elevation gain:
Route Preps: We climbed some and pepped gear for the iconic Beckey Route on Liberty Bell (SW Face).

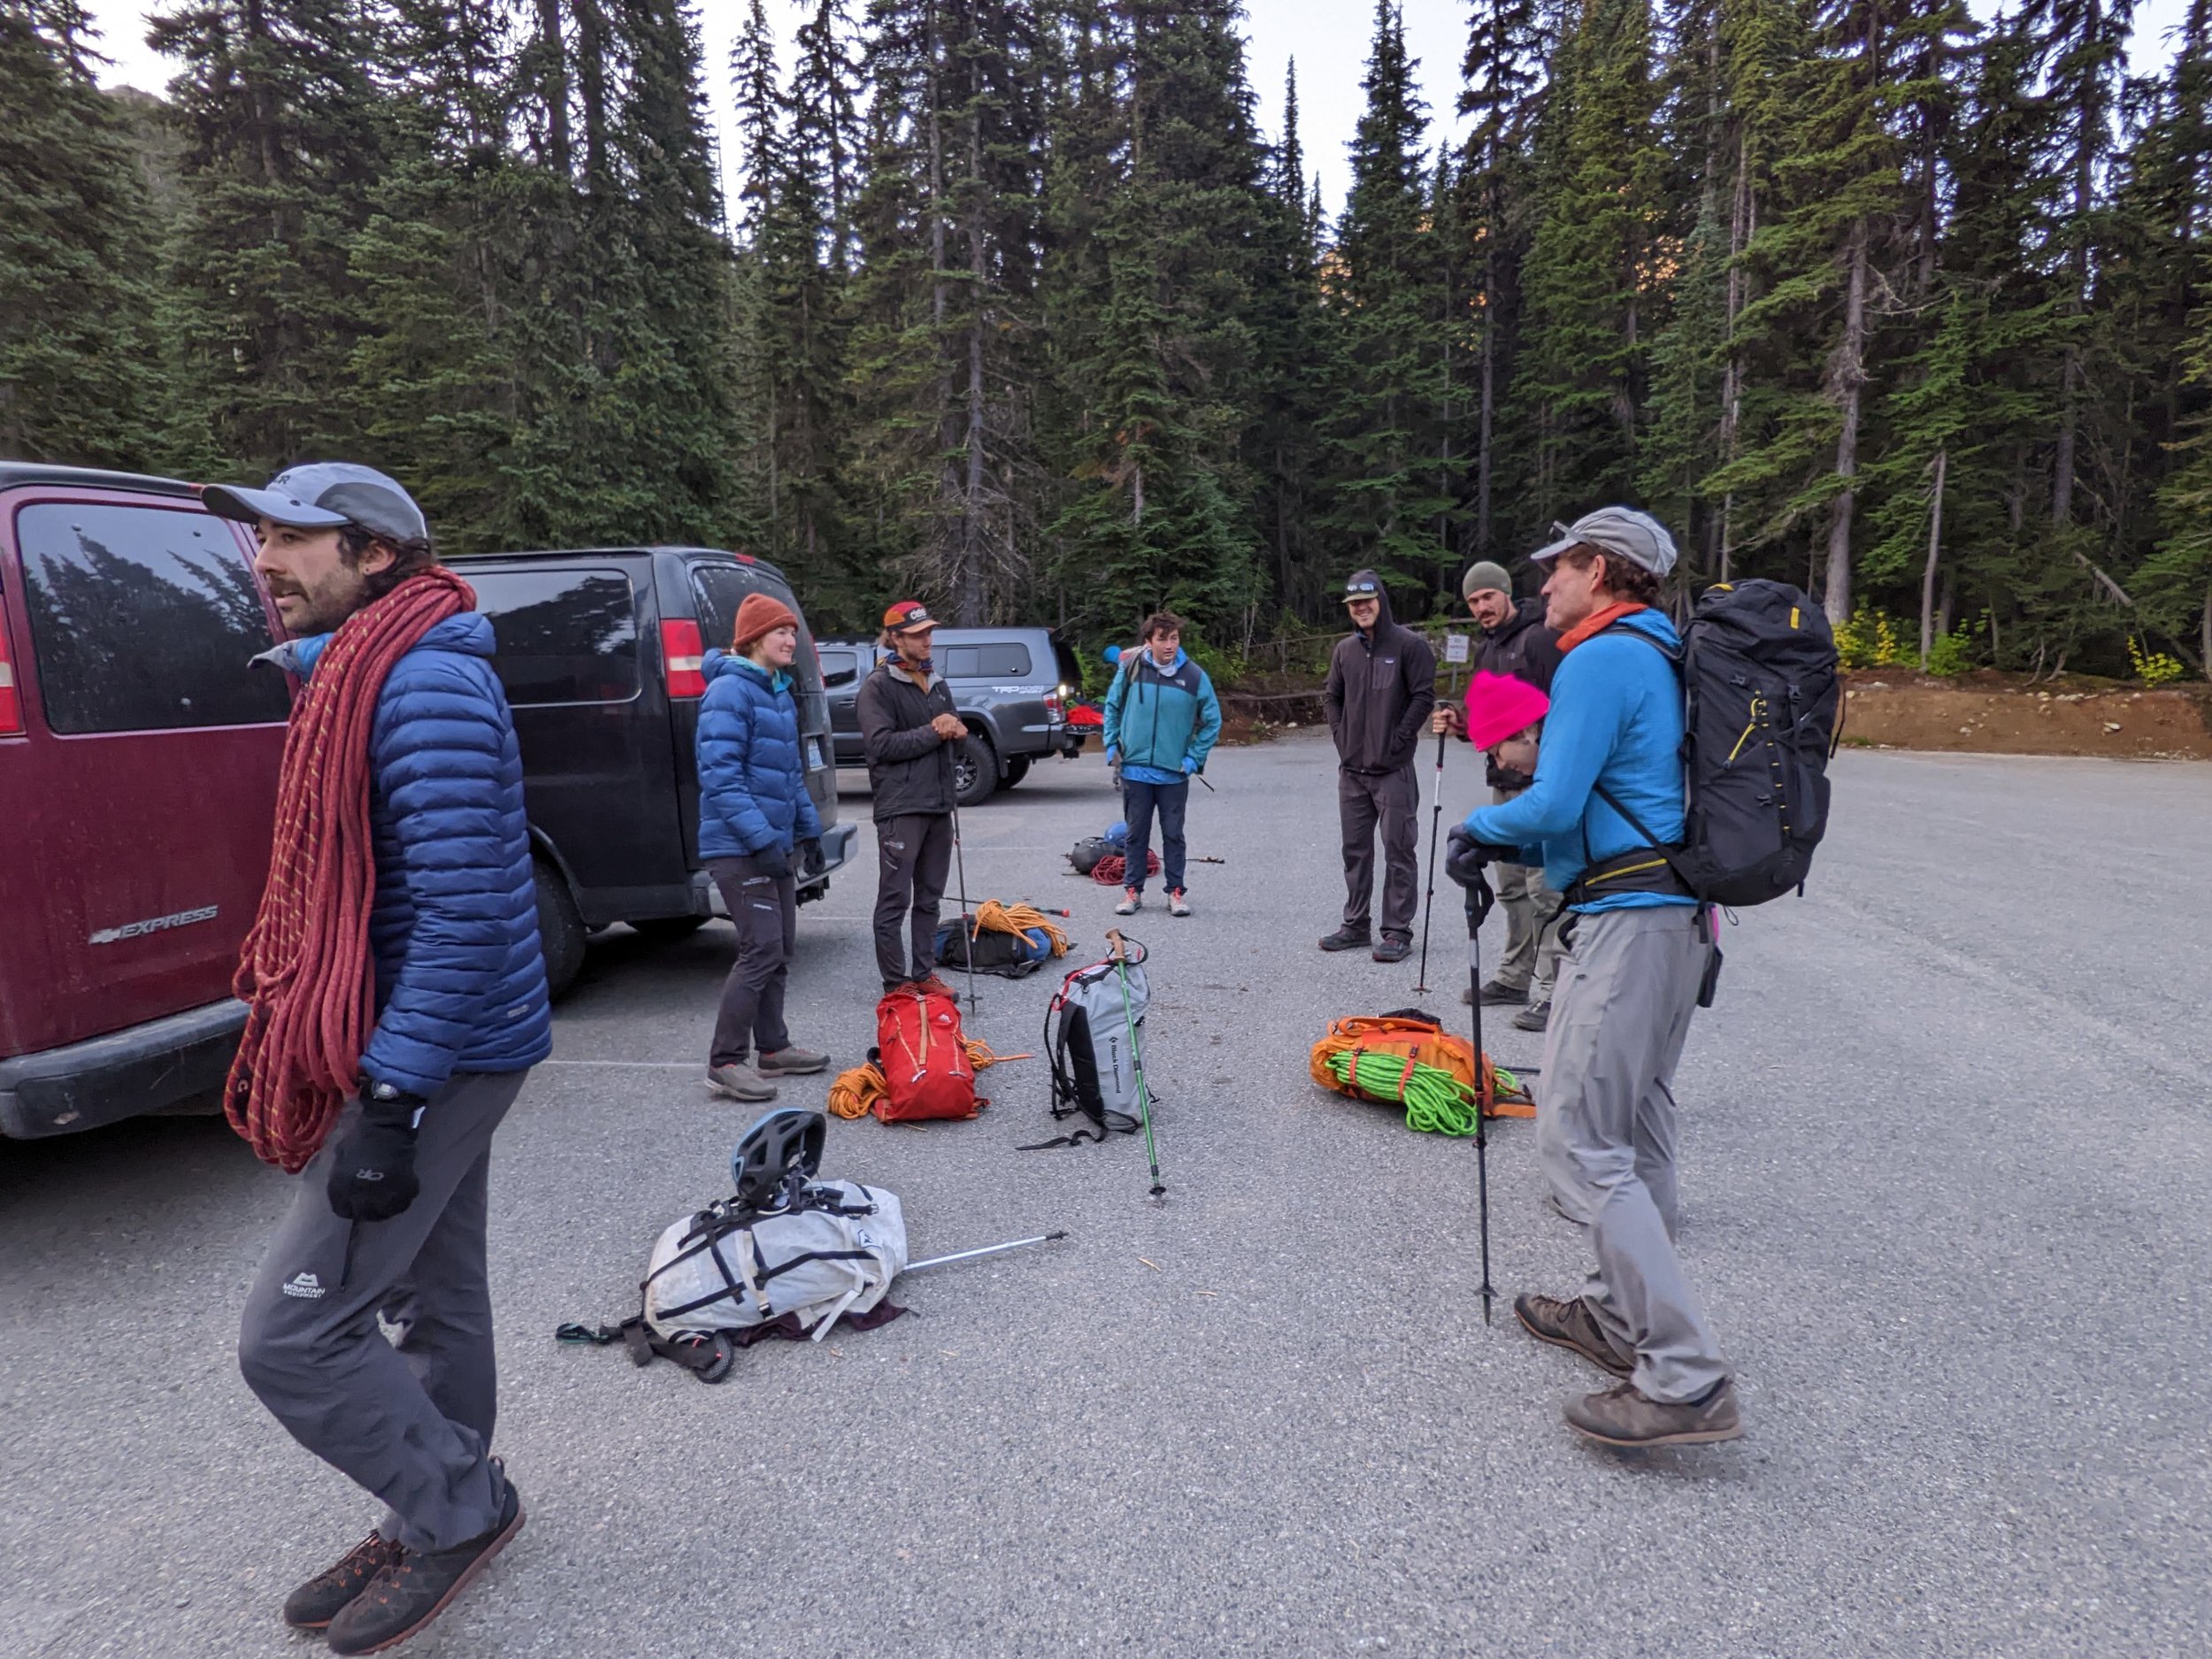
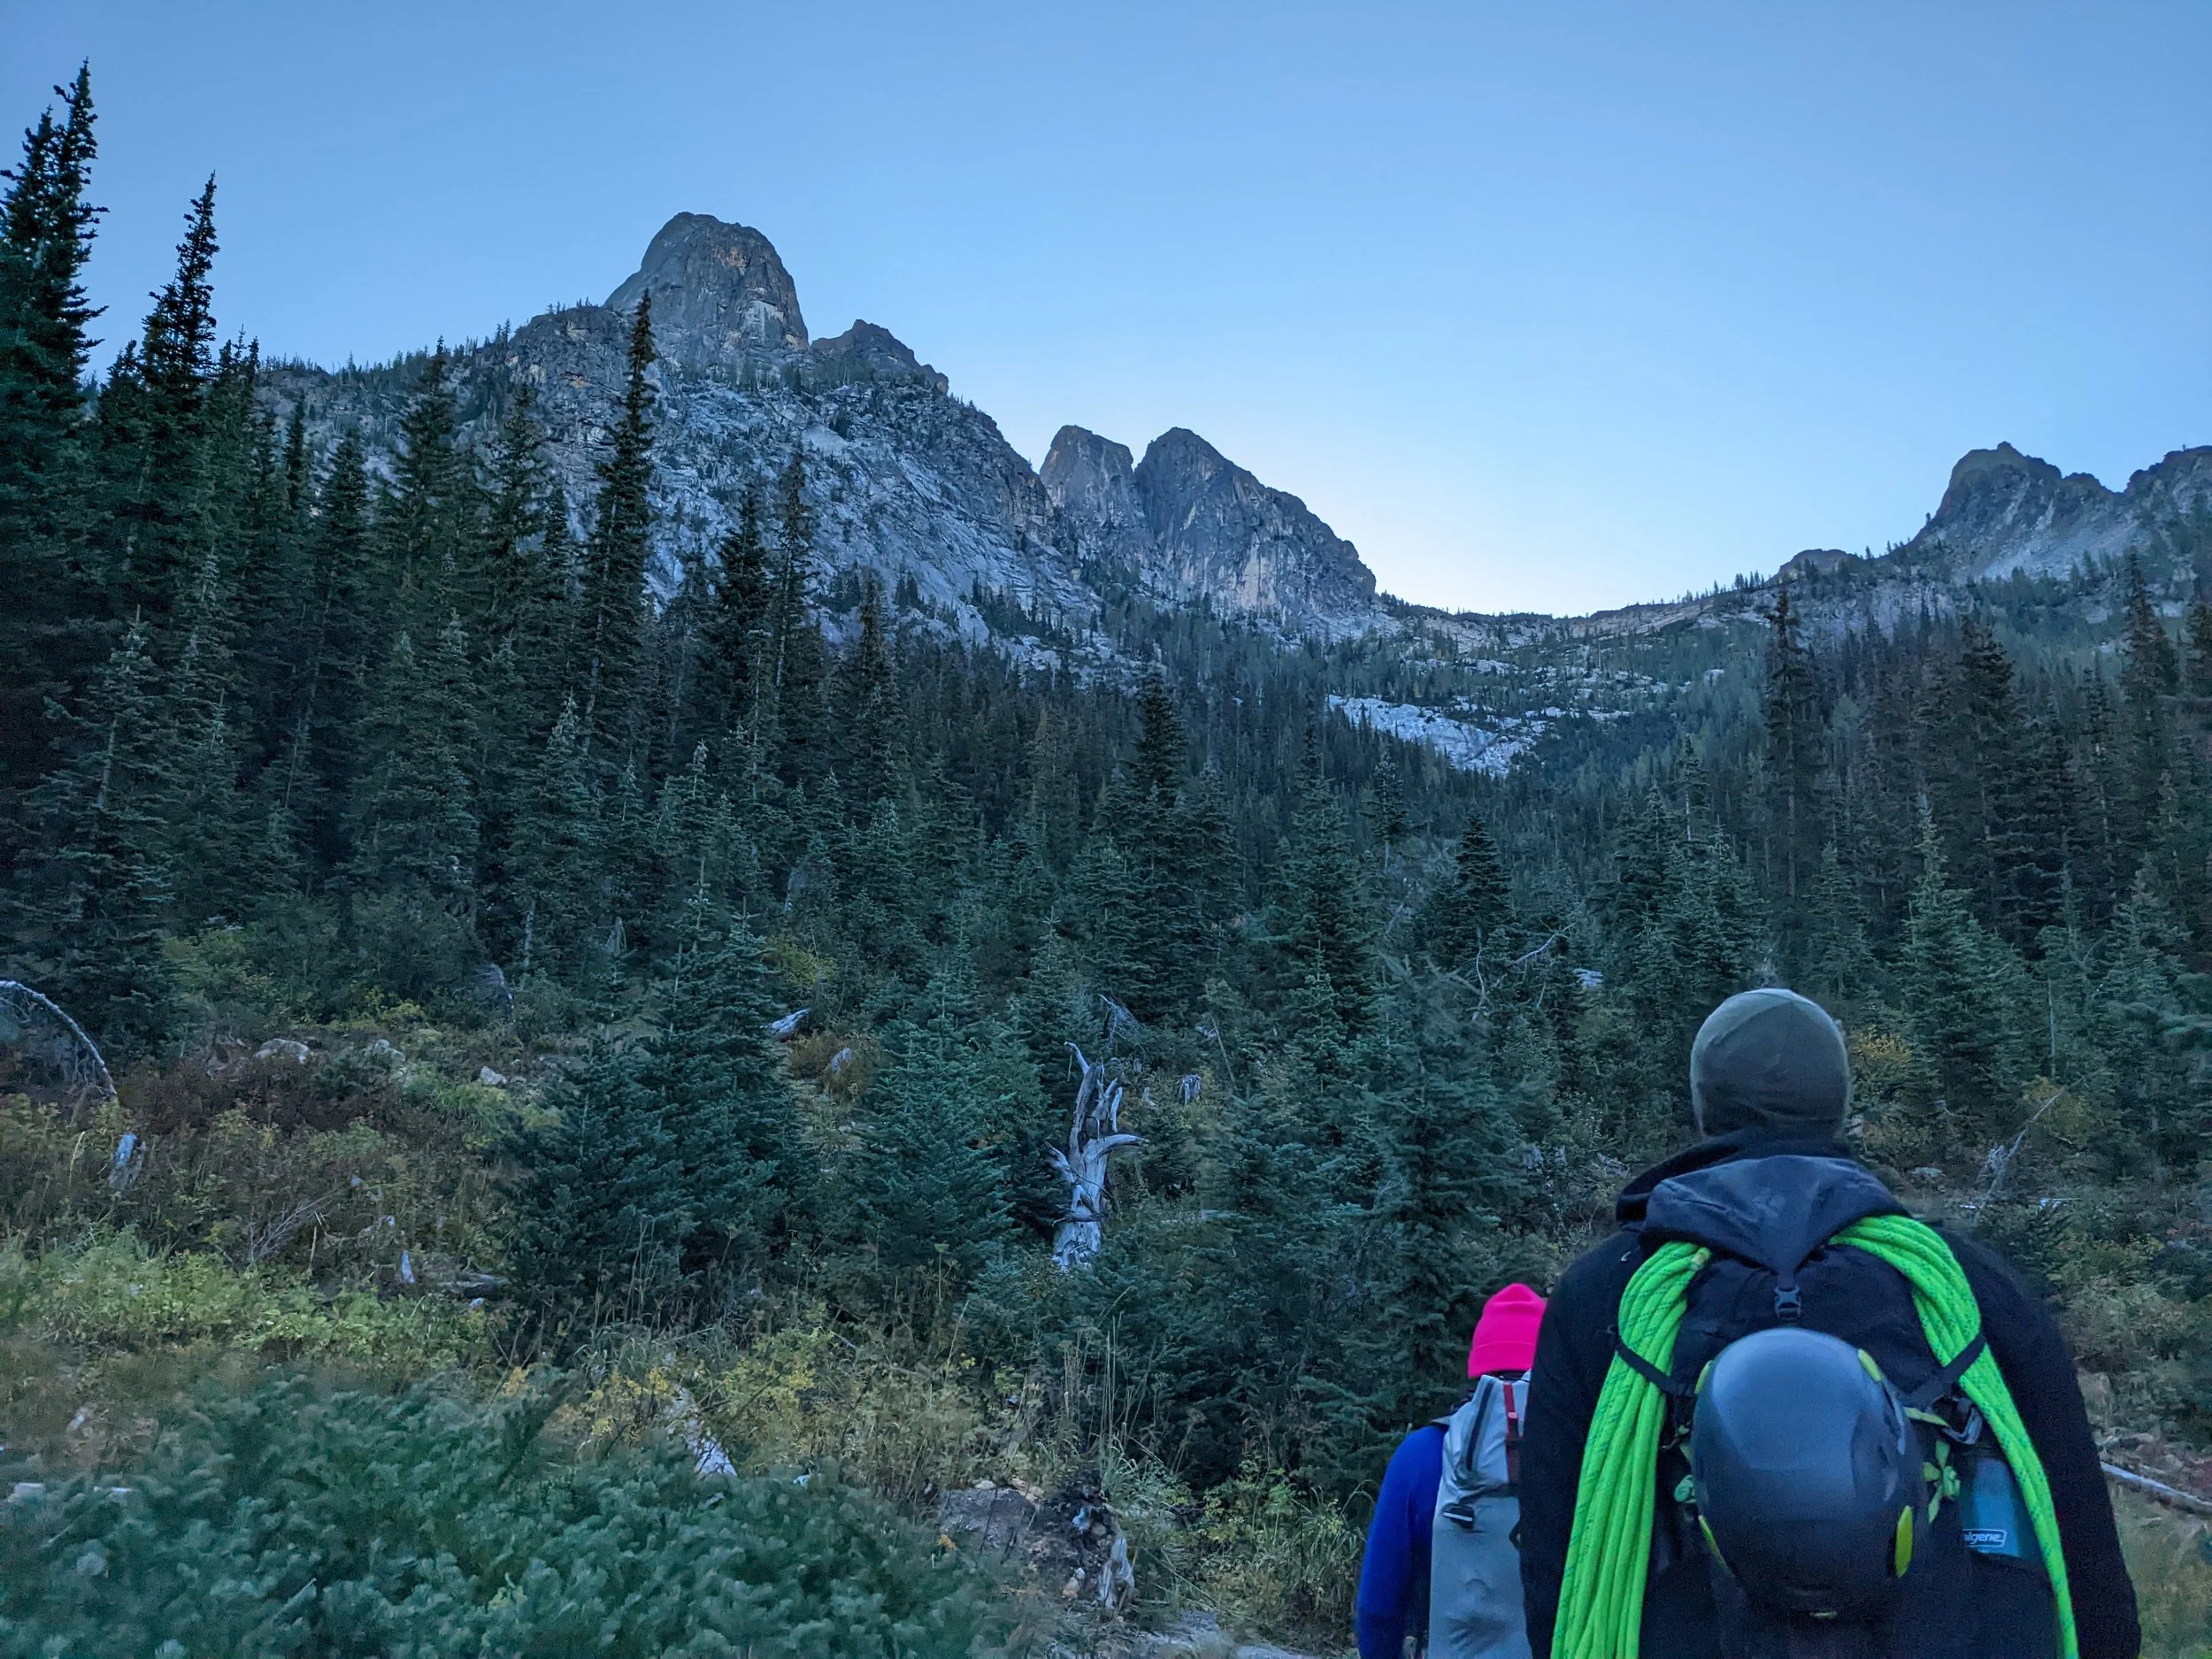
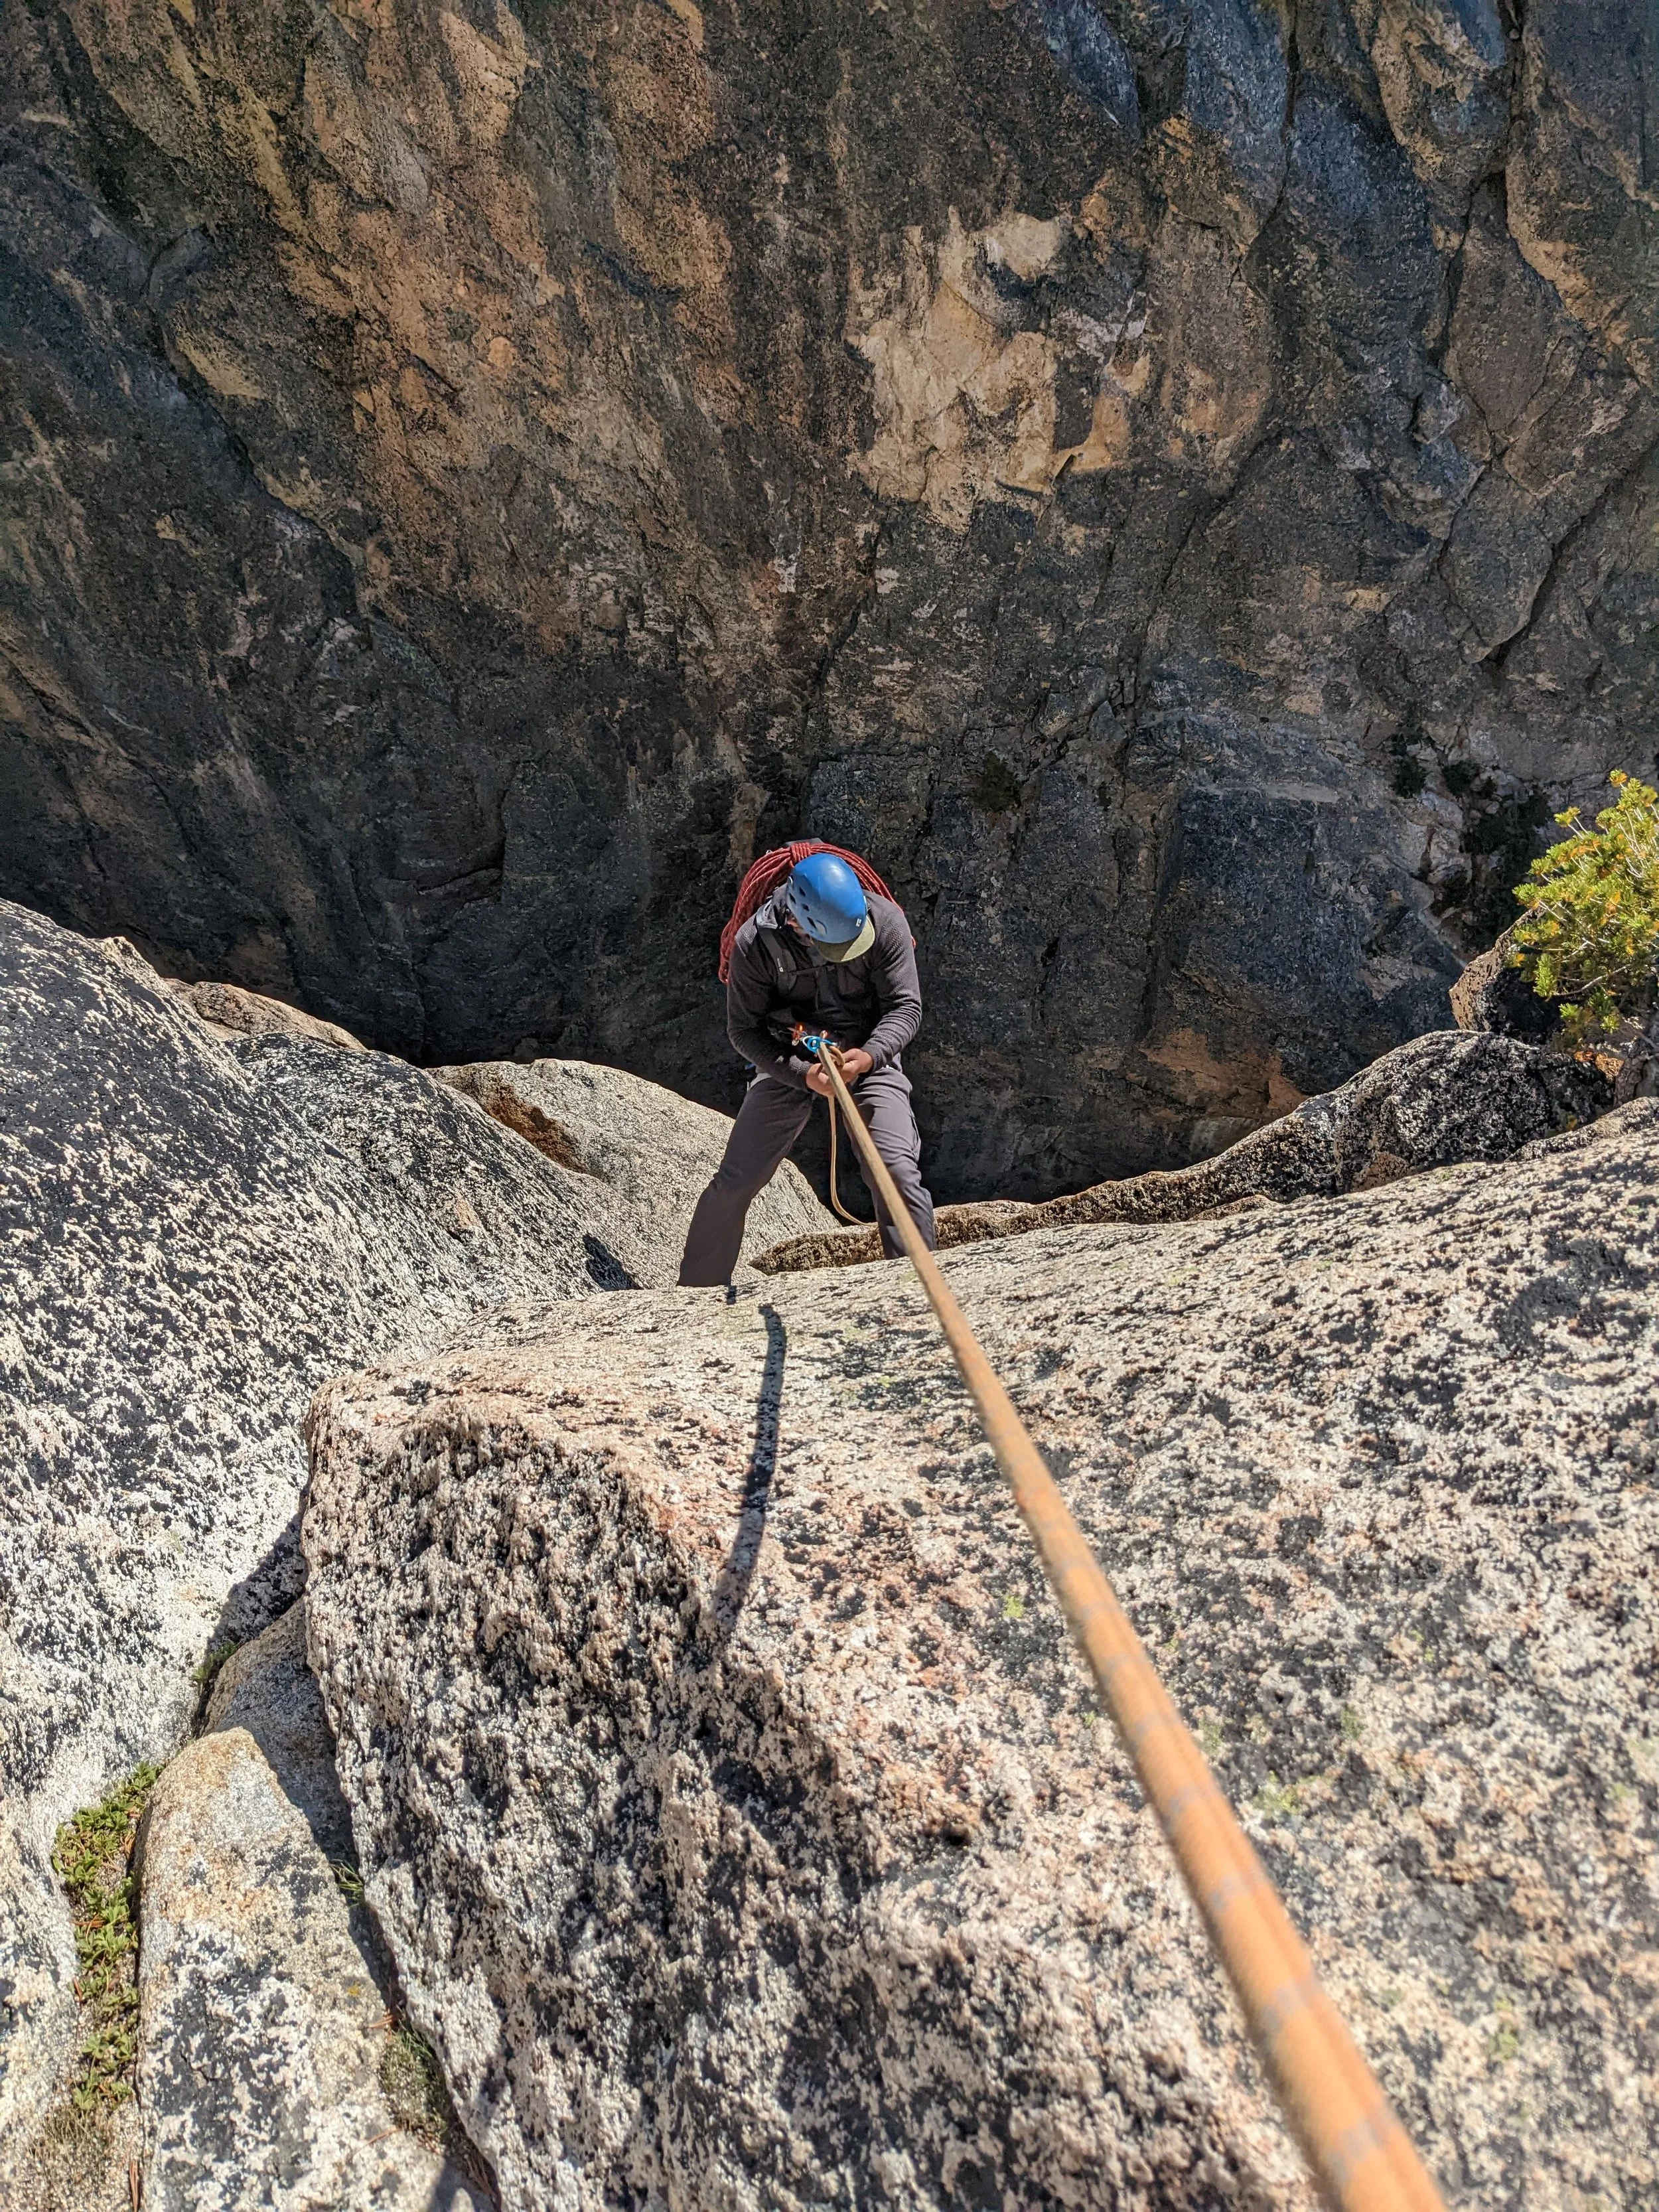
Day 8: Multi-Pitch Ascent — Liberty Bell (Beckey Route)
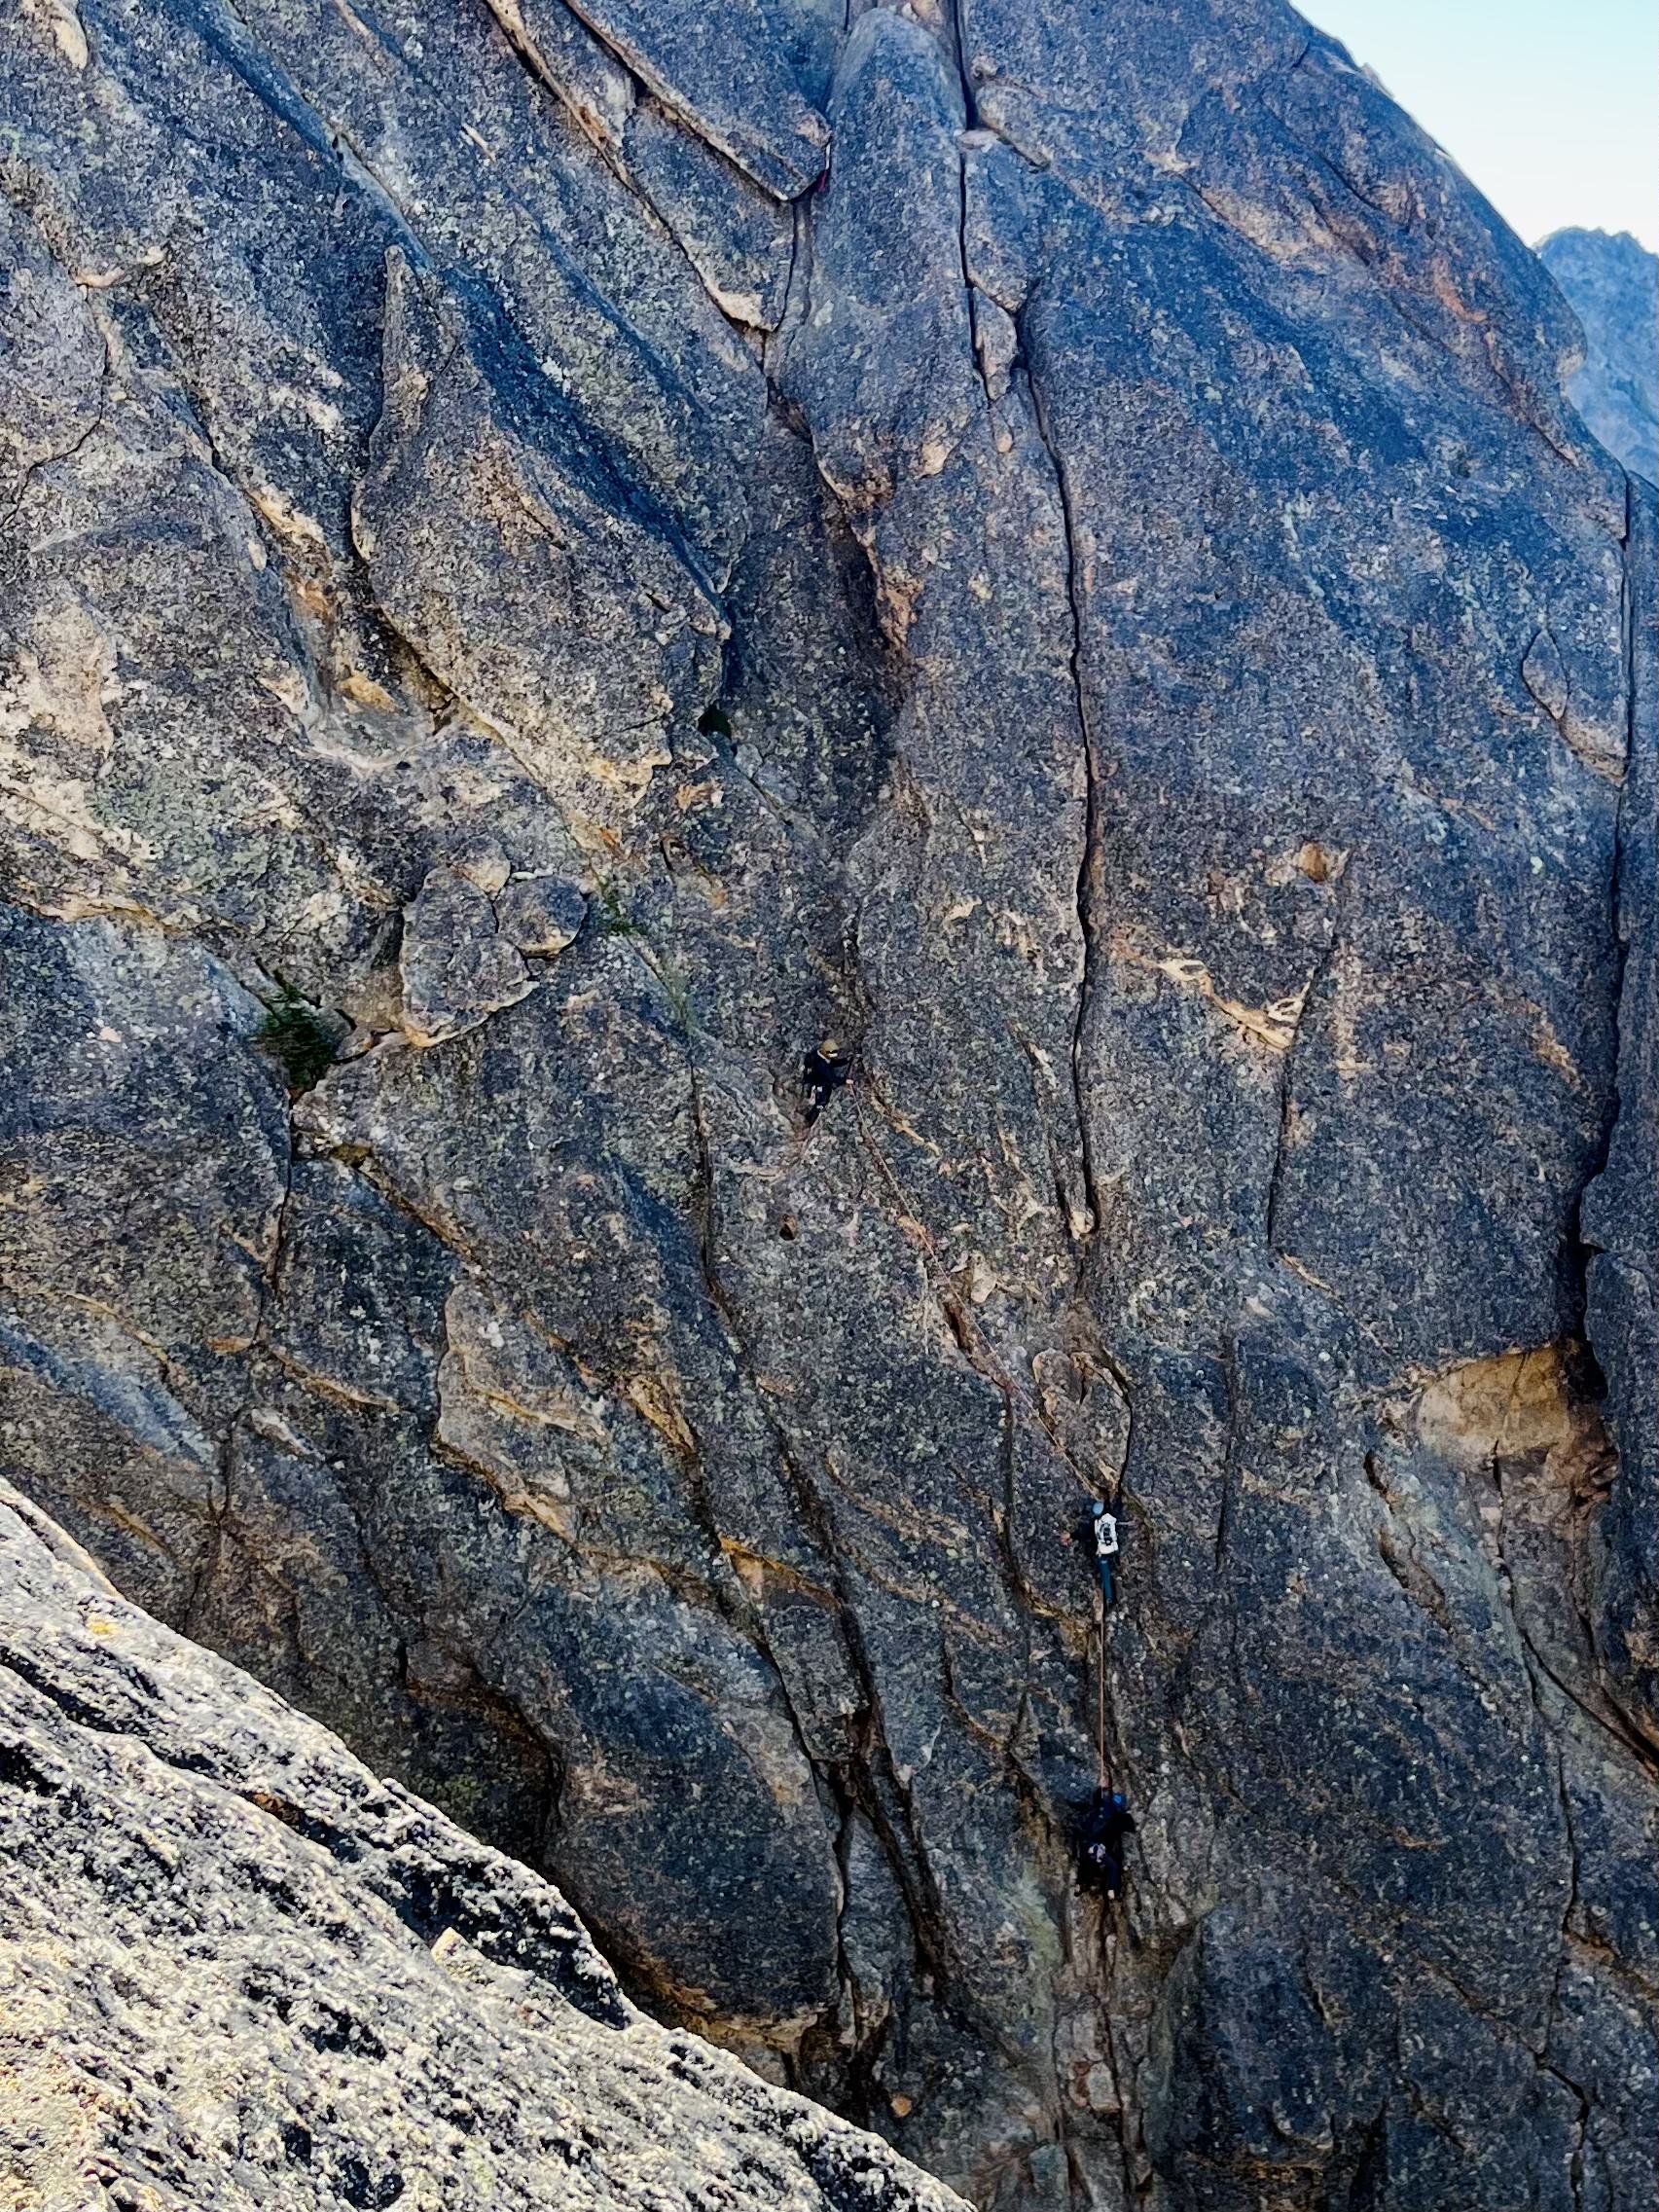
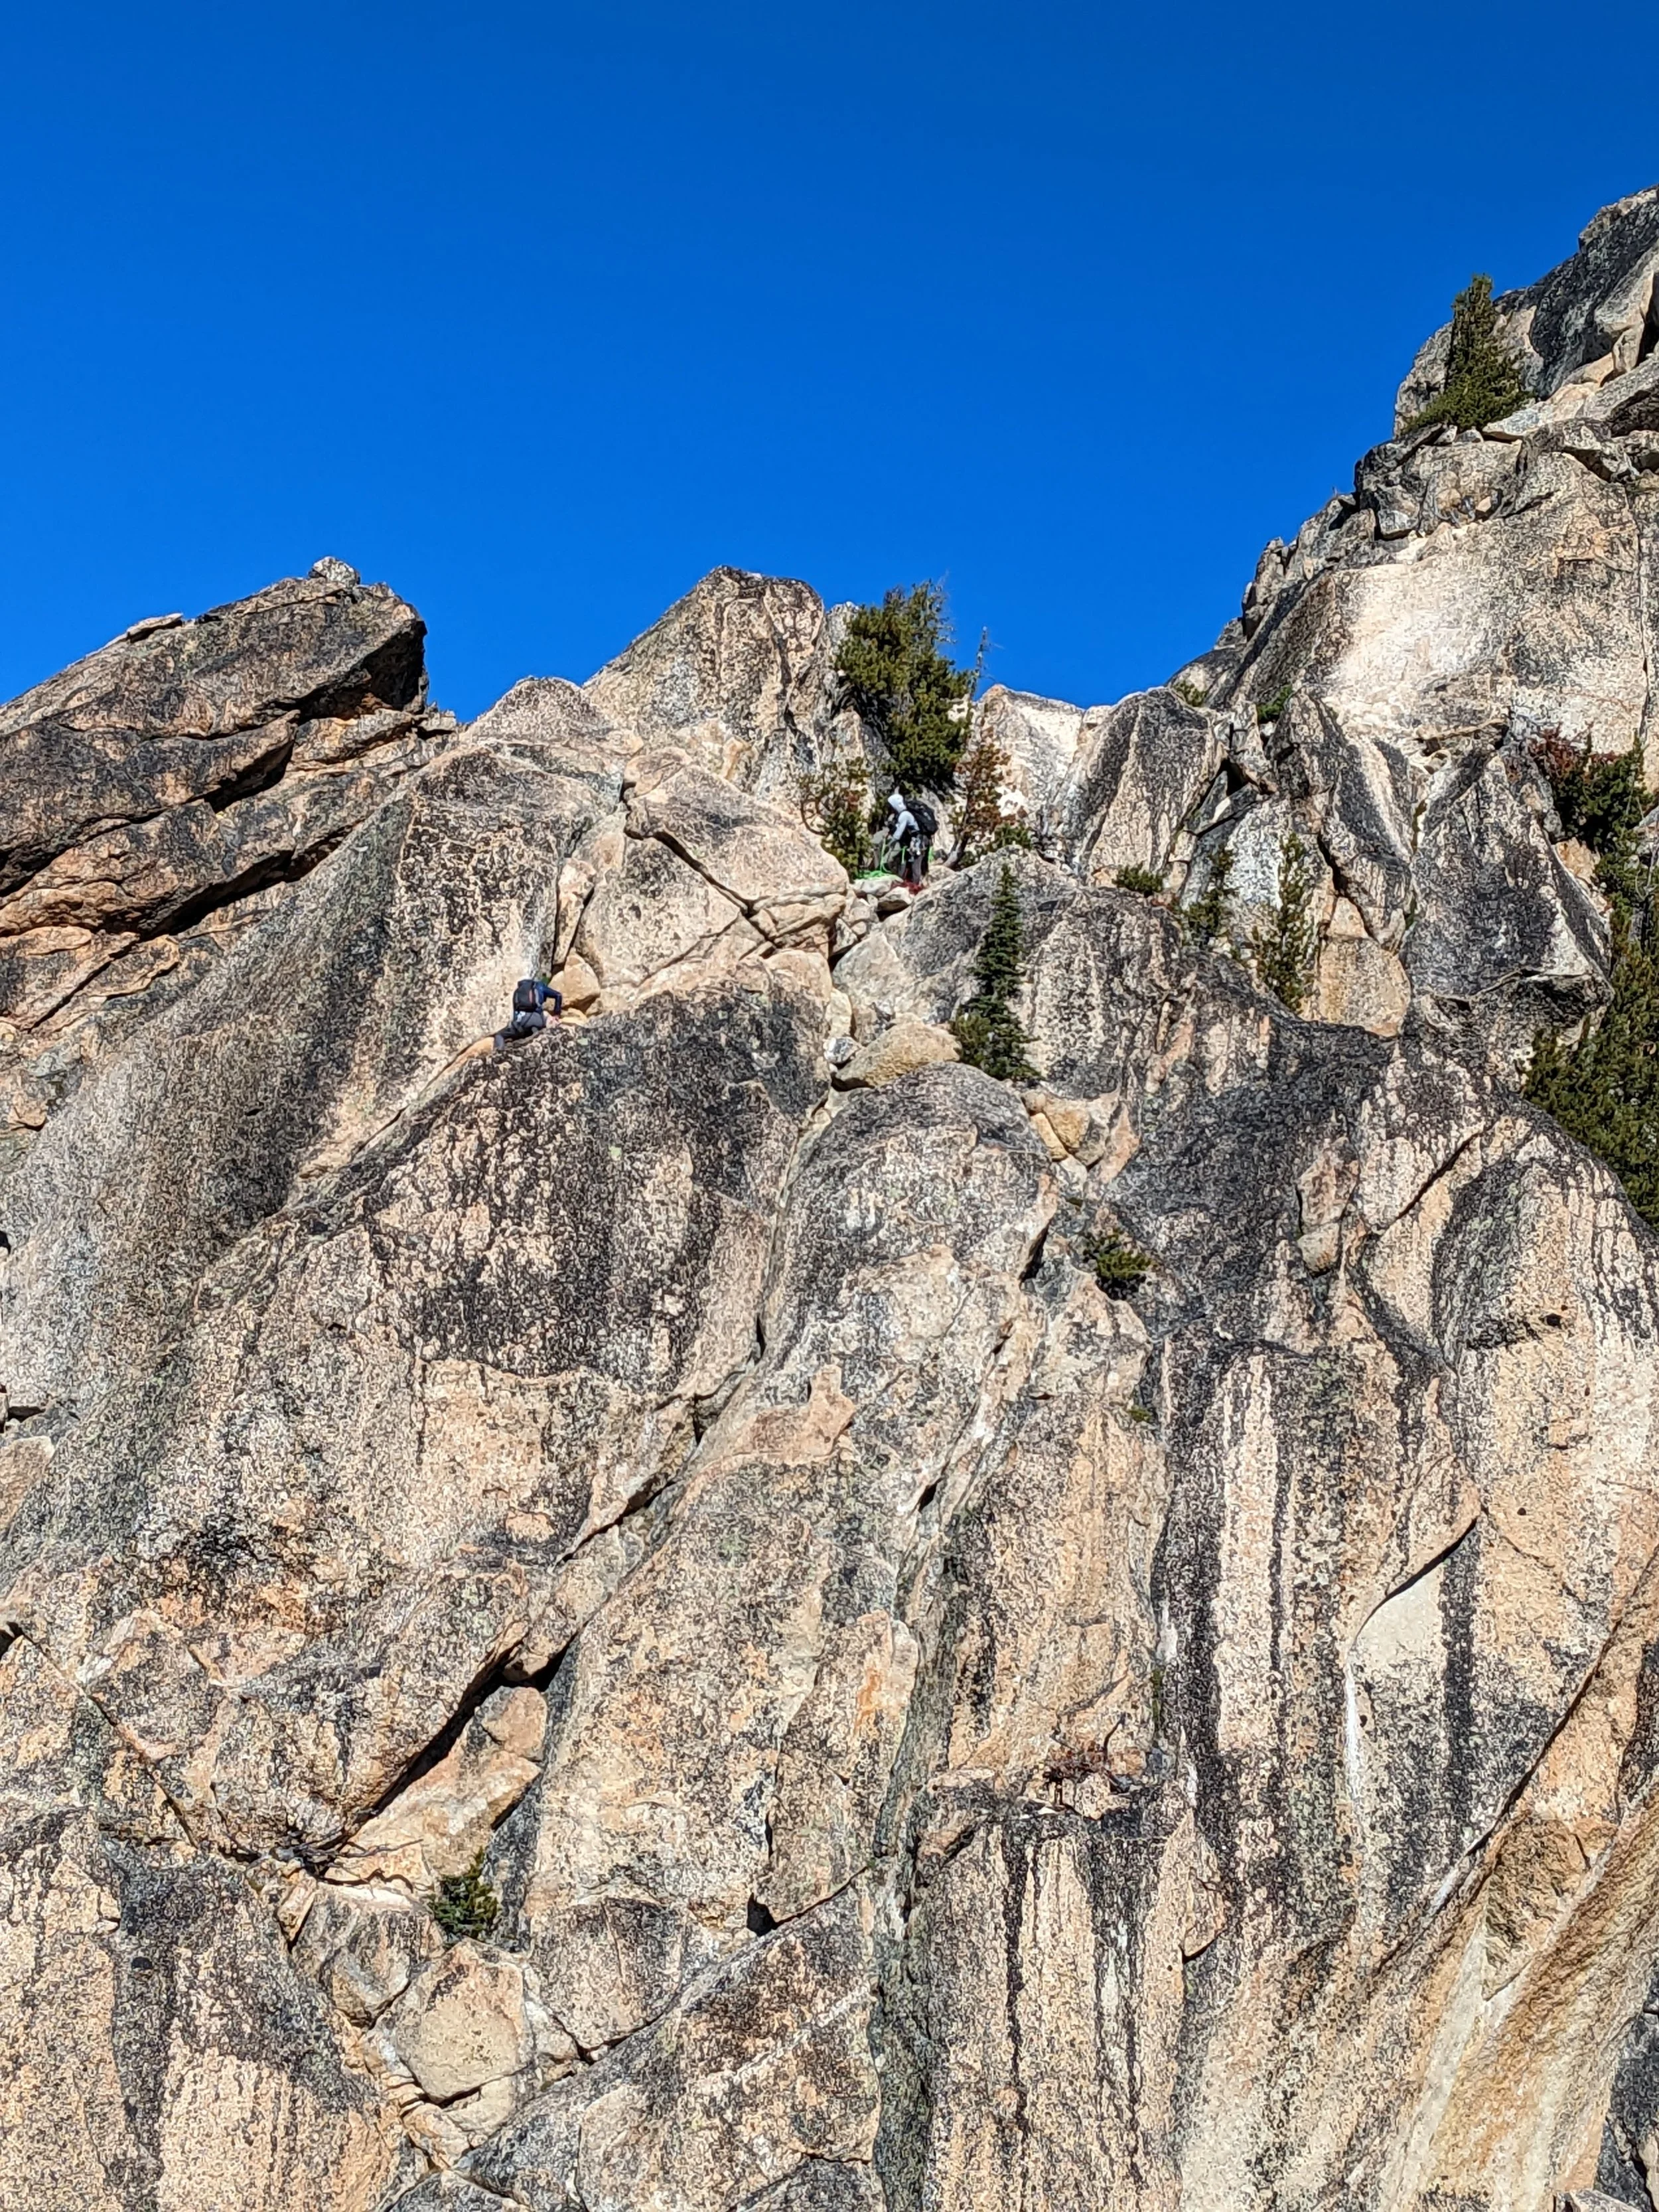
The Climb: Departed camp at 7:00 AM, moving quickly up the multi-pitch granite of Liberty Bell. I felt very good during the climb, and topping out with plenty of time to spare.
Critical Safety Audit: On the multi-stage rappels down, caught a mistake during the knot-check—a slip knot had been tied instead of a double overhand stopper knot. A crucial reminder to never rush rappel setups when fatigued.
Tomorrow - we will climb the Concord Tower.
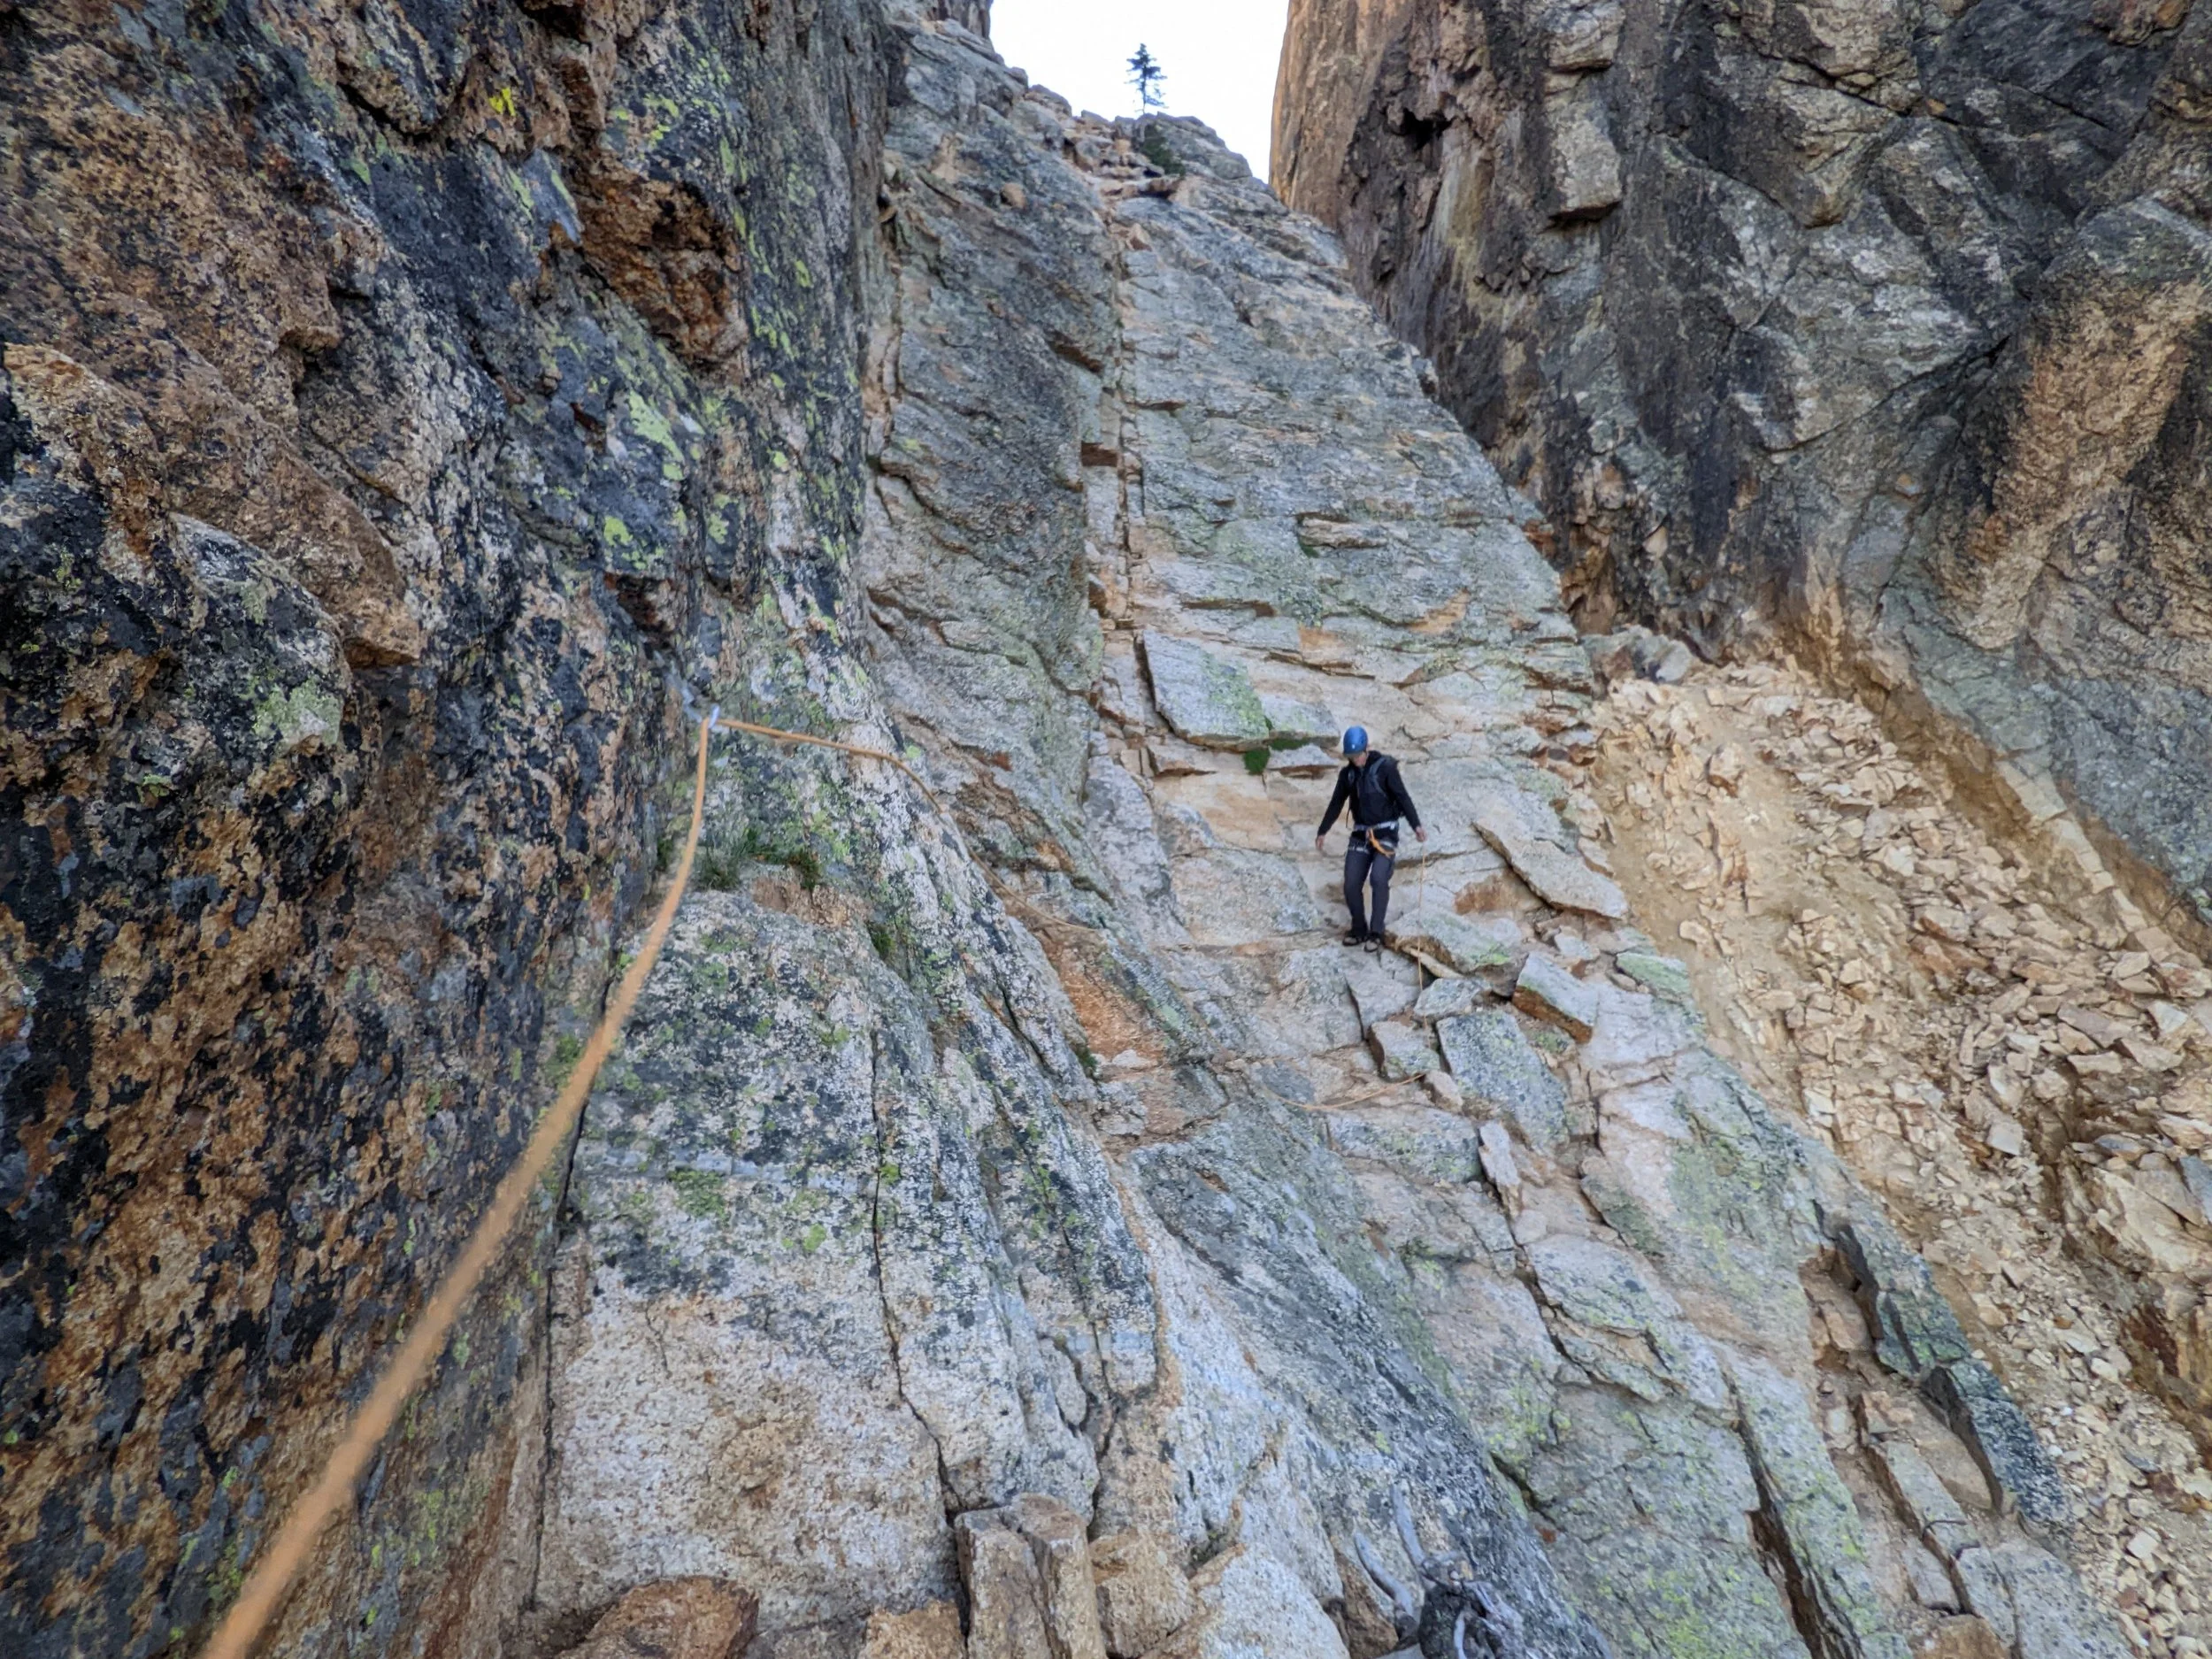
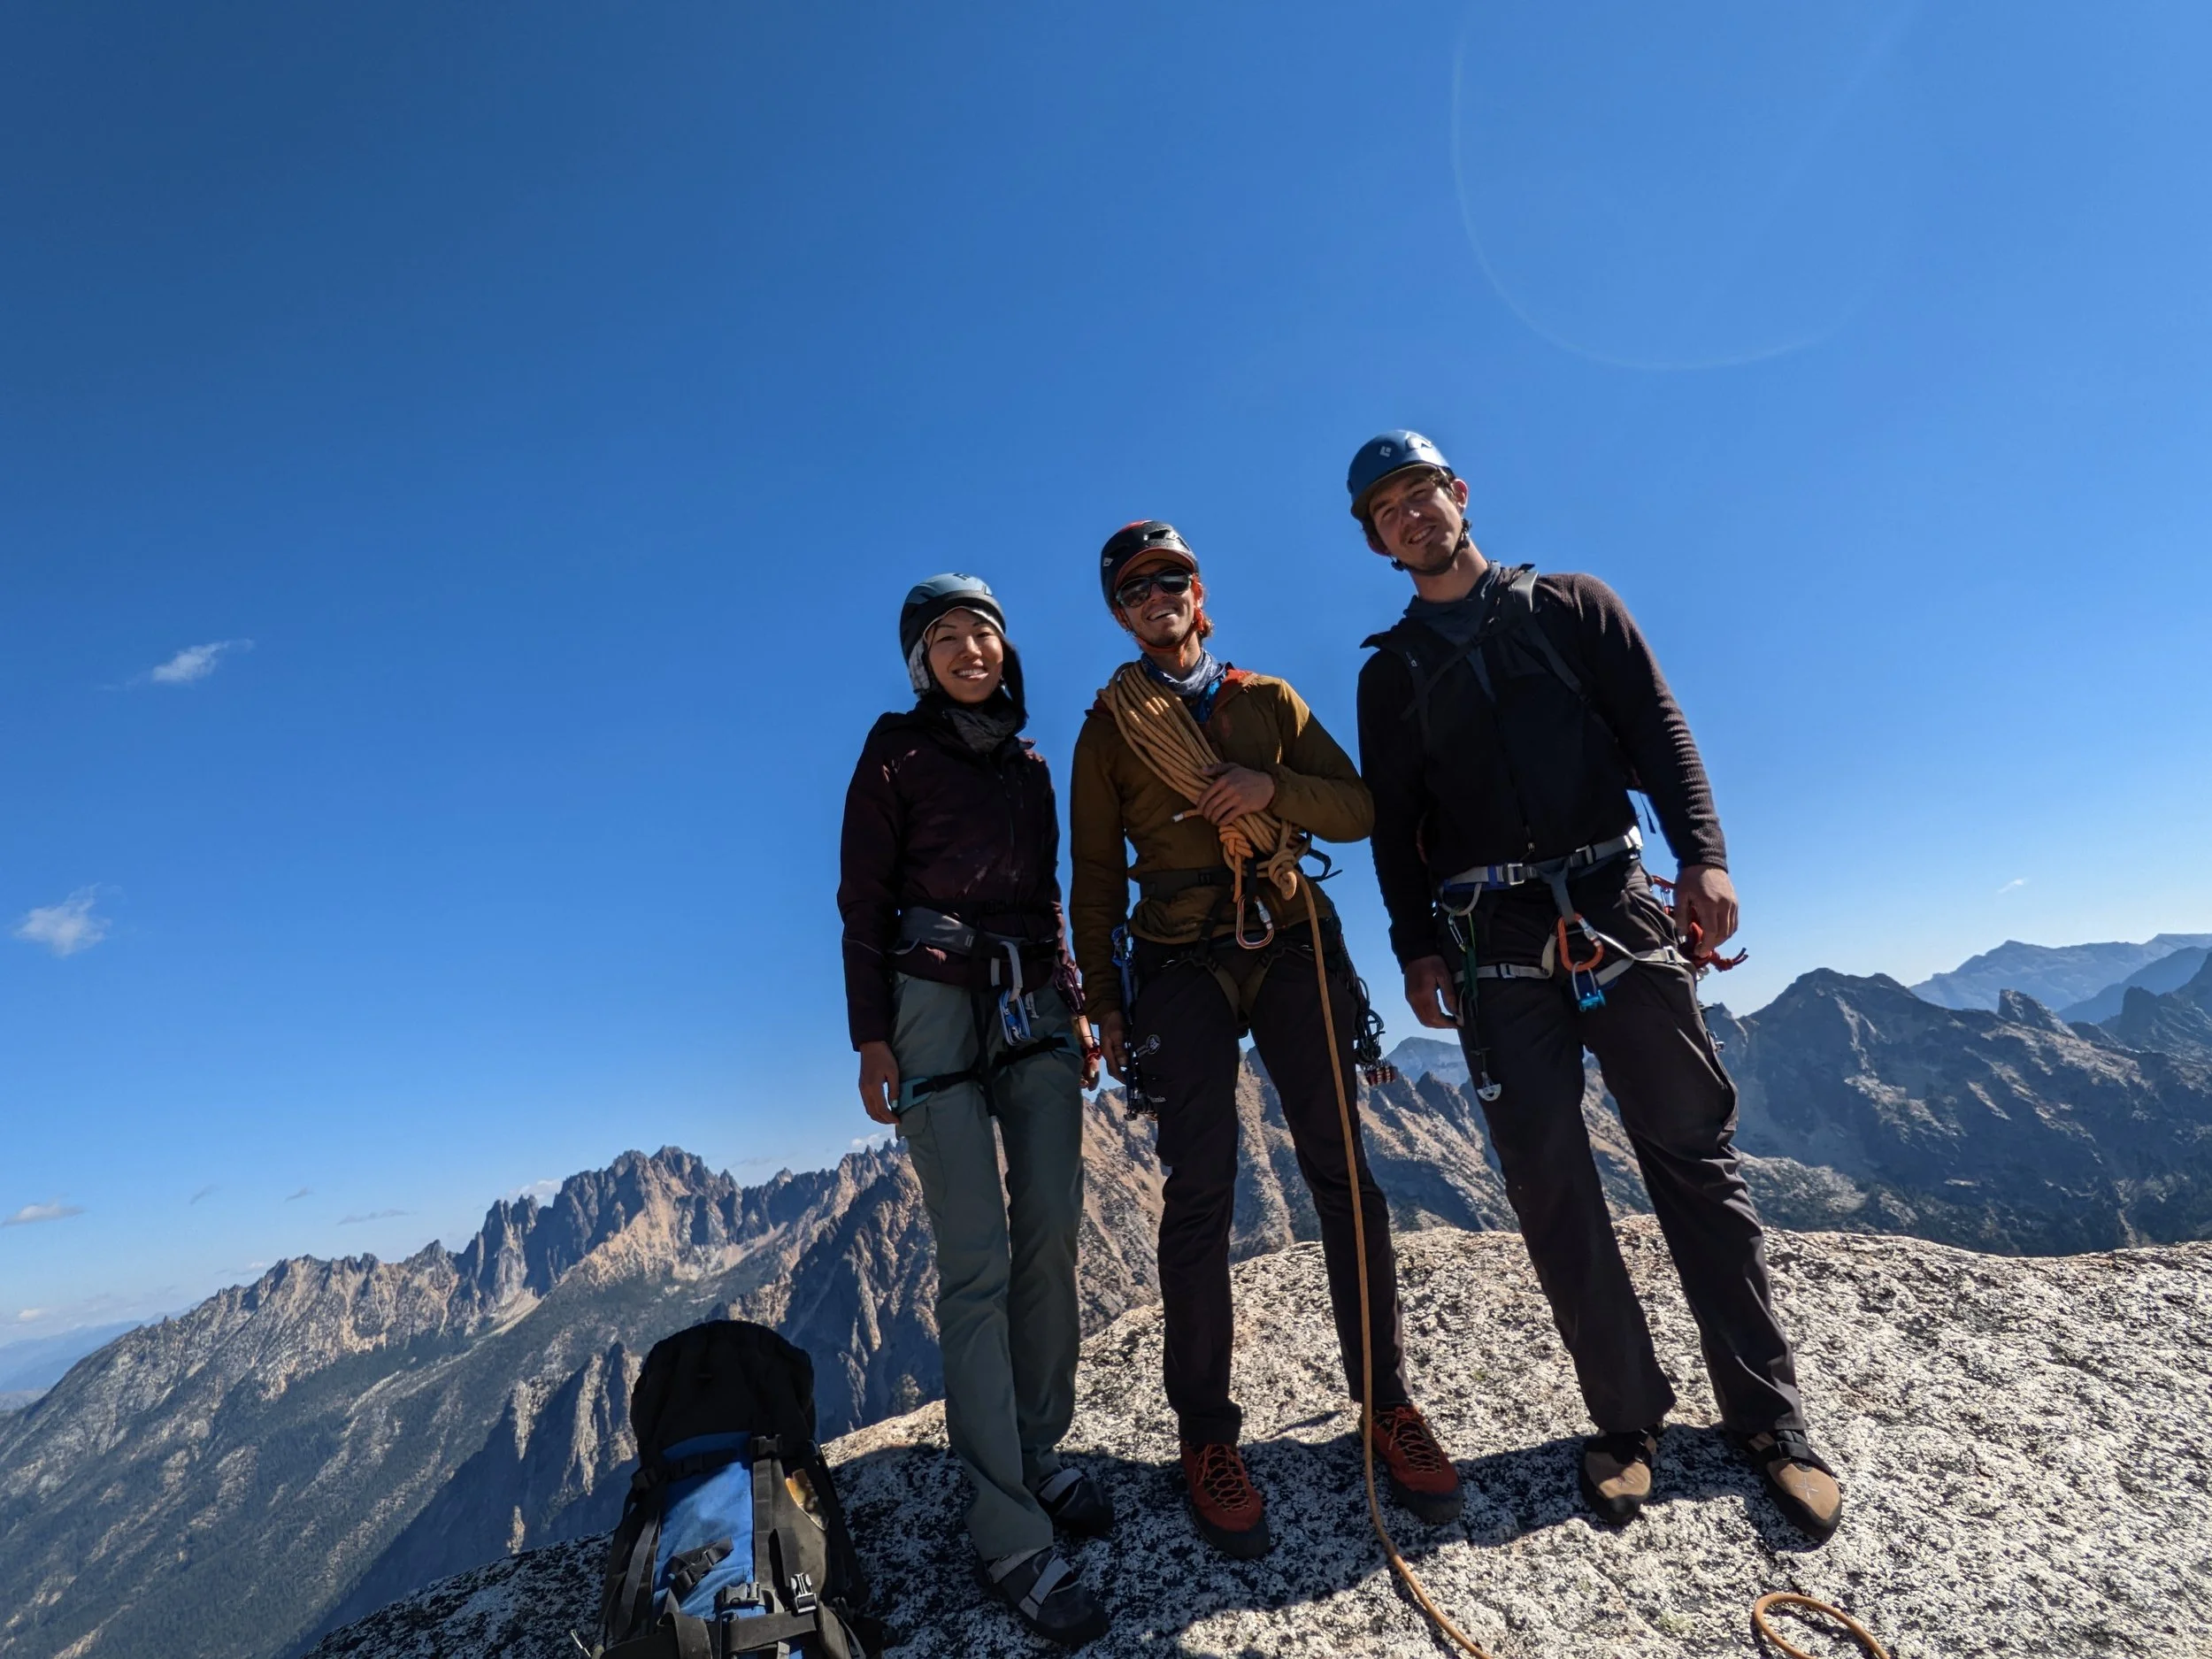
Day 9: Concord Tower Multi-Pitch
Concord Tower Ascent
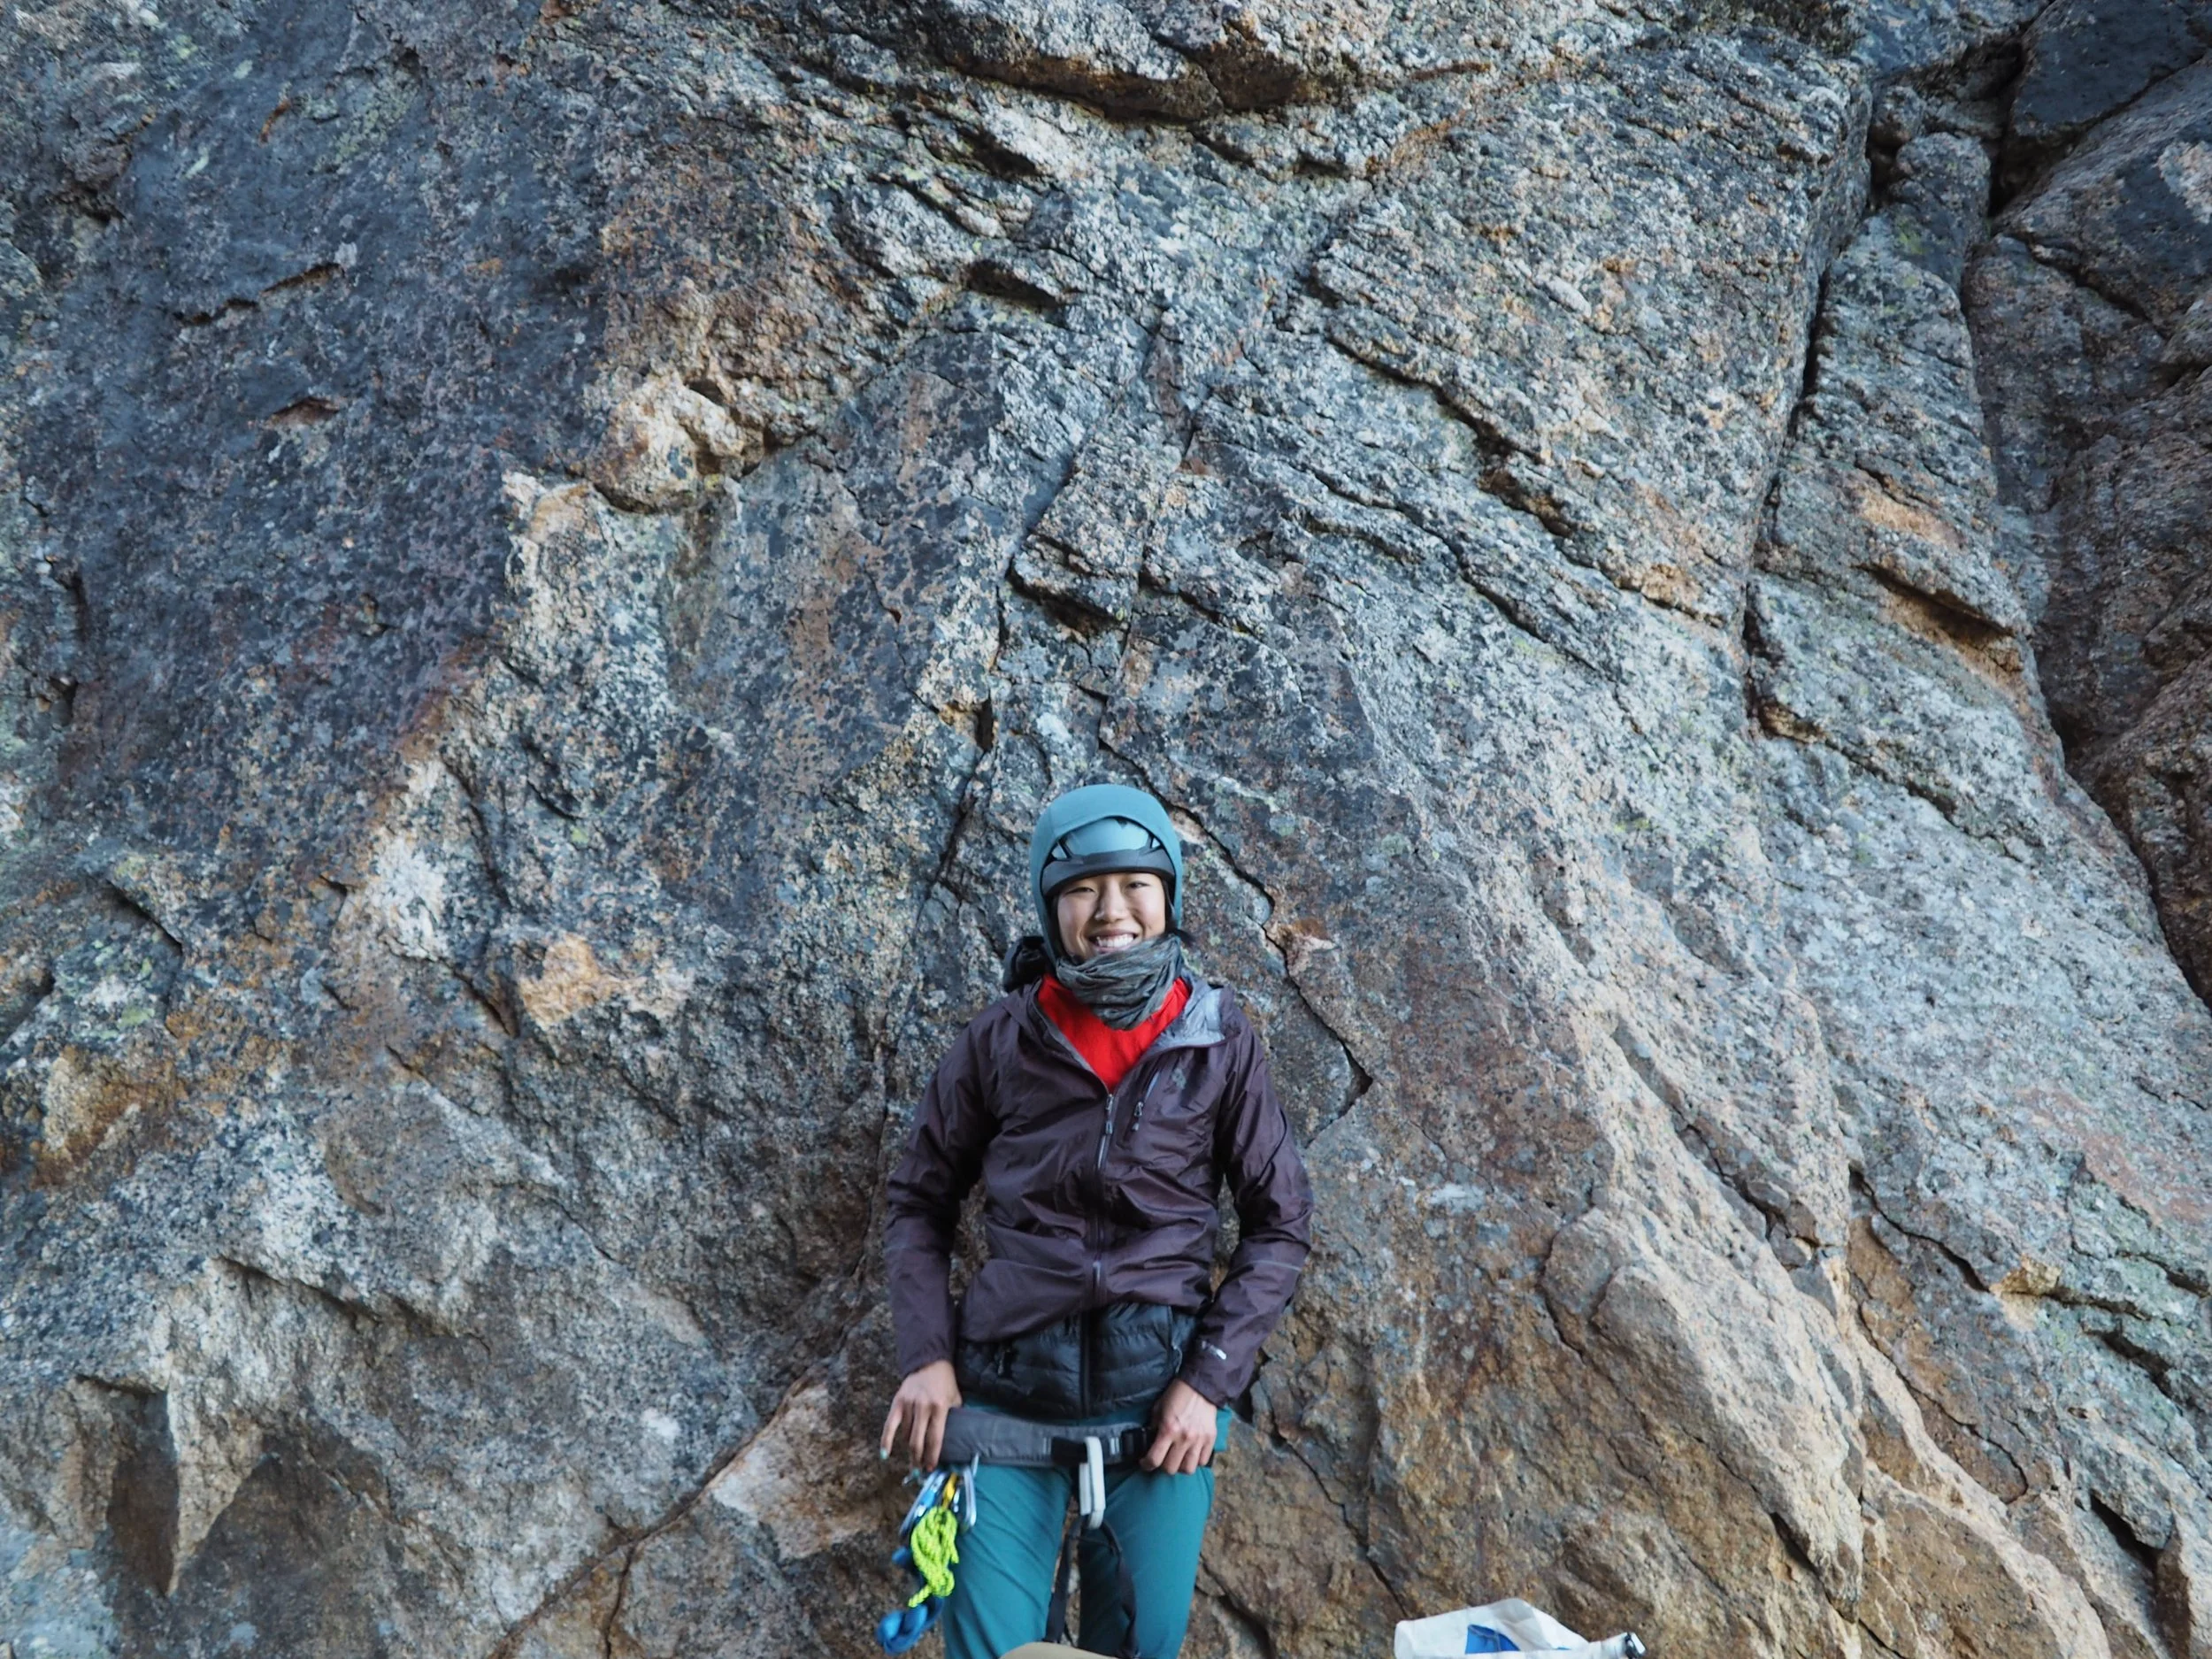
Today’s objective was Concord Tower, positioned right next to the iconic Liberty Bell. Even though I layered up properly, the morning cold completely numb my fingers, which made pushing through the first two pitches a mental and physical battle. I took on rope duty for the approach and descent.
Route Stats: 4 pitches of climbing, 3 pitches of rappelling.
Team: Partnered with Tyler again, guided by Adam.
Timing: Efficiency paid off—we wrapped up and made it back by 2:30 PM, two hours ahead of the other teams.
Back in town, we hit the Mazama Store to grab a fresh baguette to pair with my daily summit lunch of summer sausage and cheese. Ended the day doing a cold spigot rinse to wash off the trail dirt from my hair and feet.
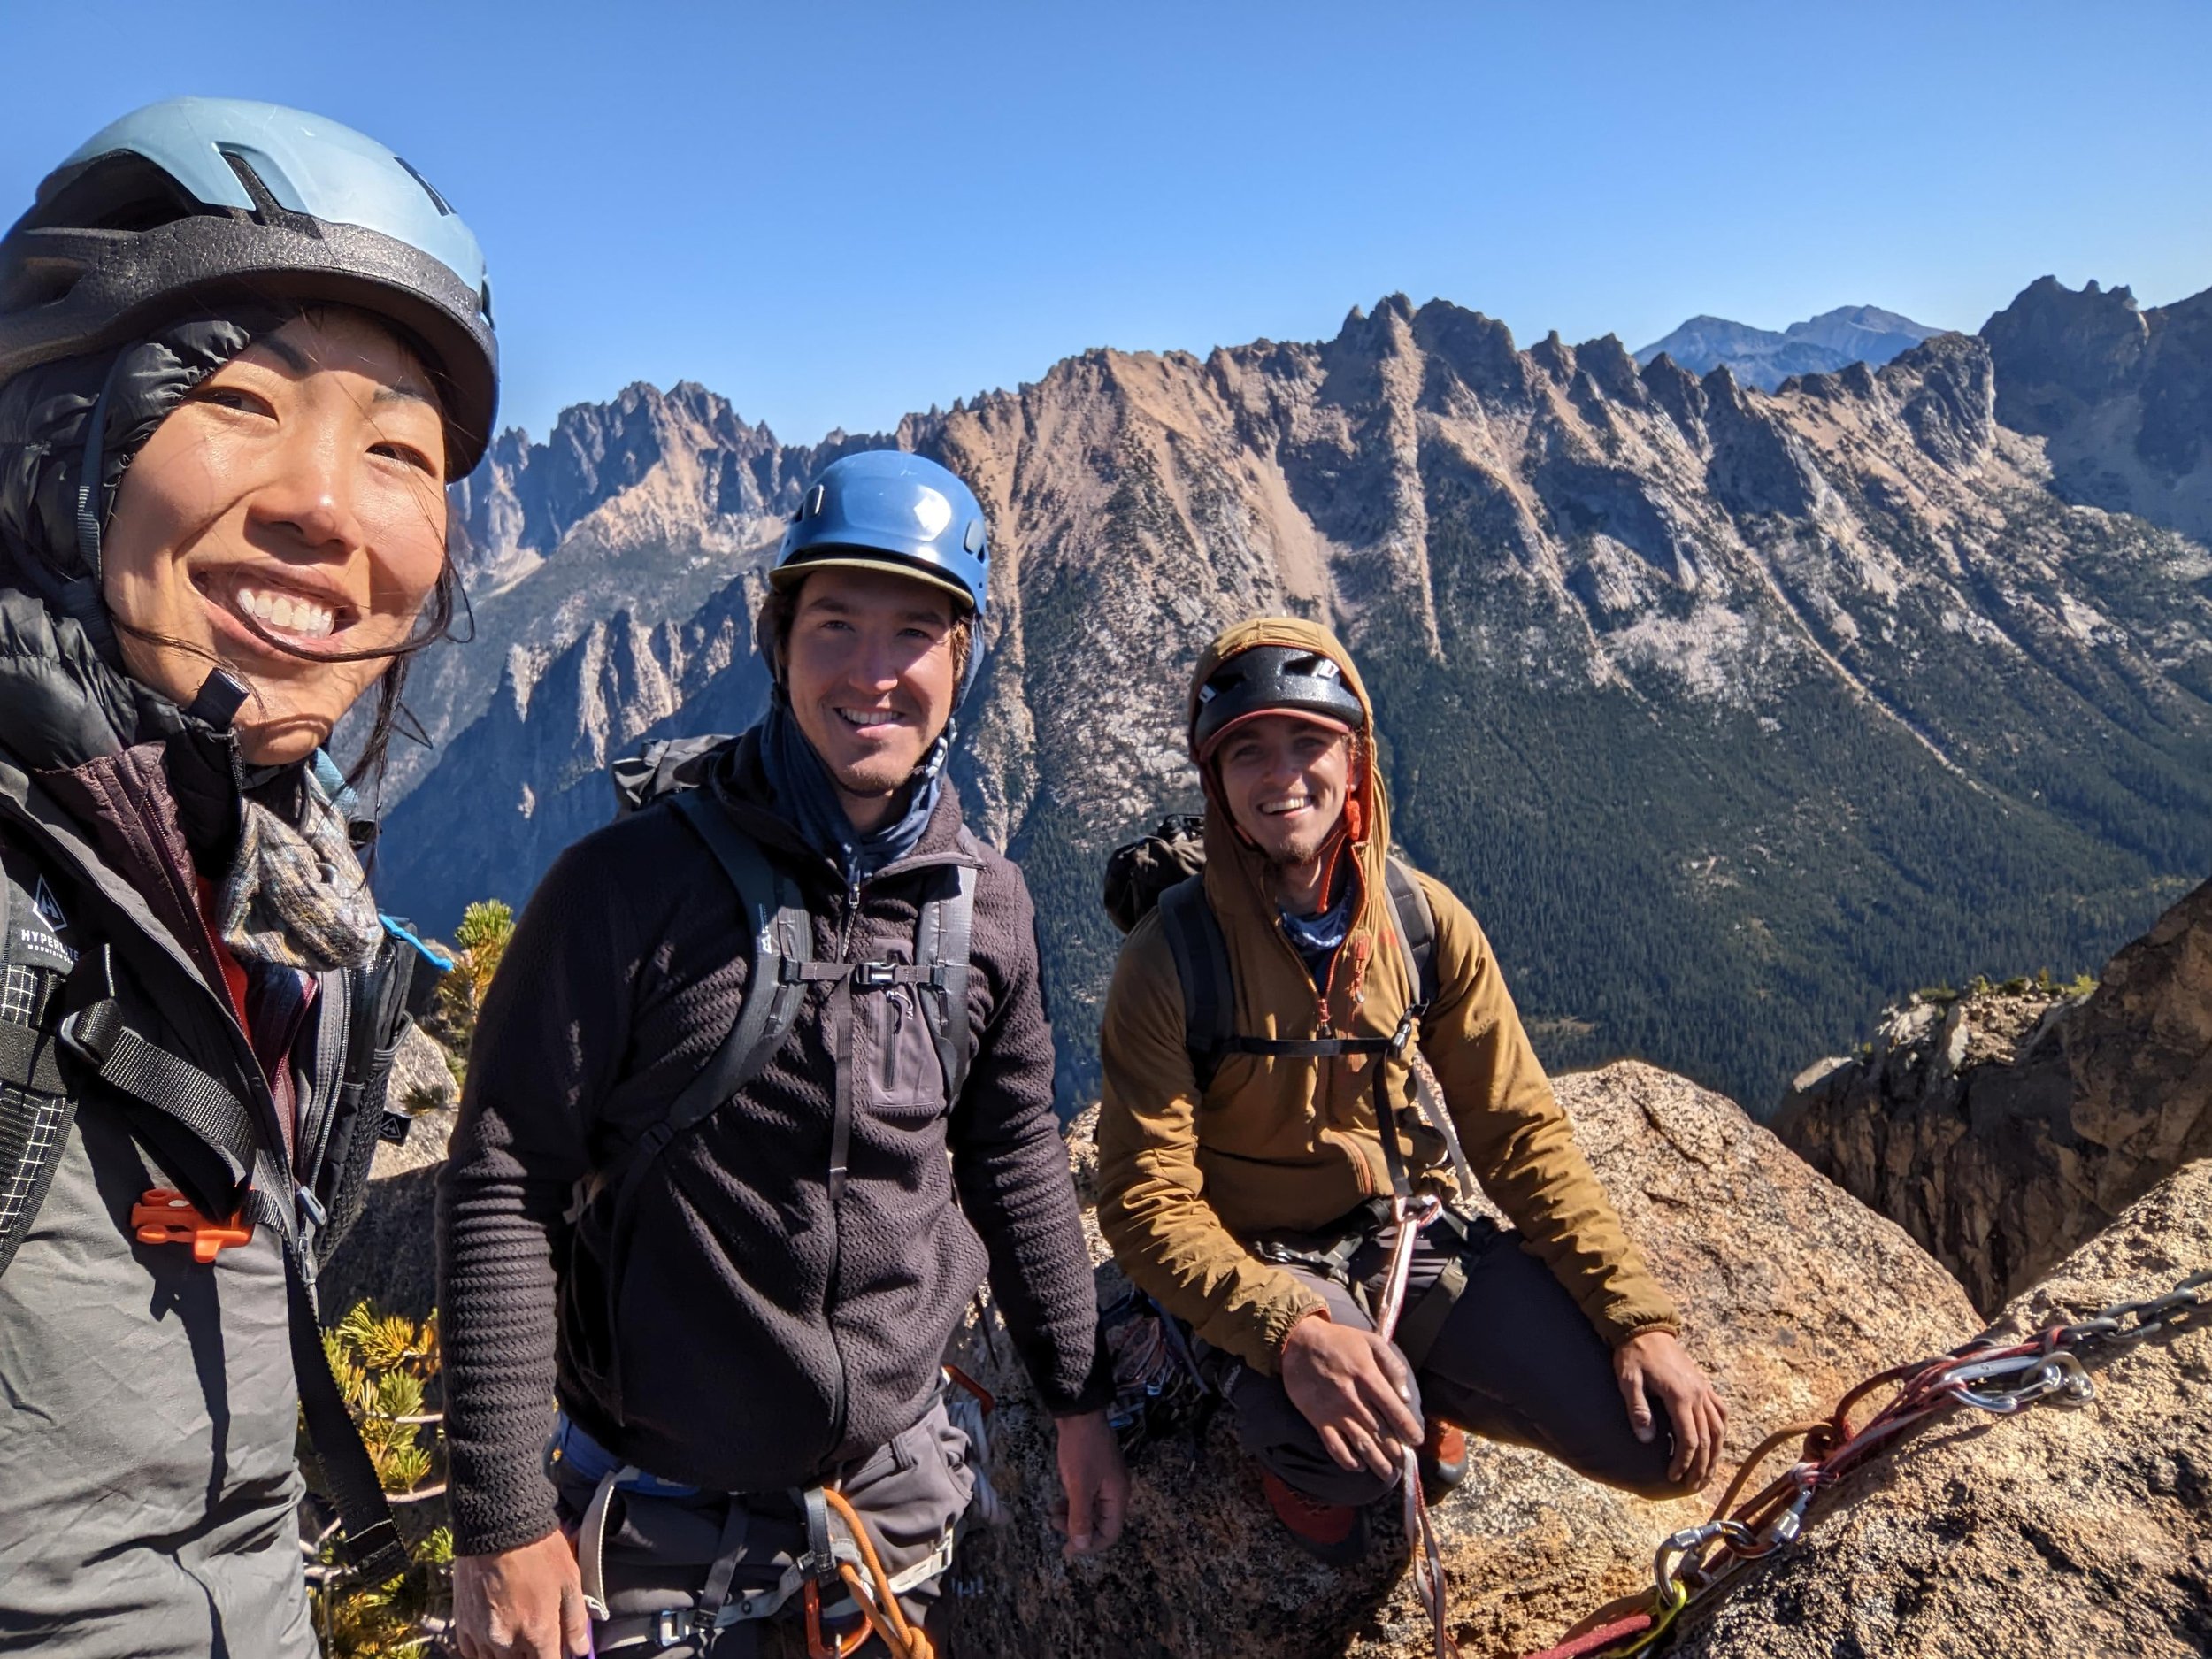
Part 3: The Culmination Objective (Sahale Peak)
Days 10–12: Sahale Peak & Student-Led Summit
I’ve learned so much so far, and the Sahale Peak student led climb can be found here - Sahale Peak
Hard-Earned Trail Tips & Gear Insights from the 12 days course:
Takeaway Hydration: 1 Liter of water is plenty for an 8-hour alpine day on snow/rock if you hyper-hydrate the afternoon before. Skipping morning coffee avoids emergency trail stops!
Camp Setup: Level out sloped mountain tent floors by shoving spare clothes under your sleeping pad.
Weight Savings: Ditch heavy tent stuff sacks. Use a heavy-duty white trash bag as an ultra-light waterproof pack liner instead.
Trail Foods: Granola with freeze-dried fruit, peanut butter stirred into ramen, tuna packets, snap peas, and dark chocolate.
Post-Trip Cravings: Fresh crisp veggies, Cheez-Its, and juicy fresh fruit!
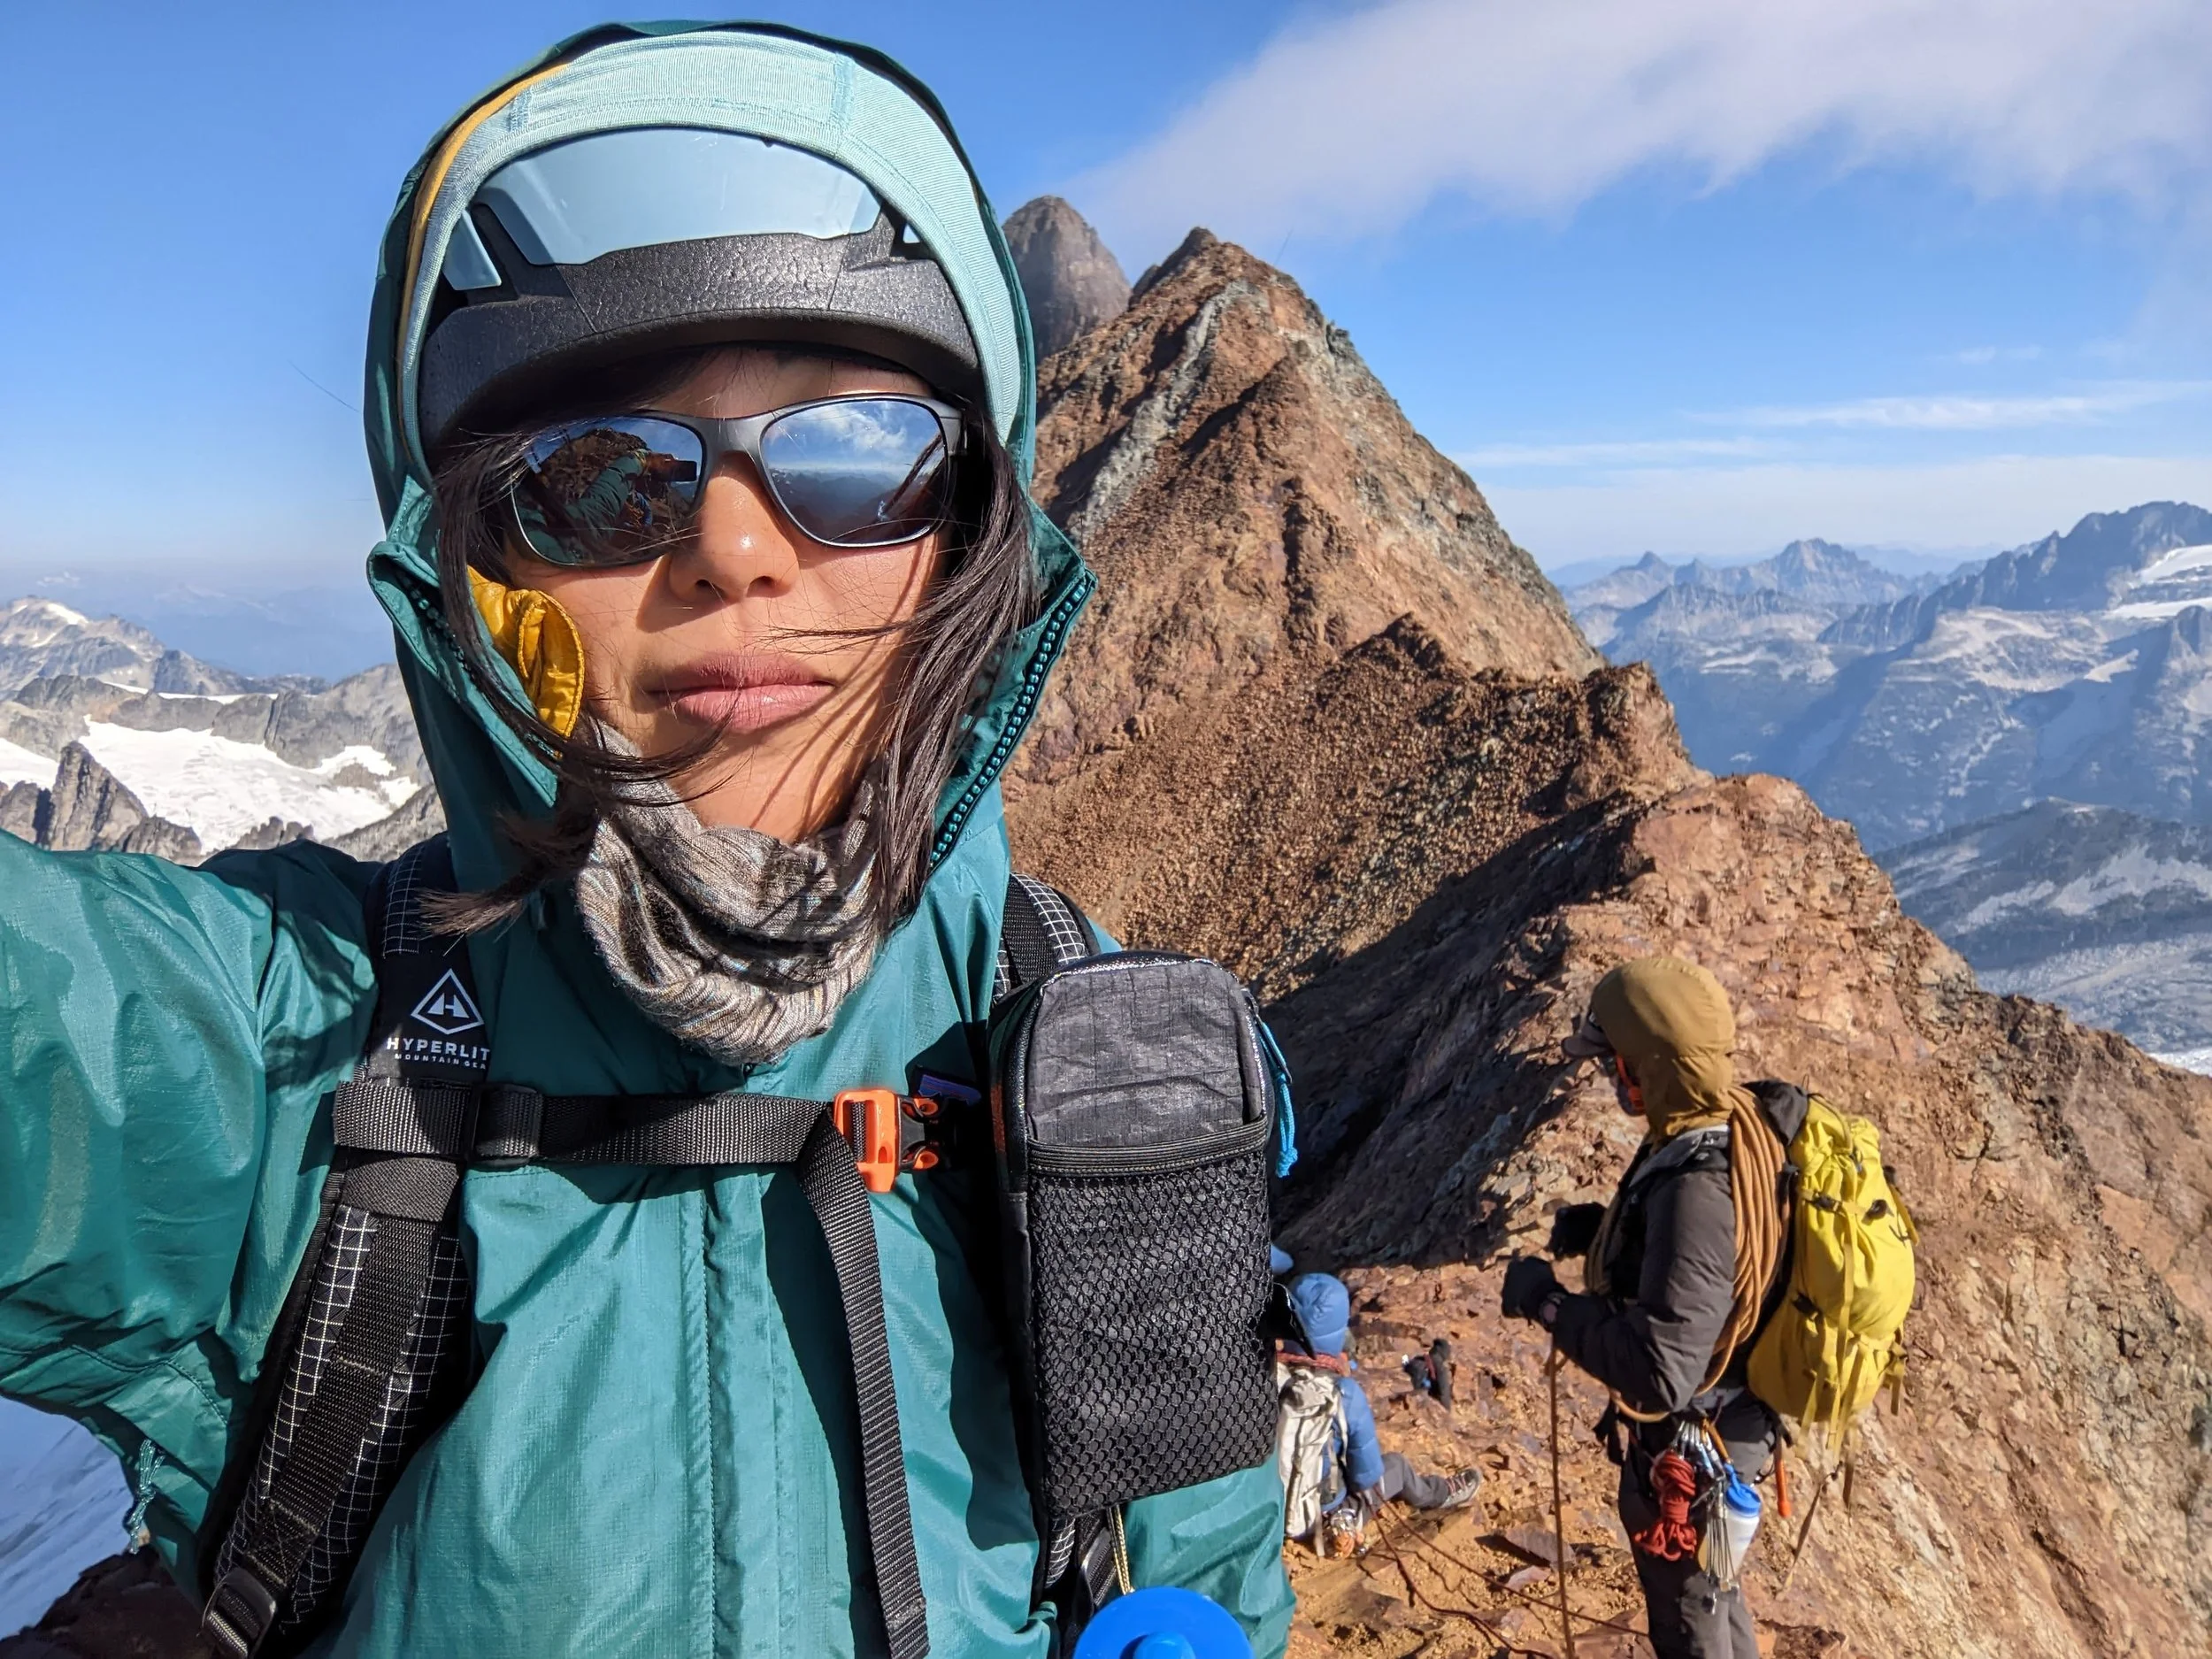
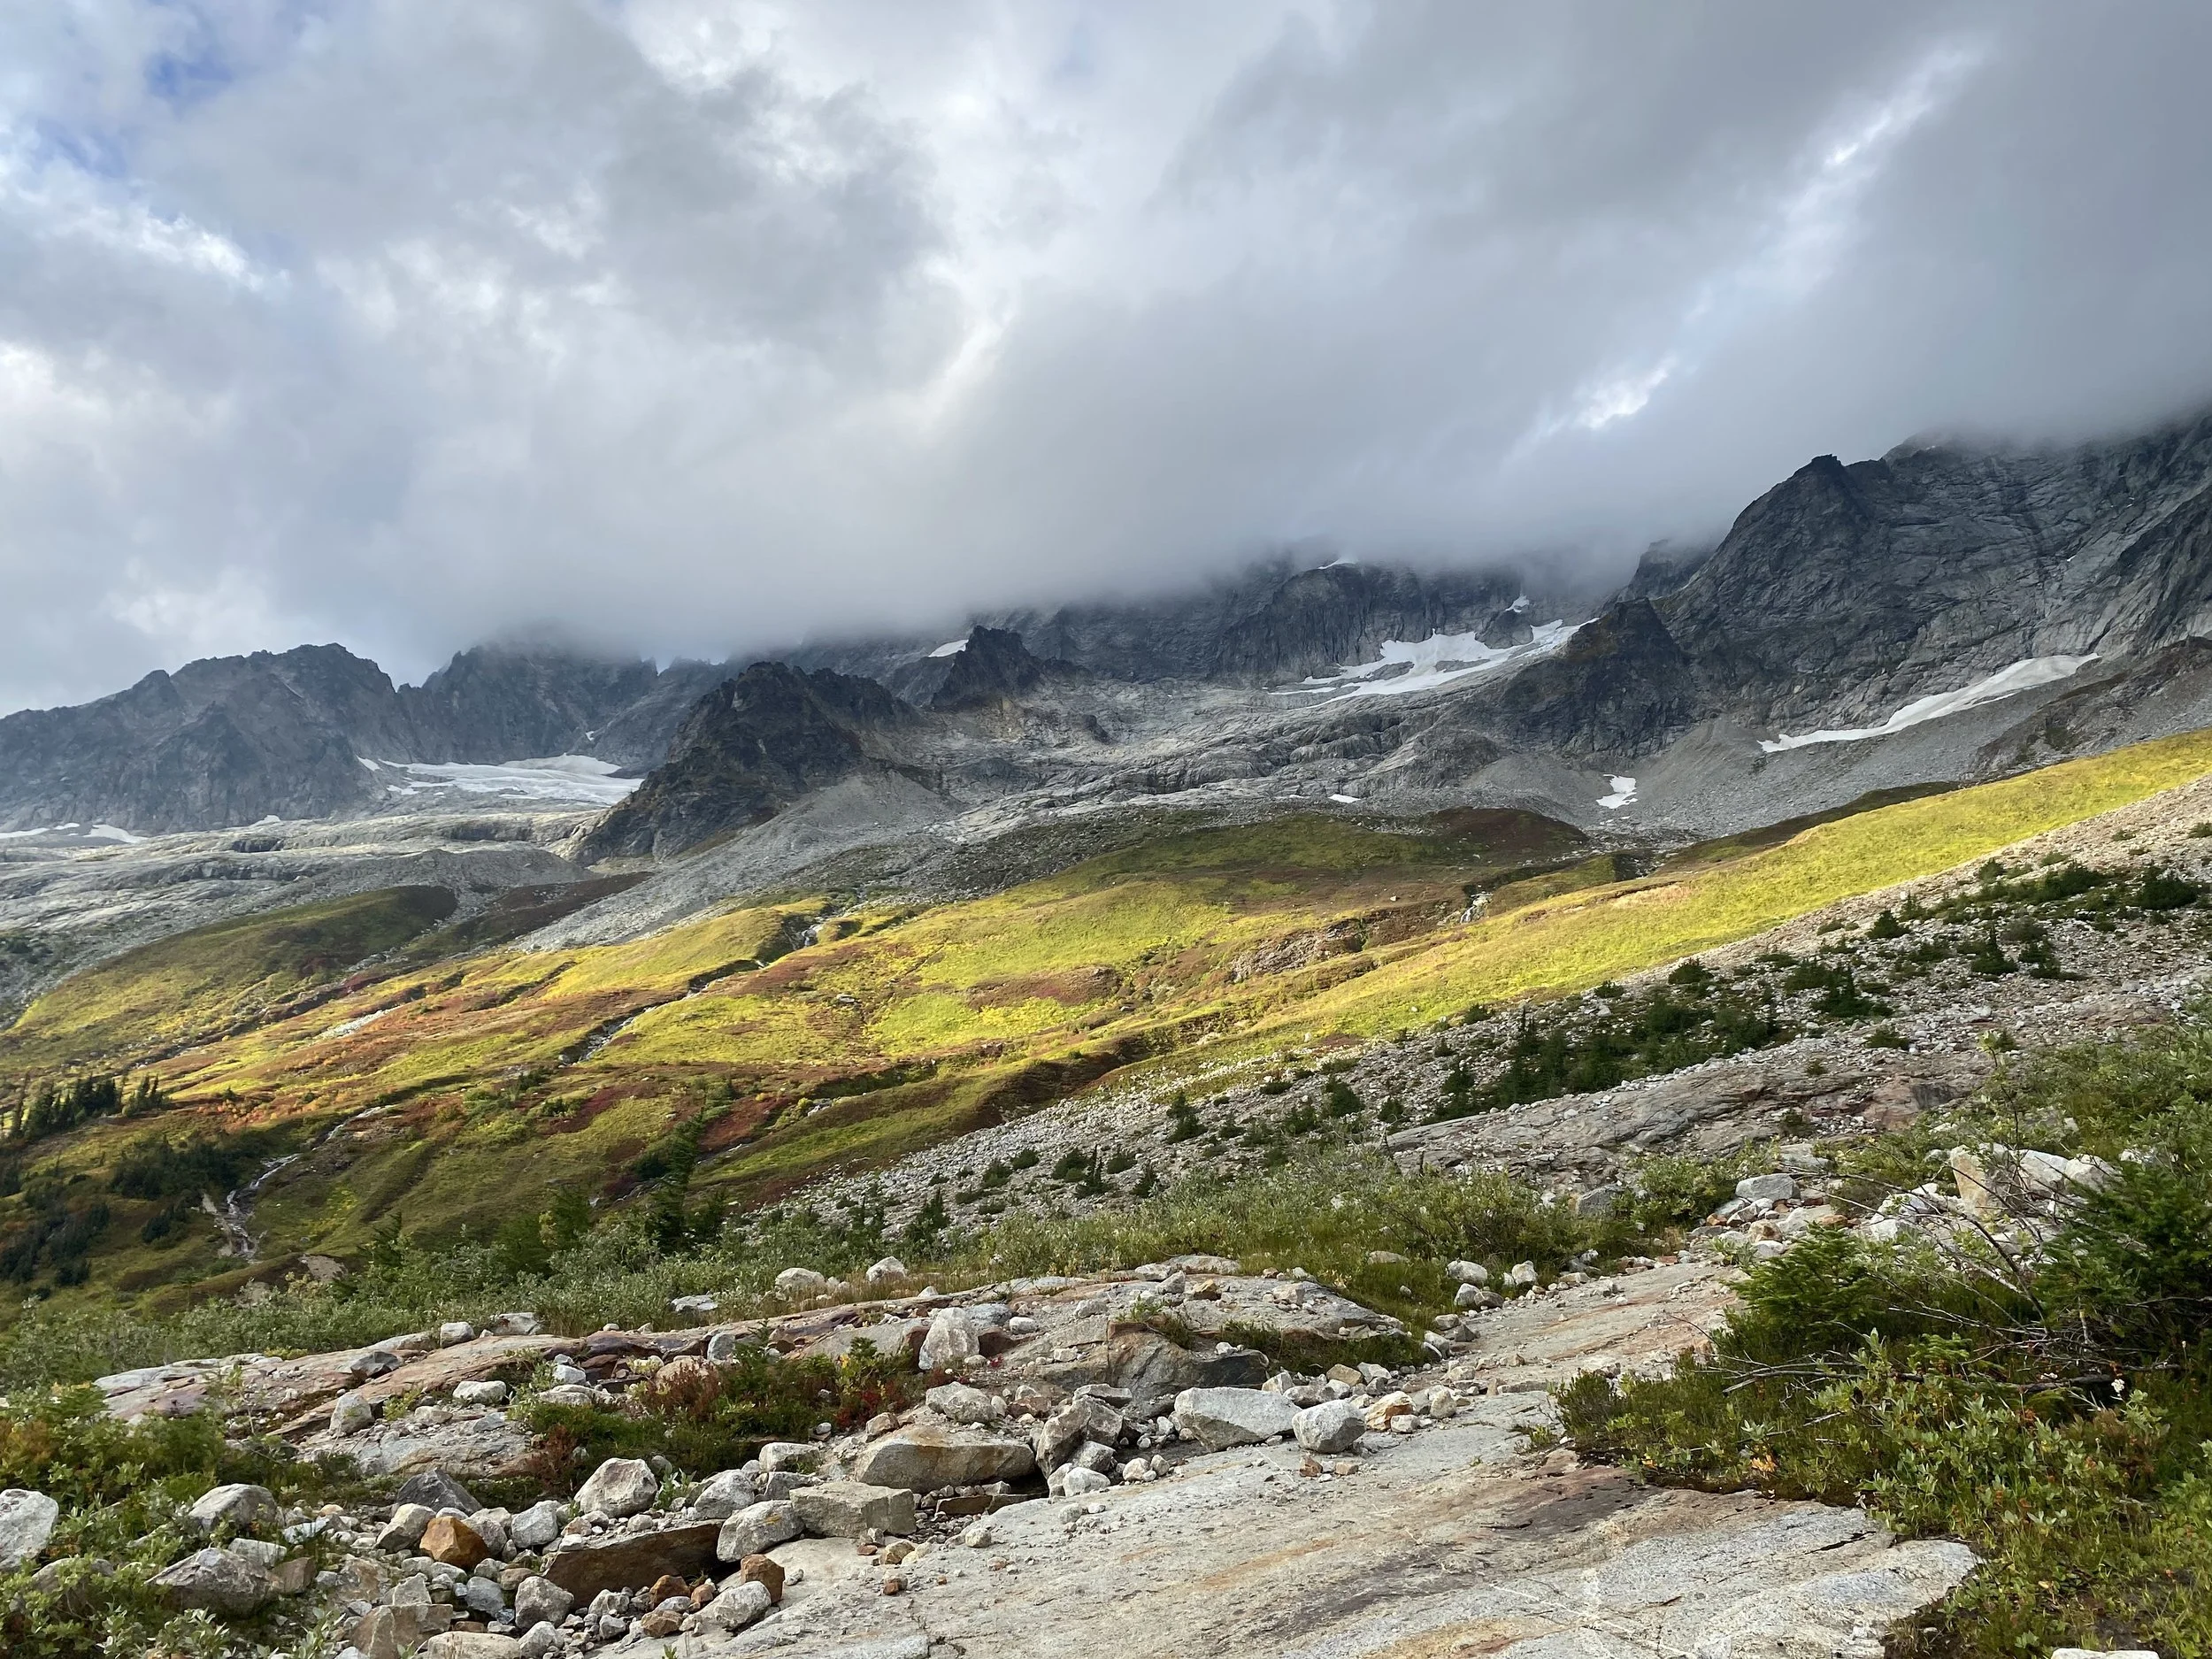
Reflecting on my 12-day Alpine Mountaineering & Technical Leadership (AMTL 1) course, that ended with Sahale Peak, I am blown away by how much ground we covered. From mastering anchor systems and multi-pitch management to tackling cold-weather rock climbing, glaciated terrain, and student-led summit objectives, the depth of instruction was incredible. The financial investment felt entirely justified given the quality of the technical training, the strong camaraderie built on the rope teams, and the breathtaking alpine backdrops we climbed in every day.
As September 2022 wraps up, I feel a huge shift in my confidence as a climber. The ultimate goal of taking this course was to build the self-reliance needed to plan, lead, and execute my own unguided backcountry adventures—and I’m excited to put every single one of these skills to the test in the mountains ahead.